
We may earn a commission when you buy through links on this page. It never changes what we recommend. How we pick
On this page10 parts
- Start a Drip Coffee Maker With Cold Water Up to the Line
- Weigh the Coffee Once, Then Stop Counting Scoops
- Grind Medium, Closer to Coarse Sand Than to Flour
- Fit the Filter to the Basket Before the First Pot
- Press Start and Leave the Whole Cycle Alone
- Take the Pot Off the Warming Plate Within Half an Hour
- Rinse After Every Pot, Descale on Your Water's Schedule
- When the First Pot Is Off, Change One Thing and Taste Again
- A Weighed Pot Tomorrow, and What to Check in a Month
- Frequently Asked Questions
You fill the reservoir, drop in whatever the scoop from the box holds, press start, and the pot is thin on Monday and harsh on Wednesday. The machine did not change between them; the spoon did.
Learning how to use a drip coffee maker is mostly learning which controls are yours: an automatic drip machine owns the heat and the flow of the water, and you own the water, the dose, the grind and the filter. Even the home-brewer standard from the Specialty Coffee Association, SCA 310-2021, tests a machine at a fixed ratio of coffee to water, because on a real counter the dose belongs to the household. What follows is the four steps in order, what the machine does by itself, and the order in which to change things when the first pot is off.
Quick Answer
A drip machine makes a good pot when you set four things in this order, because the grams of coffee per water set the strength, not a button.
- Fill the reservoir with cold water up to the line.
- Seat a paper filter that matches the basket.
- Add medium grounds, weighed once instead of spooned.
- Press start and let the whole cycle run.
- Pour the pot off the warming plate within about half an hour.
Start a Drip Coffee Maker With Cold Water Up to the Line
The water is the first control that belongs to you, and the first place a pot goes wrong without anyone noticing. The fill line on the reservoir counts machine cups, and a machine cup is not the cup in your hand.
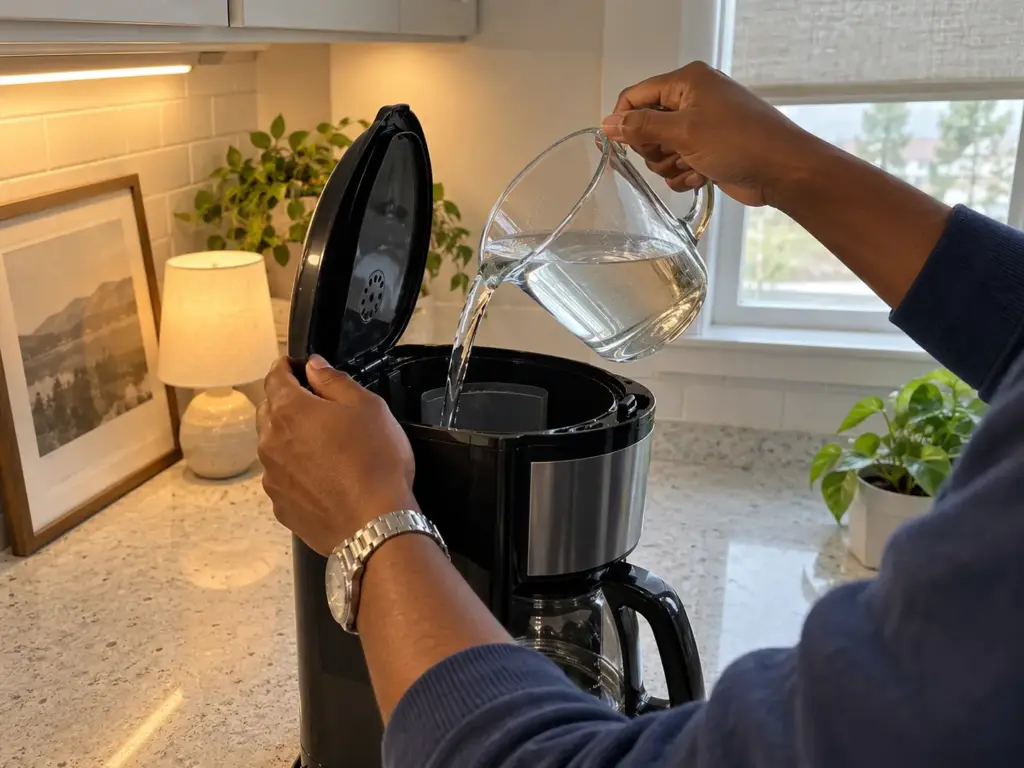
The line counts machine cups, not mugs
OXO sizes its own coffee scoop for “one 5-ounce cup of coffee,” which tells you how small the unit behind a cup line really is. A four-cup pot is then 20 fluid ounces of water, which fills less than two 12-ounce mugs. That is why a pot made to the mug count comes out a cup short, and you see it the first morning the reservoir is filled that way.
Pour water from a measuring cup or jug up to the 4-cup line once, read the fluid ounces, and write that number on a strip of tape on the lid. It is a one-time check, and every ratio you do later starts from that real figure instead of the printed one.
Cold water, filtered if the tap tastes of anything
Start with cold. The machine heats the water itself, and warm tap water carries more of whatever sits in the pipes, so it is no shortcut. OXO says filtered water gives a purer flavor and keeps minerals from building up inside the machine, and that second half of the sentence is the one to remember. If the tap tastes of chlorine or metal on its own, the pot will taste of it too.
Why the water decides more than the machine’s price tag
The standard’s own test water is odor-free and chlorine-free, with calcium hardness of 50 to 175 ppm as CaCO3, alkalinity of 40 to 70 ppm and a pH between 6 and 8. Your tap can sit outside that band, in either direction: your utility’s water report shows the hardness, and a filter that strips calcium can push it below the range. Distilled water sits below it too, since it carries no calcium at all. Look at that report before you shop for anything.
Hard water also matters for a second reason, because the minerals that change the cup are the ones that coat the inside of the machine, which is where the descaling section picks up.
Weigh the Coffee Once, Then Stop Counting Scoops
The line sets the water, but the coffee decides the strength, and the coffee goes in by a spoon that has no fixed weight. This is the cheapest change in the whole routine, and it comes before any purchase.
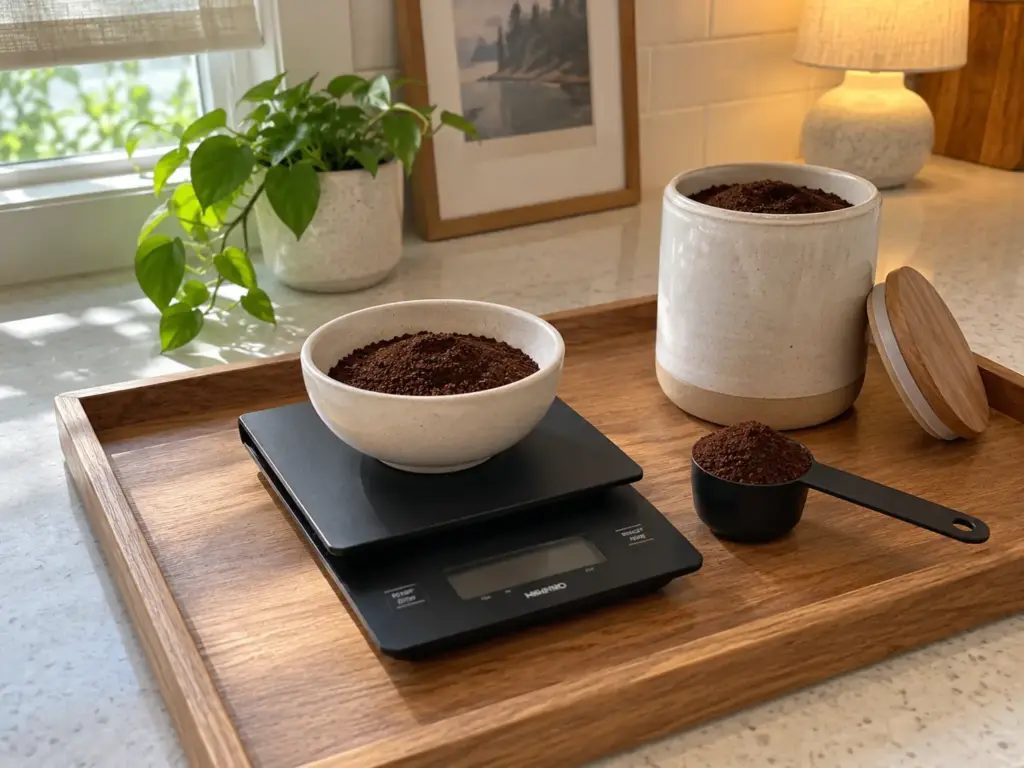
A tablespoon is not a fixed weight
Take OXO’s own range: “1 to 2 tablespoons (8 to 16 g) of grounds per 5 to 6 ounces of water, depending on your preferred coffee strength.” Both ends of that sentence are one cup. The same page describes its scoop as 2 tablespoons and prints no grams for it, and Cuisinart, whose guideline is one scoop per cup, says that grams give the most accuracy.
Picture three spoonfuls from the same bag: a level one, a heaped one and one pressed down with a finger. They are three different pots.
Roast moves the number too. Dark beans are lighter by volume, so the same scoop holds fewer grams of them, and a bag swap quietly changes the strength with no change in your hand. The reason a dose gets weighed before any dial is touched is laid out in weigh the dose before the dial.
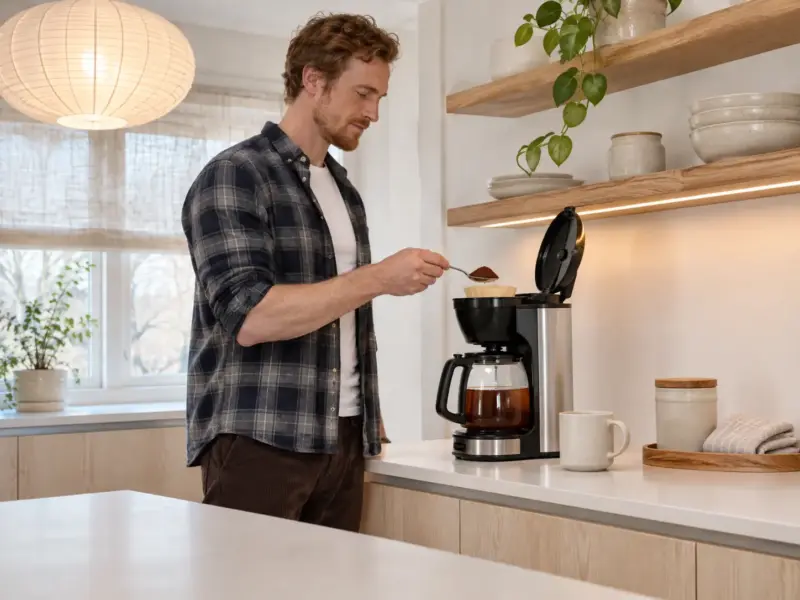
Weigh one level scoop, write the grams on the canister
Put your own coffee in your own scoop, level it, tip it into a bowl on the scale and write the grams on the canister. After that the scoop is a measuring tool with a known weight instead of a guess. The Hario Drip Scale Timer reads in 0.1 g steps and has a built-in timer, which comes in handy later in this article; its five-minute auto power off does not run while the timer is on. The linked listing is the older one, and the reviews carry a small complaint: the timer can be a bit hard to start now and then because of the capacitive buttons, and some buyers doubt the plastic housing will last.
If a timer is more than you need, the Etekcity Food Kitchen Scale, 11 lb weighs in 1 g steps with a tare, and a step that size is enough for a pot. The drift is what to watch. A review from September 2026 says that “the weight accuracy started to get completely unreliable,” a year in, and by year three it was not weighing properly at all. A dose that depends on that number should be checked now and then.
A US nickel weighs 5 g. Set one on the scale every few weeks: if it reads 5, the dose still means what you think it means, and if it reads 4 or 6, the scale needs new batteries or a replacement.
The lab ratio is a reference, not a target
The home-brewer standard tests machines at a coffee-to-water ratio of 55 g of coffee per 1.000 kg of water, about 1:18. That figure is the lab’s test ratio, run on medium-roast arabica rested at least a week to a week and a half, with water at about 63°F (17°C). It is not a rule for the pot in your kitchen, and it is not a promise about your taste. Read it as a reference to measure your own pot against.
It happens to agree with the low end of OXO’s printed range, which is 8 g per 5 ounces of water, about 1:18.5. The standard also requires a brewer’s manual to state a grind, a ratio, a filter type and cleaning instructions, so a manual that says only “one scoop per cup” is missing most of its own list.
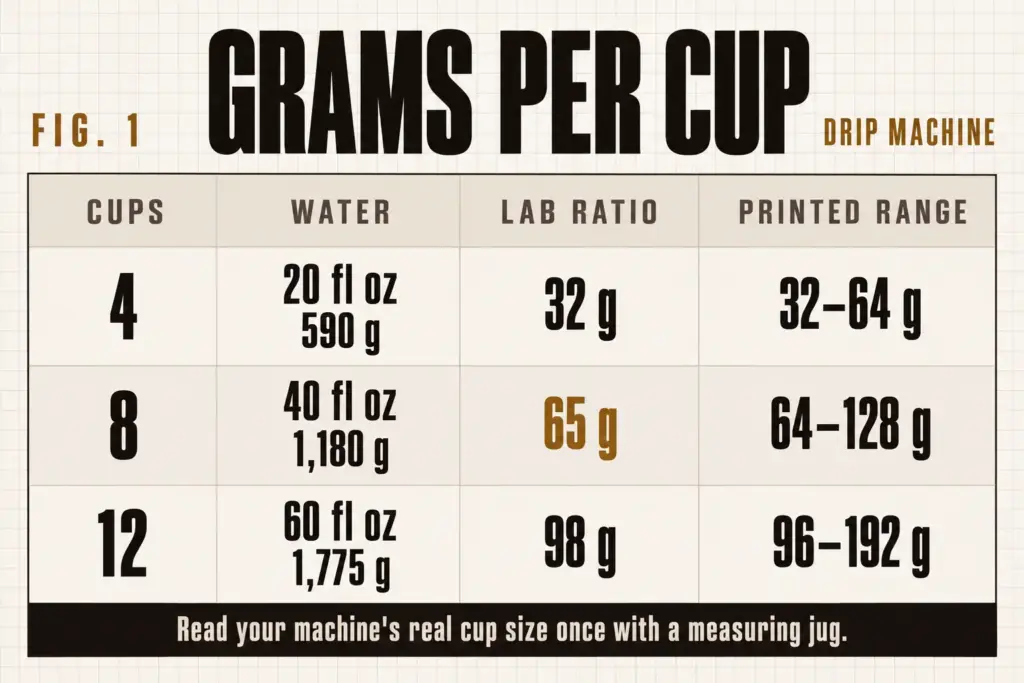
Weighing pays for itself on a full pot. A 12-cup pot holds 60 fluid ounces, about 1,775 g of water, which at the lab ratio wants about 98 g of coffee. If your level scoop weighs 10 g, that is ten scoops; if it weighs 7 g, it is fourteen.
Without a scale you can still start somewhere: spoon the coffee into the paper filter and let the machine’s manual decide the rest. That works as a starting point, but it is not a method.
Grind Medium, Closer to Coarse Sand Than to Flour
The same grams can taste different at two grind settings, so the grind is the second control you own and the machine never chooses it for you. For a first pot there is only one setting to aim at, and it is described in words rather than numbers.
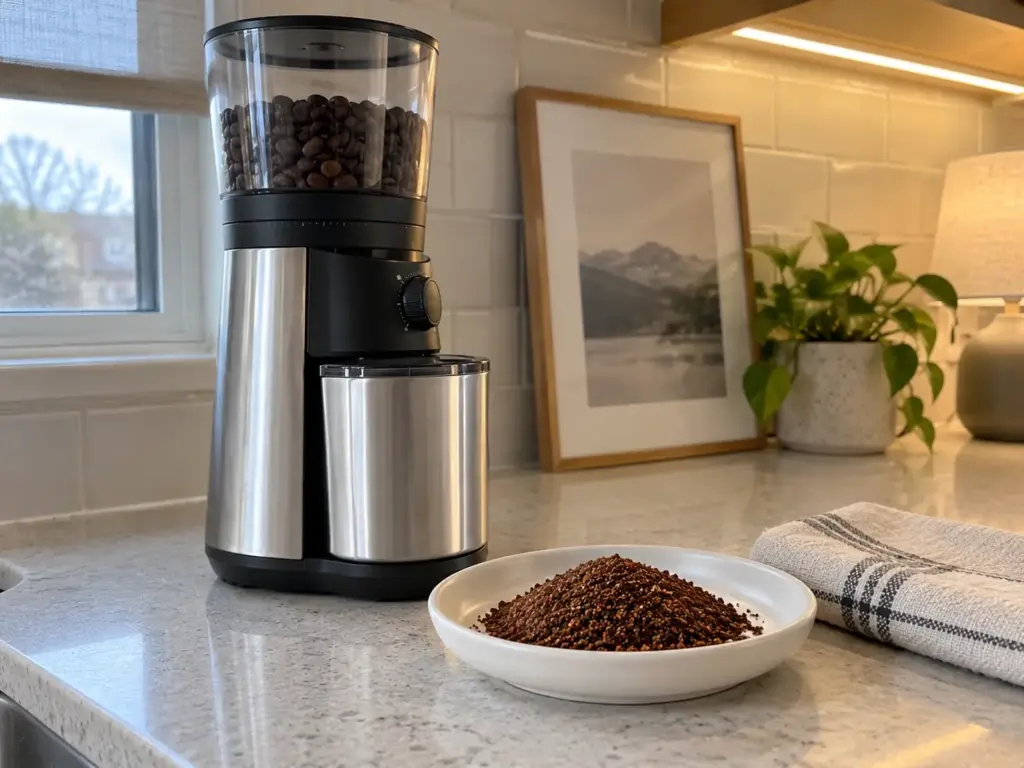
What “medium” looks like on the counter
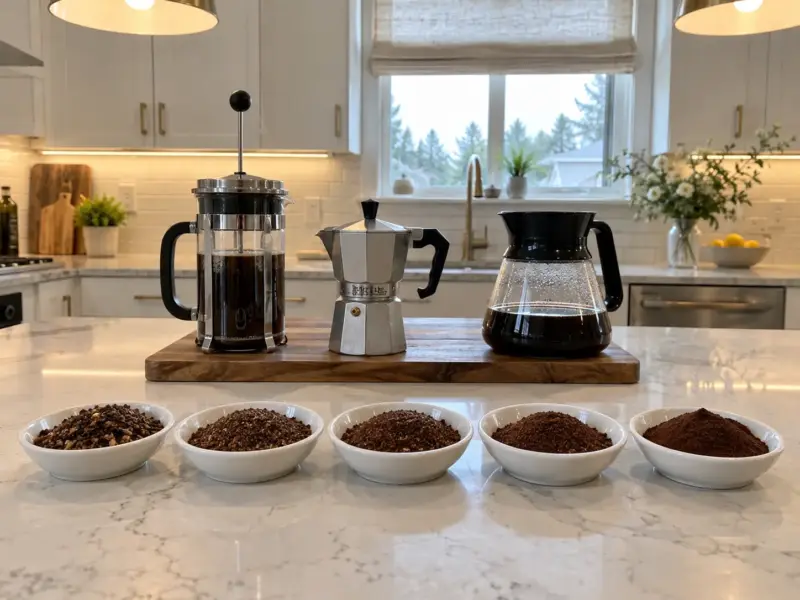
Cuisinart says “For drip brewing, aim for a medium grind with the texture of coarse sand,” and OXO says to grind “into a medium-coarse grind.” Two brands, two words, no numbers, because the number on a dial belongs to your grinder and not to the pot. Rub a pinch between two fingers: it should feel like sand, with grains you can pick out, not like flour that packs into the whorls of your skin. How the grind moves the taste, and which way to adjust it from there, is covered in the grind size for a drip coffee maker, and which way to adjust it.
Cone or flat-bottom, the basket changes the middle
The standard’s lab test makes the difference between baskets concrete. A conical basket is tested with at least 68 percent of the grounds between 425 and 850 µm, and no more than 12 percent above 850 µm. A flat-bottom basket is tested with at least 65 percent between 589 and 1168 µm.
Put plainly, the cone’s middle sits finer than the flat basket’s, so which shape you have matters. For the other methods and the full chart, see the grind size chart in microns.
Burr, blade or pre-ground, and what each does to the same grams
Cuisinart notes that “Using a burr grinder gives more consistent results than a blade grinder.” The reason is mechanical: a blade chops at random and leaves boulders and dust in the same dose, and the boulders under-extract while the dust over-extracts, which is how burr versus blade turns a pot sour and bitter at once. Pre-ground coffee is a medium grind picked by somebody else, and it goes stale faster than the whole bean.
A burr grinder is the obvious pick, but it is not the first purchase. A scale comes before it, because no grinder can fix a dose you spooned by eye. When it is time, the OXO Brew Conical Burr Electric Coffee Bean Grinder has 40 mm stainless conical burrs, 15 grind settings with 43 micro-adjustments and a 12 oz hopper, and OXO’s own brewing guide puts medium-coarse at 6 to 10 on this model.
The OXO has two flaws: the bottom burr cannot be removed for cleaning, and the hopper is not airtight, so beans left in it go stale. A small annoyance is that the cup can creep back and away from the machine while grinding.
A grinder holds some grounds inside, so the first dose after you move the dial still comes out partly at the old setting. Run a few grams through and throw them away before you weigh the dose you are going to brew.
Fit the Filter to the Basket Before the First Pot
A good dose at a good grind still goes wrong if the paper does not sit in the basket, and grounds in the carafe are the one failure people blame on the coffee. Check the fit first, because it costs nothing.
The number on the box is the basket’s size
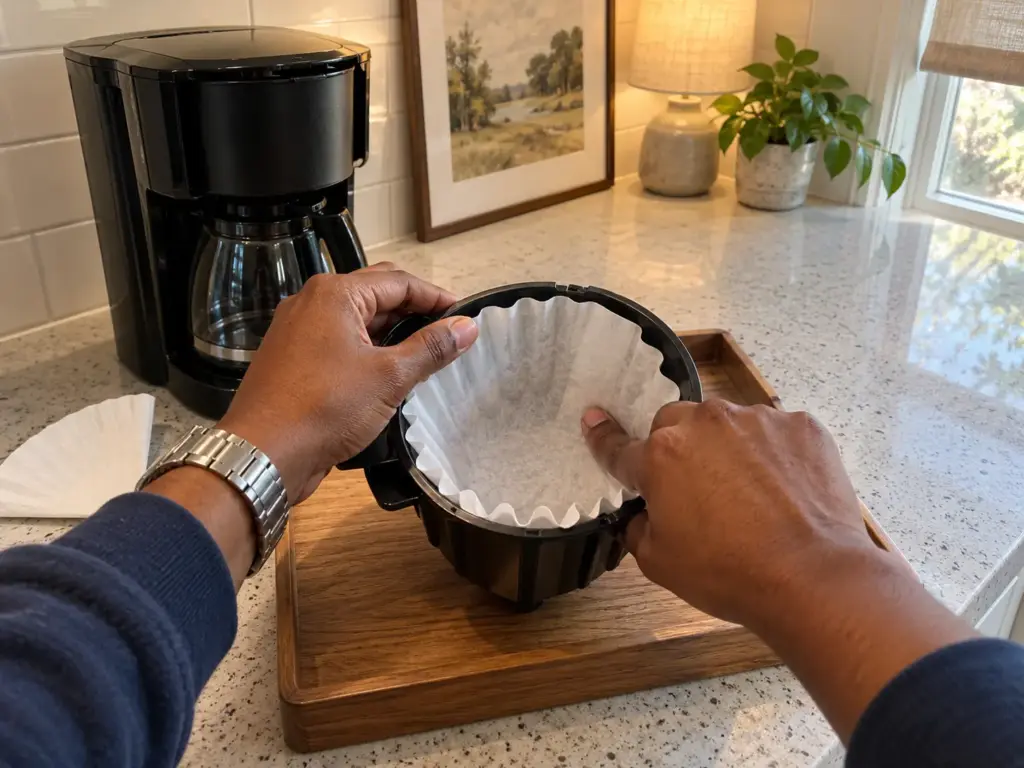
OXO’s guide says to place a cone-shaped paper filter in the basket and numbers the sizes: #1 and #2 for 2- to 4-cup brewers, and “Use a #4 filter for 8- to 12-cup brewers.” The number on the box is the filter size, and it matches the basket, not the number of cups you want to brew. The standard follows the same rule for the two shapes: it tests conical baskets with conical paper and flat-bottom baskets with flat-bottom paper. A reusable filter follows the rule too: it has to fit the basket before the dose matters.
The basket also sets a ceiling on the dose. The standard requires a basket to hold a full pot’s coffee “without overflowing from the basket due to the swelling of the coffee grounds,” and Cuisinart warns that “If too much ground coffee is added to your machine, it may cause an overflow.” More coffee is not more strength once the basket is full.
Open the paper, seat it, wet it if the seam rides up
Open the paper out so it stands in the basket, press it flat against the sides, and fold the sealed seam over so it cannot spring back. If a corner keeps riding up, a quick dampening with tap water makes the paper cling to the basket wall. The picture to avoid is the paper folding back over itself as the water arrives, which lets grounds slip around the edge and into the pot.
Grounds in the carafe: check the fit before the dose
If grounds show up in the pot, put in less coffee next time. That is the right move only if the basket was truly overfull. When the paper is folded, rides up the side or is the wrong size, less coffee just makes a thinner pot with the same silt at the bottom.
So the order is fit first, then dose, then grind. A usual load is a filter about half full, but each machine differs and the manual decides.
Press Start and Leave the Whole Cycle Alone
With the water, dose, grind and filter placed, the machine takes over. The honest instruction here is the shortest one in the article: start it, and do not touch it.
About a minute per cup, counted from the first drip
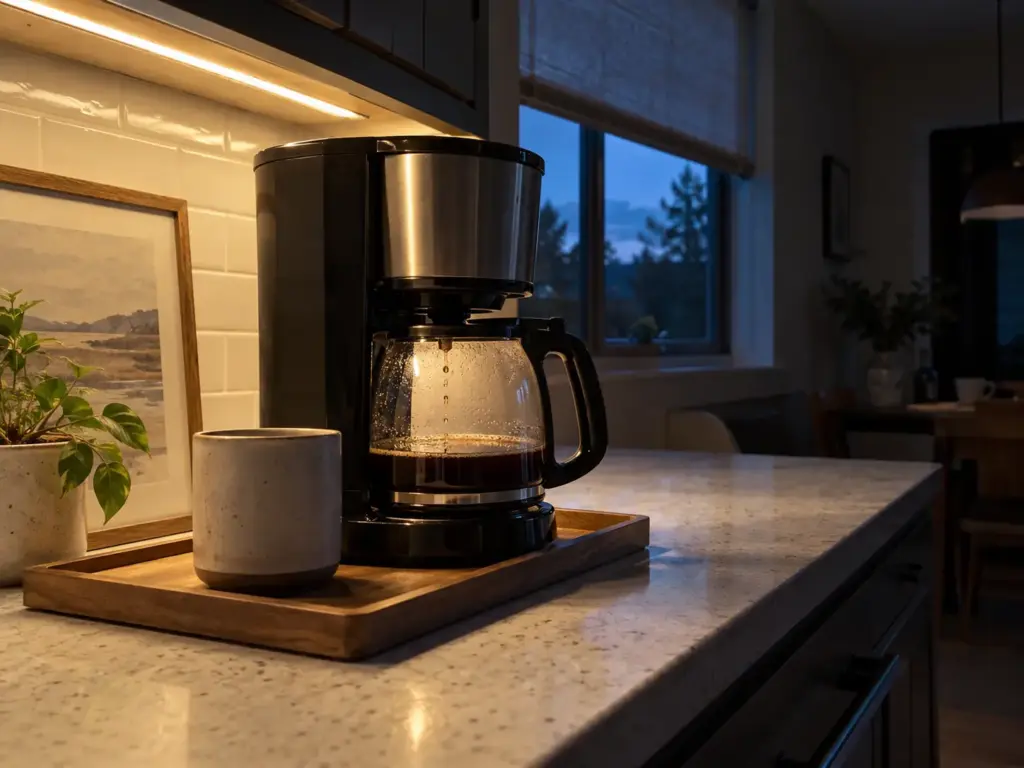
Cuisinart says the brew step “usually takes 1 minute per cup of coffee brewed,” so a 12-cup pot runs close to twelve minutes. That means the pot is judged after the whole brew cycle, not at the first drip, and certainly not by interrupting the brew to lift the carafe for a taste. If you own the Hario scale, its timer can count the cycle. The sign that the pot is finished is the gurgle at the end, when the last of the water has gone through, rather than the first dark stream into the carafe.
Time one full pot with the same weighed dose and write the minutes on the tape from the cup-line check. A pot that takes longer a month from now is the first sign the machine is scaling up, and you only notice it if you wrote down the starting number.
The heat is the machine’s, and the standard says what it should reach
The standard asks the grounds’ slurry to “reach a temperature in the 90 to 96°C range by the moment when 33% of the water mass has been sprayed onto the coffee,” which is 194 to 205°F by the first third of the brew, and to stay there. A pot that runs cool at the start is a heat fault in the machine, and a finer grind will not repair a heat fault. You cannot read the slurry at home, so treat that number as a reference for what a machine promises, not as a task for you.
What a basic machine cannot change
On a basic machine you set no temperature and no brew time. Those belong to the machine, and some models add a temperature, a bloom setting or a programmable start that a basic one lacks. That is the machine’s own flaw, and a first pot that tastes off at a good dose and grind can still be a machine that never gets hot enough. A machine that will not start, drips slowly or sputters is a repair problem, not a first-pot problem.
Take the Pot Off the Warming Plate Within Half an Hour
A pot made right can still be cooked after the brew, by the plate under it. The plate is the one part of the routine that works against the coffee you just made.
What the standard allows the plate to do
For a heated holding receptacle, the standard asks the plate to “maintain the temperature of the coffee in the range of 80 to 85°C during the first thirty (30) minutes of the holding time,” which is 176 to 185°F, and says the coffee must not rise above 85°C “due to a heating element.” Notice what it leaves out: nothing is said about the time after thirty minutes.
After thirty minutes the plate is the problem
So the standard’s own window works as a clock. Past thirty minutes, nothing promises that the plate is still holding coffee in spec, and the hot plate keeps cooking whatever is left in the carafe. The sign is a hint of burnt in the second cup of a pot that has sat there, the point where the plate has taken over from the coffee.
Move it, do not keep it
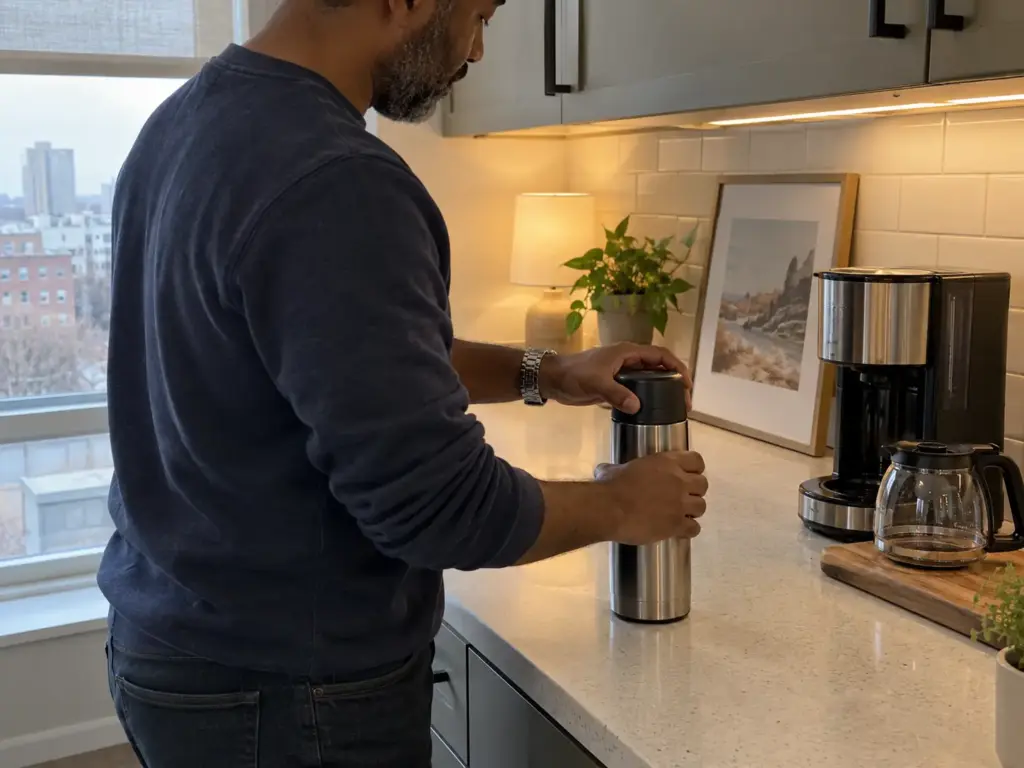
Pour the pot into a preheated flask or into mugs within the half hour. A machine with an insulated carafe has no hot plate at all, and reheating leftovers is a separate question this page does not answer. And if a pot tasted good at first and tastes bad forty minutes later, the grind is not the cause; read the order in the last section before touching the dial.
Swirl hot tap water in the flask while the pot brews and pour it out just before the coffee goes in. A cold flask takes the first few degrees out of the coffee, which defeats the point of moving it off the plate.
Rinse After Every Pot, Descale on Your Water’s Schedule
The machine you use tomorrow is the one you clean today, and the mineral buildup inside it is the slowest change to notice. A daily rinse costs a minute; a descale is the part that depends on your water.
The daily rinse: basket, carafe, lid
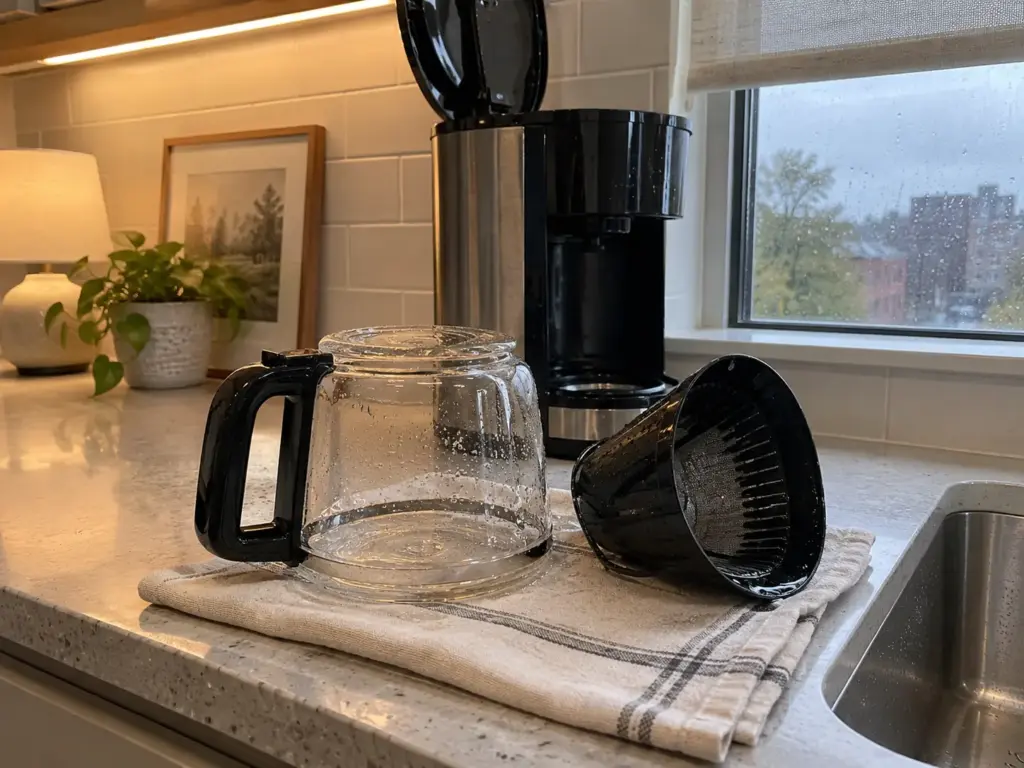
Empty the grounds, rinse the basket, the carafe and the lid with warm, soapy water, and let them dry. OXO’s guide says the same about the carafe and the filter basket, and Cuisinart adds wiping down any spills. None of this changes the first pot, but it keeps old oils from sitting in the next one.
Descale: the interval depends on the water
Cuisinart puts descaling at every few months, and OXO gives no interval at all. A single number cannot be right, because the interval follows your water: the standard’s test band is 50 to 175 ppm of calcium hardness, and a harder tap leaves scale faster. The hardness figure is on the water report from your utility. Watch for the signs instead of a calendar: a pot that takes longer than it used to, a machine that sounds different, a pot that arrives less hot.
What a descale cycle looks like, and why it takes two
OXO has you soak the removable parts in a food-safe descaling solution, run a cycle with the solution, and then run a second, plain-water rinse cycle before you brew. The second cycle exists so that the next pot tastes of coffee and not of the cleaner. The manual names the descaler and the amounts, and the manual is the authority here, not a list on a web page.
When the First Pot Is Off, Change One Thing and Taste Again
Every control now has an owner, so the order of changes can be written down. When a pot is off, resist touching several things at once; a reader who changes three controls cannot tell which one worked.
The order: fit, dose, grind, then the machine
Work down this list, free and likeliest first:
- Fit. If there are grounds in the carafe or the paper folded over, fix the seat of the filter and brew again.
- Dose. Weigh it instead of spooning it, and brew the same grams again.
- Grind. Move one step at a time, and taste after each.
- Machine and water. Descale if it is due, try different water, and take the pot off the plate sooner.
One change, then taste again
A sour or weak pot and a bitter or harsh one point in opposite directions, so read the direction before anything moves. Sour or thin means the water left before it finished, and a step finer on the grind is the first answer; the next cup should taste flatter and less sharp. If it turns bitter, you went one step too far, so come back half a step. How the cup points on that scale is read in how grind size changes the taste from sour to bitter.
Where each failure goes after this page
A coffee that tastes wrong at the same setting in two different weeks is often the bag, not the dial. Stale beans change the cup before any dial does, which is the subject of how to keep coffee beans fresh past week two, and the roast changes where the dial should sit, as explained in light roast against dark roast. A pot that is not hot enough or will not brew is a repair question, and the same goes for a cup that tastes watery for no reason you can find.
The next decisions come in the same order as the routine: a scale first, if you do not own one, then a grinder that gives you the medium setting, and the machine itself last.
A Weighed Pot Tomorrow, and What to Check in a Month
Three habits carry this page. Weigh one level scoop and write the grams down. Fit the paper to the basket before you touch the dose. And take the pot off the plate inside half an hour.
A month from now, check whether the pot still takes about as long to brew as it did when you timed it and still arrives as hot. A slower, cooler pot is the first sign of scale.
Tomorrow morning, change one thing: brew the weighed dose once at your usual grind, and taste it against the pot you used to make by the spoon. If it tastes different, the scoop was the variable all along. If you do not own a scale, that is the first purchase, and the grinder and the machine come after it.
Frequently Asked Questions
01How do you make coffee in a drip coffee maker?
Fill the reservoir with cold water to the line, seat a paper filter that fits the basket, add medium grounds weighed once, and press start. Let the whole cycle finish, then move the pot off the plate.
02What is the ratio of coffee to water in a drip coffee maker?
OXO prints 8 to 16 g of coffee per 5 to 6 ounces of water, depending on the strength you like. The SCA lab ratio is 55 g per kilogram of water, about 1:18. Weigh your dose, taste, and adjust from there.
03How do you use a drip coffee maker with a paper filter?
Match the filter number to the basket, such as OXO’s #4 for 8- to 12-cup machines. Open it, seat it flat against the sides, add the grounds, then close the lid and press start.
04Why are there grounds in my carafe?
Usually the paper did not sit flat, folded over, or the basket overflowed as the grounds swelled. Check the fit before the dose; Cuisinart warns that too much coffee may cause an overflow.
05How long does a drip coffee maker take to brew a pot?
About one minute per cup, according to Cuisinart, so close to twelve minutes for a 12-cup pot. Judge the pot after the last drip and the final gurgle, not at the first stream.


How did your cup turn out?
No comments yet. Tell us what you changed — and whether the needle moved.