


We may earn a commission when you buy through links on this page. It never changes what we recommend. How we pick
On this page10 parts
- What a Coffee to Water Ratio Measures, and Why Weight Wins
- Starting Ratios by Method, From Drip to Pour-Over
- Turning 1:16 Into Grams for the Pot You Own
- Moving the Ratio Up or Down to Taste
- Sour or Bitter? The Ratio Is Not the First Move
- The Spoon Rule, Checked Against a Scale
- Why the Same Scoop Tastes Different by the Fourth Bag
- Why One Golden Number Fails a Single Cup
- Weigh the Scoop Once, Brew 1:16, and Taste
- Frequently Asked Questions
The same two scoops that made a good pot last week come out thin this morning, and the machine gets the blame. Usually the machine is fine: a scoop measures volume, and the bag it came out of has changed in weight, roast or freshness since. So what’s the best coffee to water ratio for a home cup, and how do you hold it still? This guide gives one starting number in grams, what to change for a weak cup versus a sour or bitter one, and what the scoop hides.
Quick Answer
There is no single best ratio, but there is a best place to start: 1:16 by weight, which means 16 g of water for every gram of coffee, or about 15 g of coffee for 8 fluid ounces. Go to 1:15 for a stronger cup and 1:17 for a lighter one, and weigh the coffee instead of scooping it.
What a Coffee to Water Ratio Measures, and Why Weight Wins
Before 1:16 means anything, it has to be a number of something. Here it is a number of grams, and the whole case for weighing starts with why grams hold still and scoops do not.
What the 1 and the 16 stand for
A coffee to water ratio of 1:16 means 16 grams of water for every 1 gram of coffee. Brew 250 g of water over 15.6 g of coffee and you are there. Said aloud it is “16 to 1”, sixteen of water to one of coffee, and it is the same cup.
The numbers move like a fraction does: 1:15 puts a little more coffee in the same water, so the cup is stronger, while 1:17 spreads the coffee thinner and the cup comes out lighter. Most drip and pour-over recipes live between 1:15 and 1:17, and 1:16 sits in the middle of that band, which is what makes it the number to begin with.
Why a scoop is a volume, not an amount
Measuring by volume (a scoop, a spoon, the cup marks) and measuring by weight look like two ways of doing one job, and only one of them holds still. A scoop fills a space, and what fills it changes. A darker roast has lost more mass in the roaster, so the same scoop weighs less, and a fine grind packs tighter than a coarse one. A scoop that was level on Monday is rounded by Thursday because no one checks it, and a rounded tablespoon can run to 7 g where a level one holds 4 to 6.
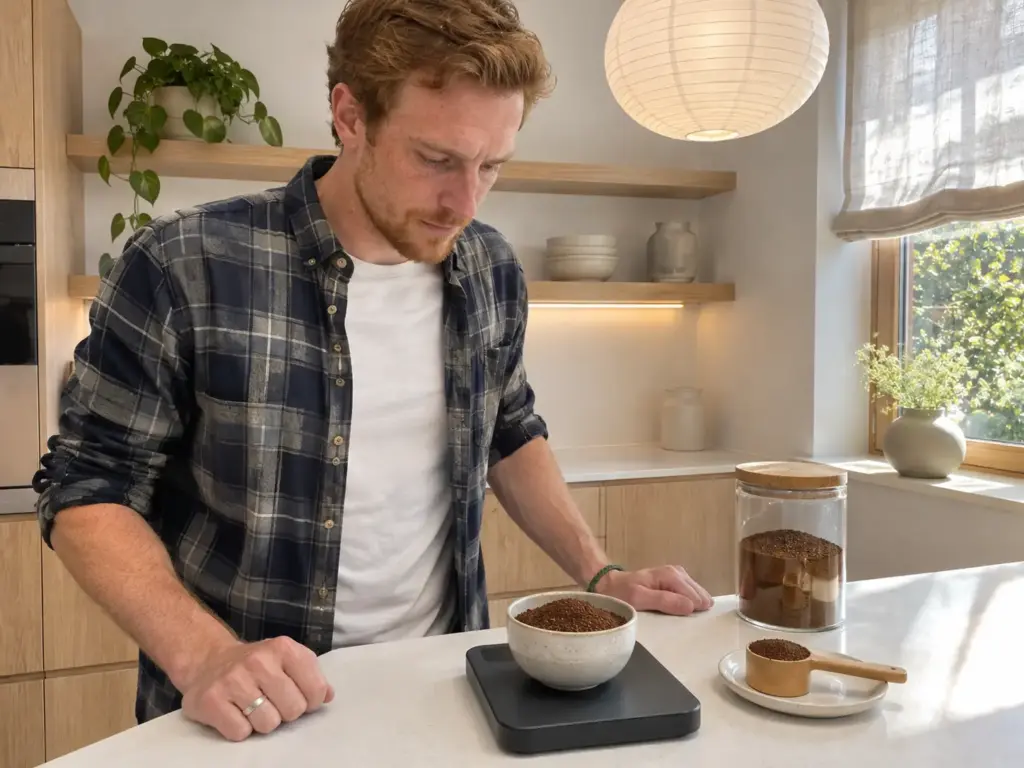
Grams do not drift. Weigh the coffee and 15 g is the same dose in every bag, which is all “weigh it” means in coffee: measure by mass instead of by scoop or by cup.
What “stronger” and “lighter” actually move
The ratio sets how concentrated the cup is, and that is all it sets. Whether the cup tastes sour or bitter depends on how much of the coffee the water pulled out, and that belongs to the grind, the water temperature and the time. A stronger ratio on a sour pot gives a stronger sour pot. Direction is the grind’s job, and a grind size chart by method shows how far each setting sits from its neighbor.
Starting Ratios by Method, From Drip to Pour-Over
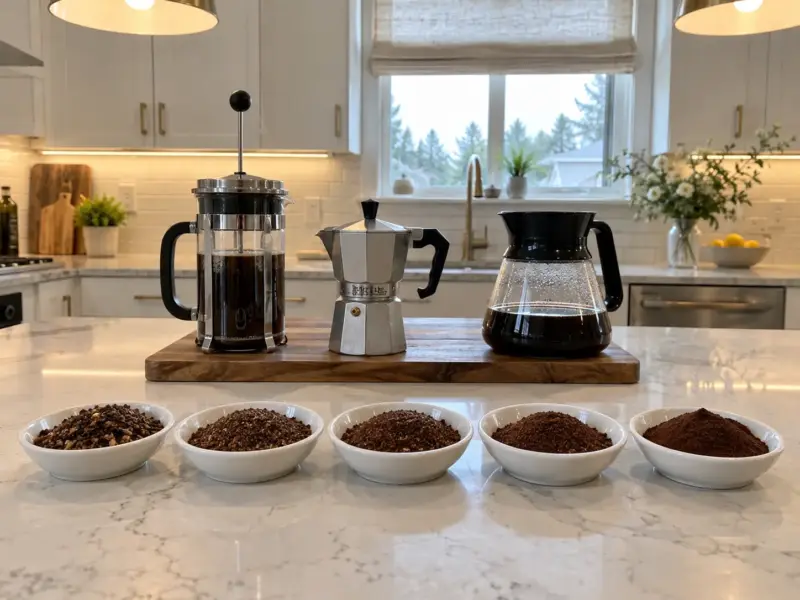
The start number depends on the brewer, because the brewer decides how much each gram of coffee gives up. These are the home starting points for the brewers most kitchens own, followed by three drippers that make a weighed pour easy to practice.
Drip machine and pour-over: the 1:15 to 1:17 band
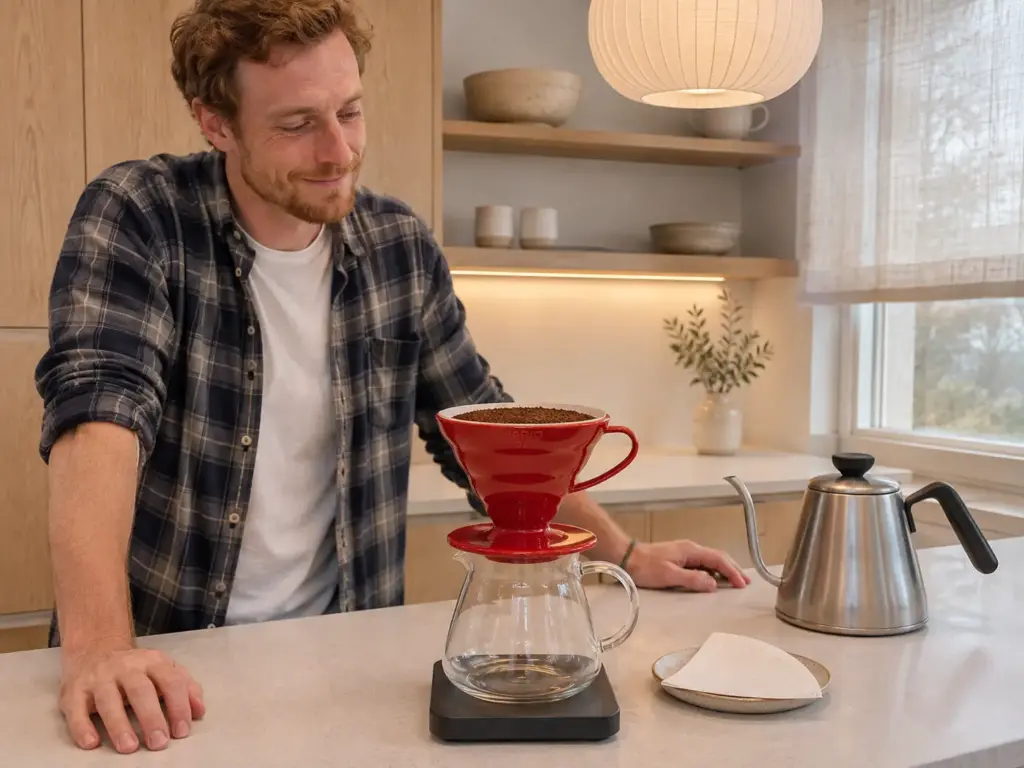
For a drip coffee maker or a pour-over, begin at 1:16 and stay inside 1:15 to 1:17. For a pour-over that is about 16 g of coffee under a 250 g pour, and a small move up or down once the first cup has been tasted. The dose only works if the grind matches the brewer, so look at the grind each dripper wants when you change cones, and at what a drip basket needs to drain if the machine on your counter keeps giving sour pots.
French press: more coffee per water
A press gets coarse grounds and a long steep, and coarse grounds give up less per gram than the medium grind of a drip basket. That is why press recipes are often written a step stronger than drip, and why 1:16 makes a safe first pot rather than a final one: if it tastes thin, move to 1:15 before touching anything else. Fines slip through the mesh and turn the bottom of the cup muddy, so a finer grind does not repair a thin press. A coarse setting for the press is the starting point, and the ratio does the tuning.
Espresso and cold brew: different units, a pointer only
The espresso ratio is another kind of number altogether: grams of dry coffee in against grams of liquid out in the cup, so it is measured on the far side of the machine and the numbers above do not apply to it. Cold brew concentrate is a different animal too, and recipes for it differ widely in how much coffee goes into the water. Follow the recipe you are using, and weigh it the same way.
Three drippers, one weighed pour
Start with the free fix: a weighed 1:16 on whatever you already own, whether that is a drip machine, a press or a cone borrowed from a cupboard. A new dripper only makes sense once that habit exists, and the three below differ in how they shape the bed of coffee, not in the ratio they want. Whichever you pick, rinse the paper filter with hot water before the coffee goes in; an unrinsed one leaves the cup tasting faintly of paper, which has nothing to do with the dose.
The cheapest way to practice a weighed pour is the Hario V60 Plastic Coffee Dripper, Size 02, Red, a plastic cone with spiral ridges and a single large hole that brews one to four cups. That hole is also the weak point: Amazon’s summary of the listing flags it as too large, so water leaves quickly and a hasty pour drains before the coffee has given up what it should. Pour slowly and the cone does its job.
A flat bed spreads the water more evenly than a cone does, and the Kalita Wave 185S Stainless Steel Dripper is the flat-bed option here, with three small holes, a stainless shell and a weighed recipe that works exactly the same. It takes only Wave 185 filters and brews two to four cups. The listing’s summary calls the size a mixed point (some find it smaller than expected) and is divided on whether it is worth what it asks.
For a pot’s worth, still weighed, there is the CHEMEX Classic 6-Cup: borosilicate glass and six cups at five ounces each, so about 30 ounces of water and roughly 55 g of coffee at 1:16. What it asks of you is a thicker, bonded paper filter that no other dripper here uses, and the listing arrives with a supply of them. Those filters are part of the running cost of the habit.
Turning 1:16 Into Grams for the Pot You Own
A ratio helps only once it is a number of grams on the counter, and the cup marks on a carafe are the first thing in the way. The arithmetic is one division; the marks deserve a little suspicion.

Ounces to grams, then divide
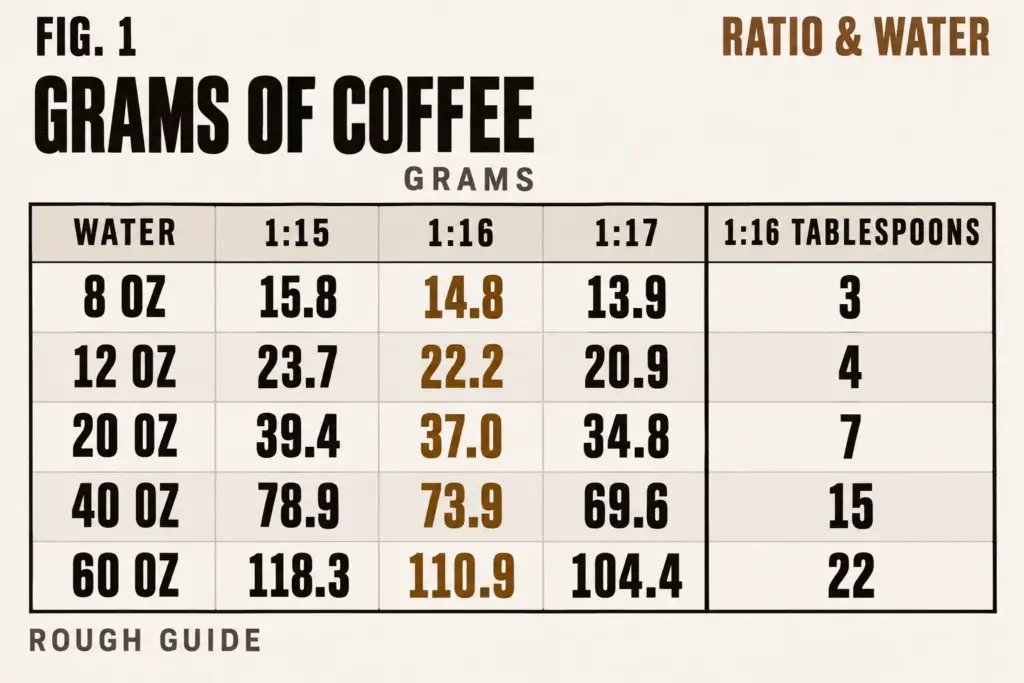
One fluid ounce of water weighs about 29.6 g. Multiply the ounces you want to brew by 29.6, then divide by 16. Eight fluid ounces is about 237 g of water, and at 1:16 that needs about 15 g of coffee. A 10-ounce mug for one is about 296 g of water and 18 to 19 g of coffee, and the same sum applies to dosing for a single mug in a small machine.
A full 60-ounce pot is about 1,776 g of water, which at 1:16 comes to about 111 g of coffee, more than most people would guess from the size of the scoop.
Why the carafe’s cups are not your cups
A US cup is 8 fluid ounces, but a drip machine’s cup is a smaller measure, closer to 5 or 6 ounces. Twelve cups at 5 ounces is 60 ounces, the pot above, and it fills about seven 8-ounce mugs once the grounds have kept their share. The glass can look nearly empty by the second mug, and the machine gets blamed for a label. Count ounces of water, not cups on the carafe; counting ounces on a big pot goes through the same sum for larger machines.
Put the empty carafe on the scale, zero it, and pour the water in by weight. A milliliter of water weighs a gram, so the scale replaces the measuring cup and the cup marks at once, and the coffee dose follows from the same display.
The grounds drink some of the water
Dry grounds hold on to water, so the pot never gives back everything that went in: pour 60 ounces and the carafe ends up short of 60. If you want a specific number of mugs, brew for the mugs plus the water the grounds keep. That same dose in grams also tells you how many pots a bag makes at this ratio.
Moving the Ratio Up or Down to Taste
The start is 1:16, and the first cup will still not suit everyone who drinks it. The adjustment is small, it goes in a single direction, and the free fix always comes before a purchase.

One step, one cup, then taste again
The step is about a gram. On a 16 g dose, moving to 1:15 or 1:17 means adding or removing a single gram of coffee, nowhere near a whole scoop, and the grind, the water and the brewer stay exactly as they were that morning. Taste the result before deciding on a second move. A lower second number makes a stronger cup; a higher one makes it lighter.
Weak or watery: add coffee, not a new machine
A weak cup is the one complaint that belongs to the ratio. Add a gram or two of coffee to the same water and brew again, and the cup should come out fuller and more filling without tasting any sourer or more bitter than before. If it overshoots into harsh, you went a step too far; come back half of it.
Once coffee has been added and the cup is still thin, strength can also come from the grind, up to the point where the water can no longer get through, and the finest setting that still drains is the ceiling. A scale changes more cups than a new machine does, and a weak pot almost never needs the machine.
Too strong: add water, not less time
A cup that is too strong goes to more water or a slightly smaller dose. Cutting the brew time changes how much the water pulls out of the coffee, which is another dial, and a pot that tasted heavy and harsh comes back heavy and sour.
Pour a second mug from the same pot and add a splash of hot water to one of them. Tasting the two together shows where too strong ends before you change tomorrow’s dose, and if the splash fixed it, water was the right move.
Sour or Bitter? The Ratio Is Not the First Move
Everything so far fixes strength. A sour or a bitter cup is a different complaint, and turning the ratio on it leaves the cup just as sour, only thinner.
Why sour and bitter are not strength problems
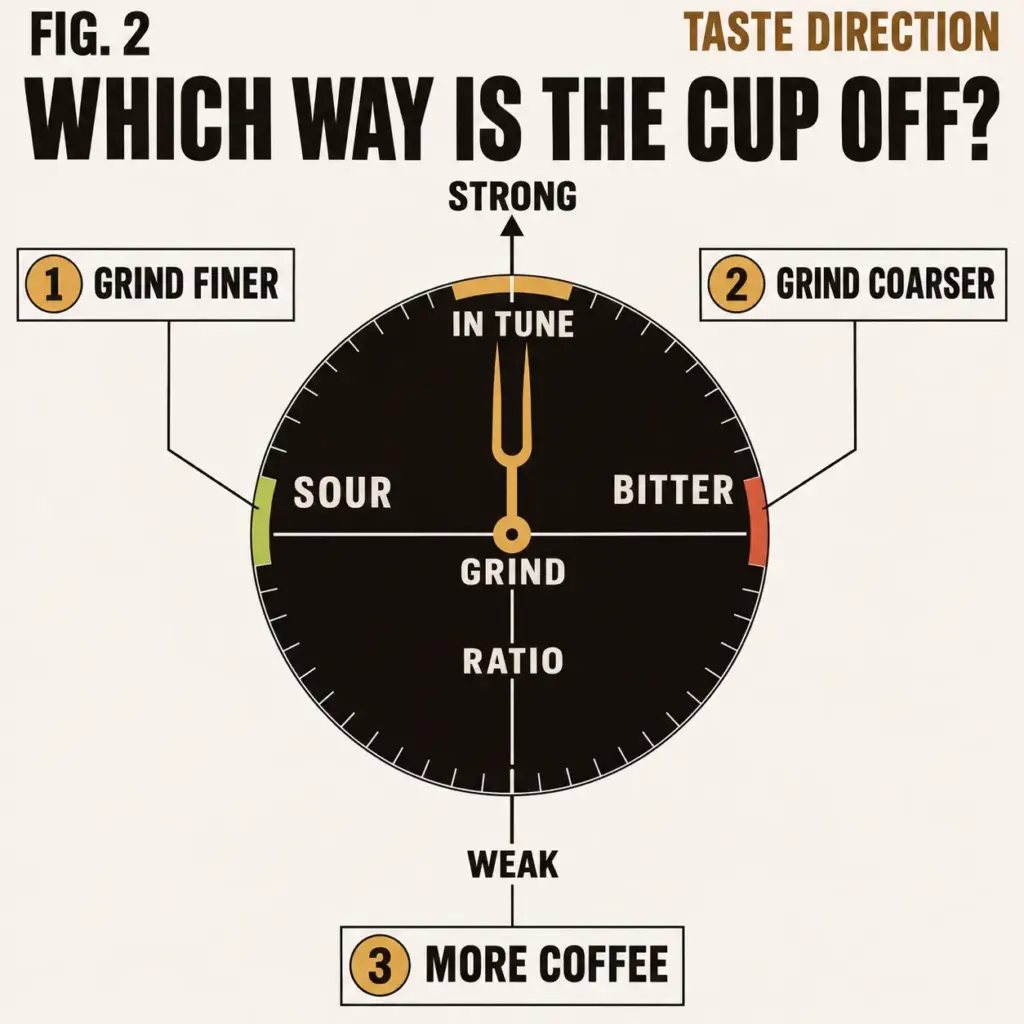
Strength is how much coffee is dissolved in the cup. Sour and bitter describe what was dissolved. Water pulls out the bright, sharp compounds first and the heavy, drying ones later, so a brew that stops early leaves the cup sour (grounds too coarse, water too cool, time too short), and one that runs too long or too fine goes bitter.
The rule that holds at the counter: sour, grind finer; bitter, grind coarser; weak, more coffee. Weak is the ratio’s complaint. Sour and bitter go to the grind first and to the ratio second, and how grind size moves the taste from sour to bitter is the place to see how far each setting shifts the cup.
Sour: grind finer first
Sour means the water left before it finished. Go one setting finer and brew the same dose in the same water. The next cup should come out rounder and less sharp. If it turns dry at the back of the tongue, you passed the mark; return half a step.
A grinder keeps some grounds inside, so the first dose after a change still comes out partly at the old setting. Judge the new setting on the second pot, or you will be tasting the old one.
If finer does not fix it, the water is the next suspect. A drip machine that never gets hot enough under-extracts whatever you feed it, whether the water is tap water or filtered water. A good ratio can still give sour cups there, and no dose repairs that.
Bitter: grind coarser first
Bitter points the other way, toward over-extraction: the water stayed too long or pulled too much. Go one setting coarser, and the cup should lose its dry, ashy finish and gain some sweetness. If it slides into thin and sharp, you overshot. A blade grinder makes this harder, because it produces boulders and dust at once, so the cup comes out sour and bitter together and no single setting fixes both.
When the ratio is the right answer after all
Once the grind has put the cup in balance and it is still too thin or too heavy, the ratio is the next dial. Balanced but watery: add coffee. Balanced but heavy-handed: add water. Grind for direction first, ratio for strength second; do it the other way round and you wander between the two without learning which one did the work.
The Spoon Rule, Checked Against a Scale
Most kitchens measure with a spoon, and a spoon rule often disagrees with the ratio sitting beside it. The arithmetic takes two lines, and the result is the best argument for a scale.

What a level tablespoon holds
A level tablespoon of ground coffee weighs roughly 4 to 6 g, and a rounded one can reach 7 g or more. Two tablespoons, the usual scoop, therefore land anywhere from about 8 to 14 g depending on the spoon and the heap.
The spoon rule, in grams
Take the familiar rule of one level tablespoon for every 4 fluid ounces of water. Four ounces of water is about 118 g. With 4 to 6 g in the spoon, that works out to 1:20 to 1:30, a long way weaker than the 1:16 start. In plain terms it uses anywhere from a quarter more water to nearly double the water of a 1:16 cup, and the pot tastes watered without anyone having done anything wrong.
Weigh one scoop once on a kitchen scale, write the grams on the canister, and use the grams from then on. A rounded tablespoon is a fair stop-gap until a scale arrives.
The scale that replaces the spoon
If there is already a kitchen scale in a drawer that reads whole grams, that is the free fix (a coffee scale only adds a timer), and running a drip machine in grams instead of scoops carries the same shift to the machine already on your counter. A scale needs buying only when none exists.
The Hario Drip Scale Timer adds what a slow pour-over wants: a built-in timer for the bloom (the short first pour that lets fresh coffee release its gas) and for the pour after it, with 0.1 g steps. Two things count against it. Its durability rates mixed to negative on the listing, with breakage inside six months the repeated complaint, and it is slow to respond, about five seconds of lag at power-on. It also switches itself off after five minutes, so a long weigh-and-wait has to be woken up and re-zeroed.
The cheaper way to get grams is the Etekcity Food Kitchen Scale, which shows grams in single-gram steps and has a tare button but no timer. Accuracy and reliability both come out mixed on the listing, and the batteries drain quickly. Single-gram steps are also coarse for a small dose: on 15 g of coffee one step is about the size of the move from 1:16 to 1:15, so the scale cannot resolve the very adjustment this guide keeps recommending. For a full pot the coarseness stops mattering.
Why the Same Scoop Tastes Different by the Fourth Bag
A ratio that worked on the first bag does not always work on the fourth, and the cup starts to look like a machine fault. Nothing has broken; the scoop is measuring something that changed.
A darker roast weighs less per scoop
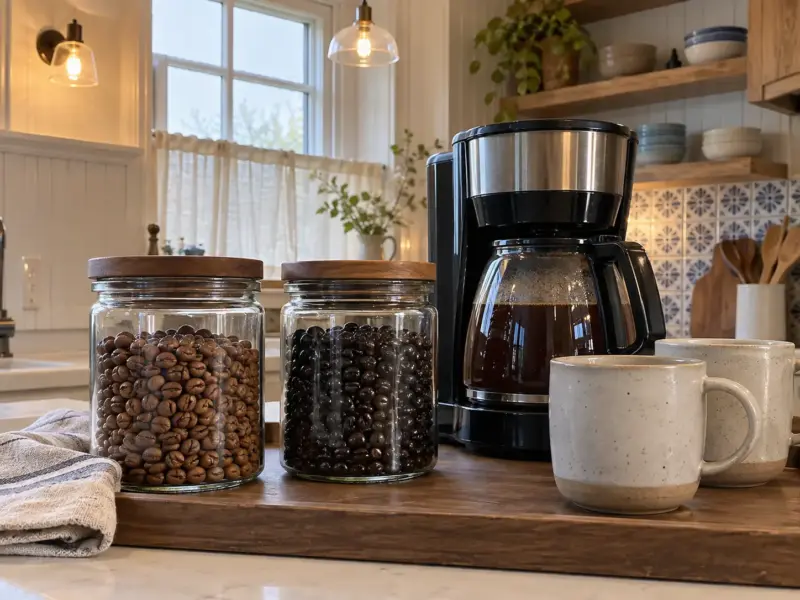
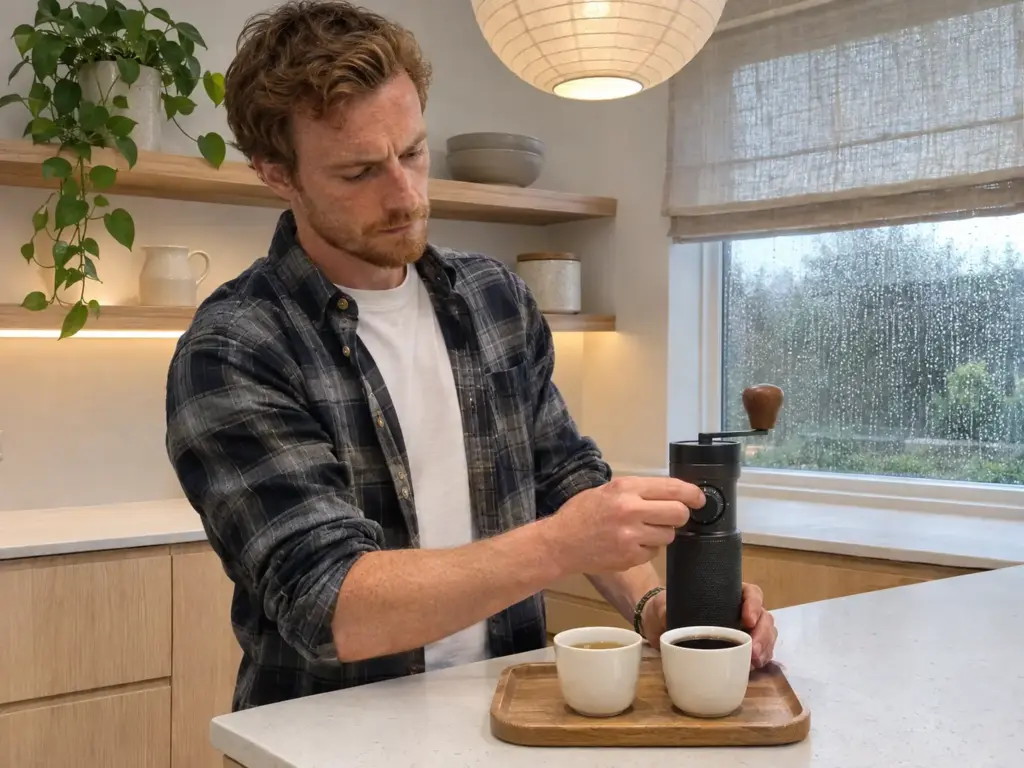
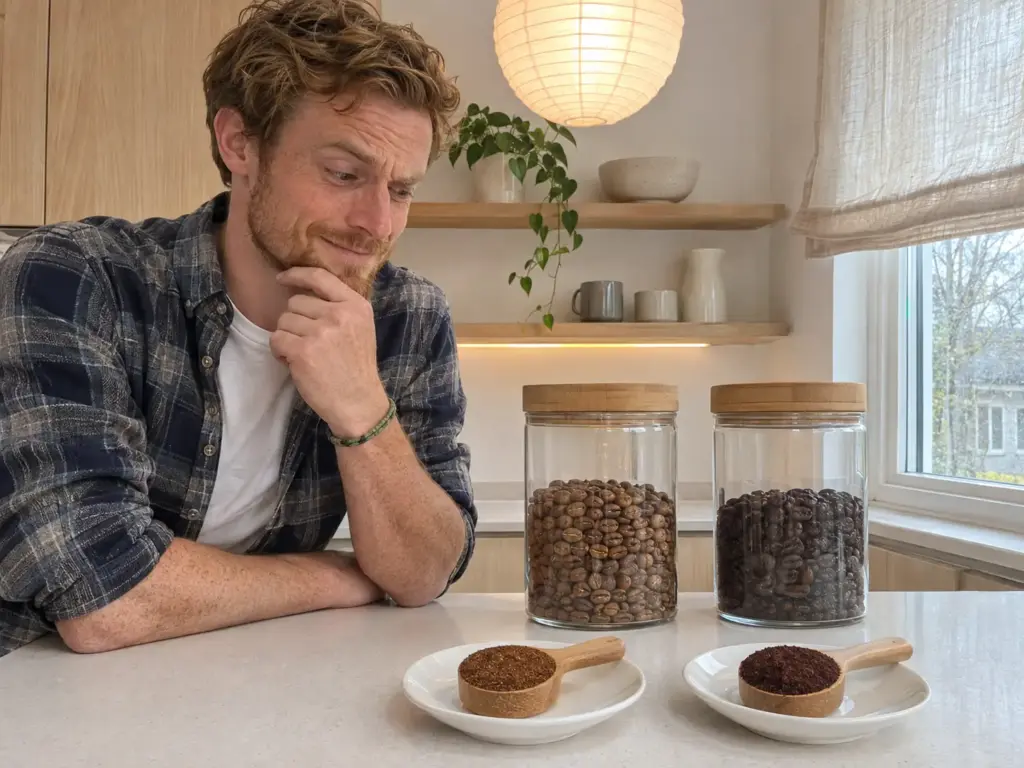
Roasting drives off water and mass, and the darker the roast the more of both is gone. A scoop of dark roast therefore weighs less than the same scoop of a light one, so the same spoon is a different dose, and a pot that was right on a medium roast comes out thin on a darker bag without anything else having moved. Dosing by weight when the roast changes takes the guesswork out of that swap.
Freshness and grind drift together
Beans age. A bag opened weeks ago releases less gas and brews differently from one of fresh beans, and a grinder’s setting stops meaning the same particle once the burrs begin to dull. The ratio gets blamed for what the grind did. Why one roast goes sour and another harsh helps separate the two when a new bag tastes different from the last.
Re-weigh one scoop when the bag changes
When a new bag goes into the canister, weigh one level scoop and write the number down. That single weighing resets the dose for the new bag. If the bag changed, weigh the scoop and leave the ratio and the grind alone that morning, or you will not know which of the two moved the cup.
Weigh three level scoops and use the average, because the heap varies more than the scale does. Put the result and the roast on a strip of tape on the canister, and the next refill starts from a known number.
Why One Golden Number Fails a Single Cup
A single golden number is comforting, and it is why you stop trusting a ratio at the first cup that disagrees with it. A shared reference can point at the right zone; it cannot taste your cup.

What the brewing chart shows, and what it leaves out
According to the SCA’s brewing chart article, “The classic Coffee Brewing Control Chart is the main focus of the SCA Brewing Handbook and corresponding classes on coffee brewing offered by the SCA.” The chart has TDS (the strength of the cup) and extraction yield on its two axes, and the same article says the two are linked by the brew ratio, how much water you use per mass of coffee. So the chart turns strength and extraction into a ratio; it does not hand out one ratio for every cup.
The article’s own aim is a replacement chart, and it lists what the classic one gets wrong. It splits taste into nine rectangular zones that suggest small changes in brewing mean large shifts in what you taste, and it leaves out most of the flavors coffee can show.
1:18 is the thin end of the usual band
The number often called the golden ratio is 1:18. It sits one step beyond the 1:15 to 1:17 band used throughout this guide, at its thin end, and it suits a slow pour of a light roast. On a dark-roast drip it thins out, and a pot made at 1:18 can disappear into a mug of milk. The same limit applies to 1:16: it is a start and a convention, and the cup has the last word.
The scale comes first, then the ratio for your method
The scale is the step that makes every number in this guide usable, and after it comes the ratio for your own method, whether that is a cone, a press or an espresso machine, each with its own units. If a weighed 1:16 still comes out sour after the grind has moved, the weak link may be a machine that runs cool, and drip machines that keep the carafe hot are sorted with exactly that in mind.
Weigh the Scoop Once, Brew 1:16, and Taste
Weigh the coffee instead of scooping it. Start at 1:16 and shift by about a gram, never more. Send a sour or bitter cup to the grind first, and a weak one to the ratio.
When a different roast or a new bag arrives, weigh the scoop again, and pay attention to the first pot of each of the next three bags: if the number still holds across them, it is yours.
Tomorrow’s first move is small. Weigh one level scoop, write the grams on the canister, then brew at 1:16 and taste. If the cup is thin, go to 1:15; if it is sharp and sour, grind one setting finer; if it is dry and bitter, one setting coarser.
Frequently Asked Questions
01What’s a good coffee to water ratio?
A good starting ratio is 1:16 by weight, which means 16 g of water for every gram of coffee. Use 1:15 for a stronger cup and 1:17 for a lighter one. Taste decides from there.
02How much coffee for 8 oz of water?
Use about 15 g of coffee for 8 fluid ounces of water at 1:16, since 8 ounces of water weighs about 237 g. That is about 3 level tablespoons if a spoon is all you have, though a scale gives a steadier dose.
03How much coffee for 20 cups of water?
It depends on the size of the cup. At 8 fluid ounces a cup that is 160 ounces of water and about 295 g of coffee at 1:16, and at a 5-ounce brewer cup it is about 185 g. Count ounces of water, not cup marks.
04How many coffee grounds should I use for 4 cups of water?
At a 6-ounce cup, 4 cups is 24 ounces of water and about 44 g of coffee at 1:16. At 8-ounce mugs it is about 59 g. Read the ounces on the carafe rather than the cup marks, and weigh the coffee.
05Does the ratio change with the roast or the grind?
The ratio stays a starting point, but a scoop does not: a darker roast weighs less per scoop, so weigh it. A sour or bitter cup is a grind or water temperature question first, and the ratio comes second.


How did your cup turn out?
No comments yet. Tell us what you changed — and whether the needle moved.