
We may earn a commission when you buy through links on this page. It never changes what we recommend. How we pick
On this page8 parts
- Start With the Water, Then Divide by 16
- A Drip Machine's Cup Is Not a Mug
- The Spoon Count for Each Brewer
- Sour or Bitter? Move Half a Spoon
- The Same Spoon Holds a Different Weight Next Month
- When a Spoon Stops Being Enough, and What a Scale Costs
- The Spoon Count Worth Writing on the Canister
- Frequently Asked Questions
The scale is in a drawer with dead batteries, or it never existed, or it stayed in a suitcase three states away, and meanwhile the bag is open beside a filled machine with only a tablespoon, a mug and the printed lines on the carafe to work with. Learning how to measure coffee without a scale comes down to repeatability more than accuracy: a spoon reads volume, a scale reads weight, and the same coffee weighs a different amount per spoon depending on the bean, the roast and the grind. A spoon is therefore only as good as the routine around it. Everything below runs on one chain: water first, divide by the ratio, count level spoons, then steer the cup half a spoon at a time, with the arithmetic, the real size of a machine’s cup, the count for each brewer, the drift between bags and the point where a scale starts paying for itself all covered in that order.
Quick Answer
Eight fluid ounces of water weighs about 240 g, which at 1:16 calls for 15 g of coffee, or about 3 level tablespoons.
- Measure the water first, in fluid ounces (one is about 30 g).
- Divide the water’s grams by 16 to get grams of coffee.
- Divide those grams by 5 to count level tablespoons.
- Level every spoon with a straight edge, using the same spoon daily.
- Adjust by half a spoon, and re-check whenever a new bag is opened.
Start With the Water, Then Divide by 16
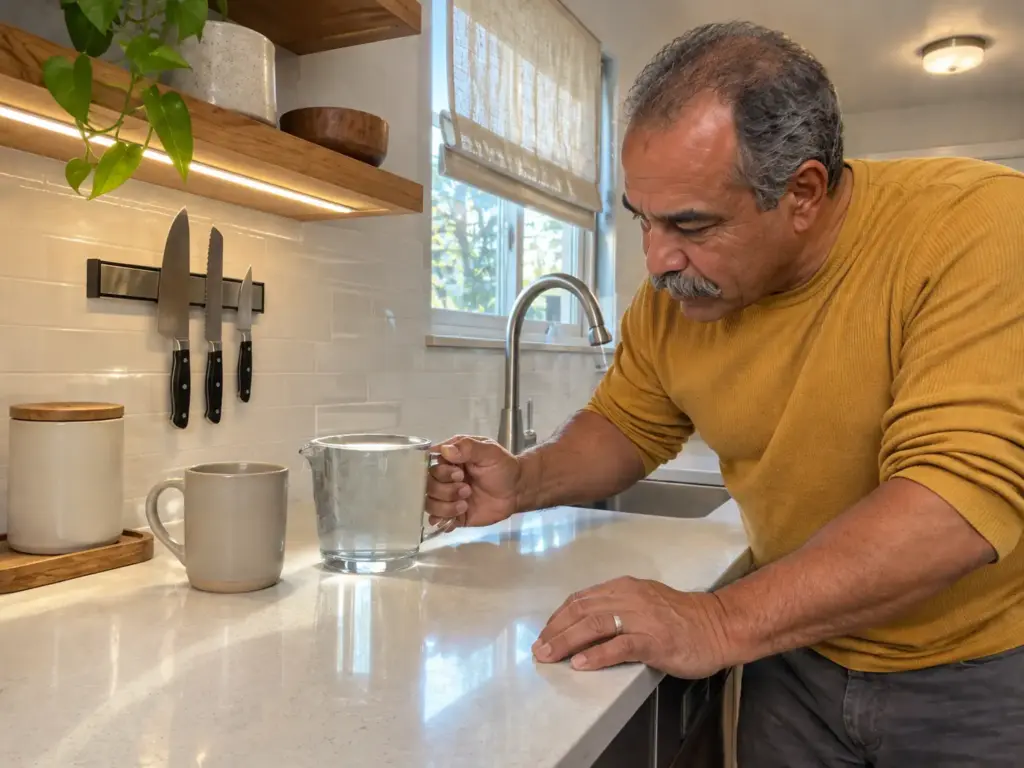
Every spoon count worth trusting is the same short sum written in tablespoons, so the sum comes first and the spoon second. The number to lock down first is the water, since it is the only thing on the counter whose weight is already known: a milliliter of it is a gram, so converting ml to grams is a one-to-one swap and a 250 ml measuring cup holds about 250 g.
What the water weighs
A US cup is 8 fluid ounces, and 8 fluid ounces of water weighs about 240 g, which puts one fluid ounce at about 30 g. That is unit arithmetic, and it holds in any kitchen. The mug is the part that varies: a mug is whatever the potter made it, and plenty of them take 10 or 12 fluid ounces when filled to the brim. Pour a mug full from a measuring cup once, read the number, and use that number from then on.
A spoon from the cutlery drawer is a different animal from a measuring spoon. A true tablespoon holds half a fluid ounce, so 16 level spoons of water should fill an 8 fluid ounce mug exactly; if the drawer spoon needs 14 or 19, it runs large or small, and it should be the only spoon used for coffee from now on.
Divide by the ratio
A coffee to water ratio is grams of water to grams of coffee, and to divide by ratio is the whole job. At 1:16, 240 g of water takes 15 g of coffee, and a 12 fluid ounce mug (about 360 g) takes 22.5 g. The window that brewing advice covers runs from about 1:15 to 1:18, and 1:16 sits in the middle of it; why 16 to 1 is the working middle is argued on the ratio page, so this one only borrows the number.
A ratio is a convention, and the trade’s reference for conventions is the Specialty Coffee Association. According to the Specialty Coffee Association’s standards page, “SCA Standards create a shared framework for quality, consistency, and best practices across the coffee industry.” As of November 2026 the association lists its home-brewing standard for members only, so a ratio printed in a blog is a summary of a document most readers cannot open. Treat 1:16 as the place to start and the cup as the referee.
Turn the grams into spoons
A level tablespoon of ground coffee holds about 5 g, so 15 g is about 3 level tablespoons and 22.5 g about 4½. The table runs the same sum for four common sizes, from a 6 oz cup to a 16 oz mug with the 8 oz cup in the middle, every cell worked from the two formulas above: water grams divided by 16, then coffee grams divided by 5.
| Mug size | Water | Coffee at 1:16 | Level tablespoons |
|---|---|---|---|
| 6 fl oz | about 180 g | about 11 g | about 2¼ |
| 8 fl oz | about 240 g | 15 g | about 3 |
| 12 fl oz | about 360 g | about 22.5 g | about 4½ |
| 16 fl oz | about 480 g | 30 g | about 6 |
The 5 g is a working average. The first week of use is when the spoon starts to disagree with the table, and a later section takes that apart.
A scoop is two spoons
A standard coffee scoop is about two tablespoons, roughly 10 g. The common box instruction of one scoop to 6 fluid ounces of water (about 180 g) works out to roughly 1:18, the light end of the window, which is why a pot made strictly by the box can taste thin even when every scoop is level. Scoop capacity varies with the maker, and what the scoop in the box actually holds gets its own page.
A Drip Machine’s Cup Is Not a Mug
The arithmetic above is written in mugs, while the machine is written in cups of a different size, and the two share a counter without matching. Getting the water right comes down to reading the carafe.
Why a “12-cup” pot is not 12 mugs
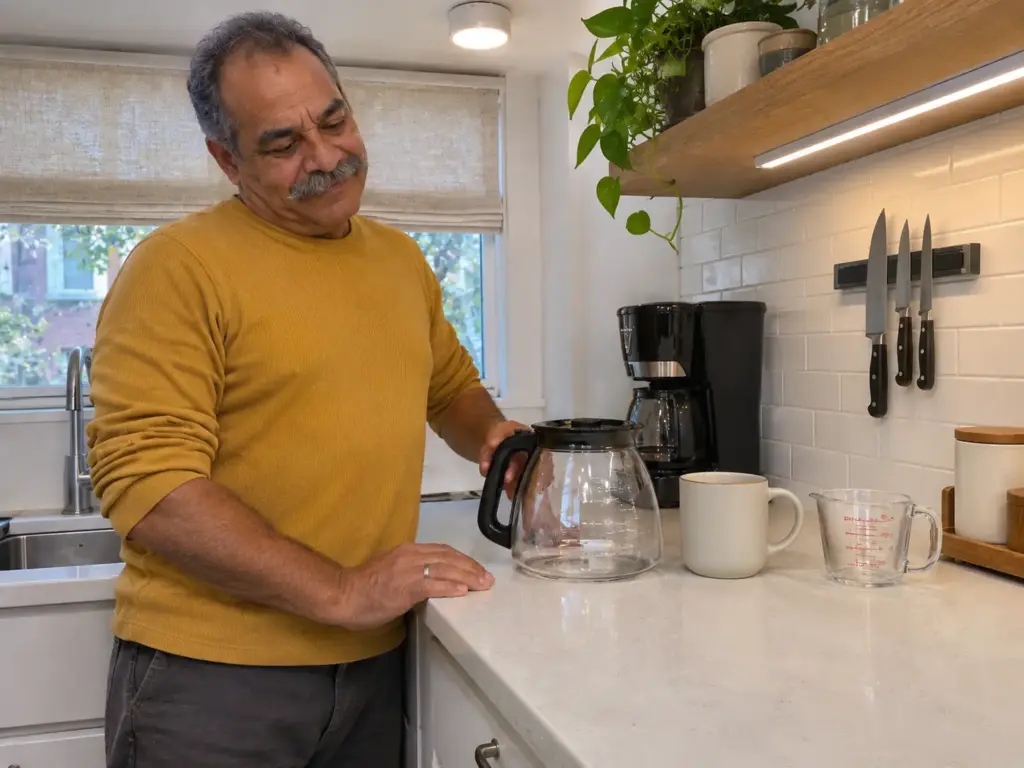
On many a drip coffee maker the “cup” on the box is a machine cup of 5 to 6 fluid ounces, well short of an 8 oz cup. A 12-cup coffee maker therefore holds about 60 fluid ounces, where twelve mugs would need 96, and the habit of counting ounces on the carafe, not cups on the box matters most on the biggest machines, where the gap is widest. The carafe markings differ from brand to brand, and the box’s number says nothing reliable about them, so the carafe’s own lines are the reference.
Read the carafe, not the box
Fill the reservoir to the line, then count spoons for the ounces the carafe marks, not for the number of cups on the label. Take 30 fluid ounces: that is about 900 g of water, which at 1:16 needs about 56 g of coffee, or about 11 level tablespoons at 5 g each. The same pot is worked out by weight for a six-cup pot for the day a scale turns up.
The marks belong to the carafe that shipped with the machine. A replacement carafe or a thermal one may print a different scale, so pour in a measured mug of water once, see which line it reaches, and write that number on a strip of tape at the line.
One mug against a full pot
A single mug brewed in a machine made for a full pot spreads a thin bed of grounds across the basket, and a thin bed under-extracts easily. If a one-mug cup comes out sour, read it with the direction rules further down before blaming the coffee. A household that lives on one mug at a time is better served by a drip machine that does not waste a pot.
The Spoon Count for Each Brewer
The same coffee wants a different amount of water in every brewer, so the spoon count changes with the method. What stays fixed is the order: water first, then the spoons, level every time.
The step-by-step for one mug
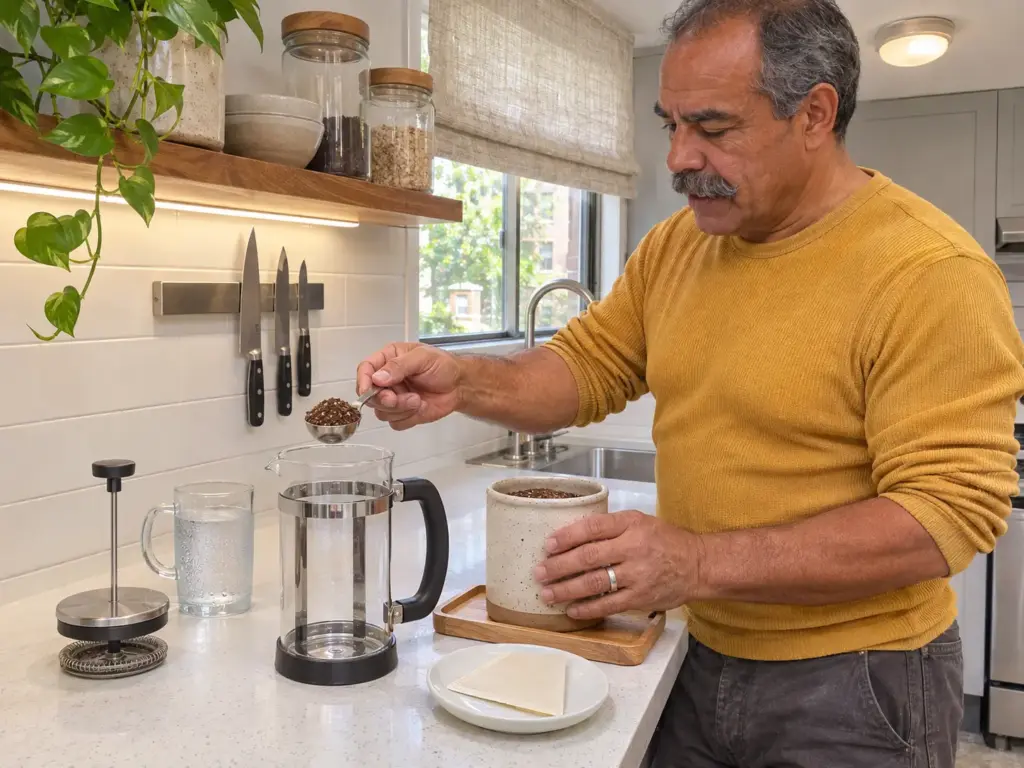
- Measure the water: pour a mug of it into the brewer’s vessel or a measuring cup and note the fluid ounces.
- Work out the grams: ounces times 30, divided by the ratio for that brewer.
- Count the level spoons: grams divided by 5.
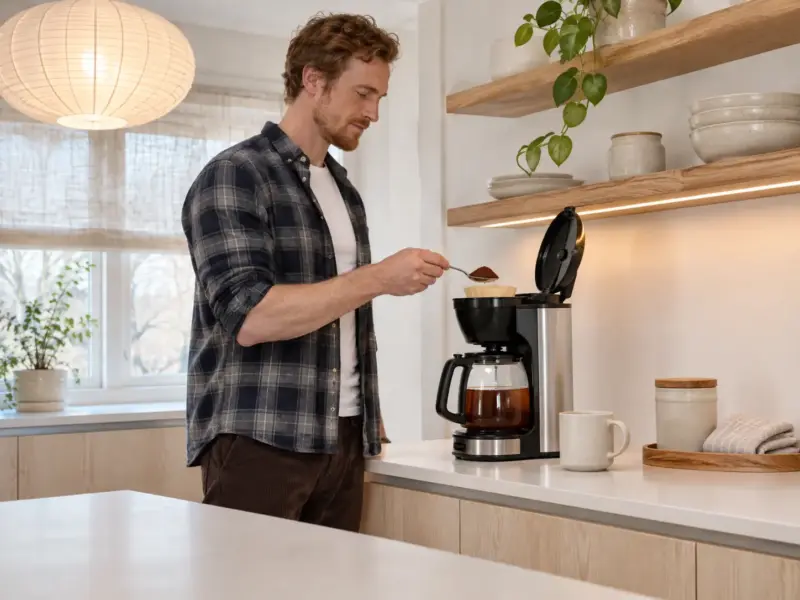
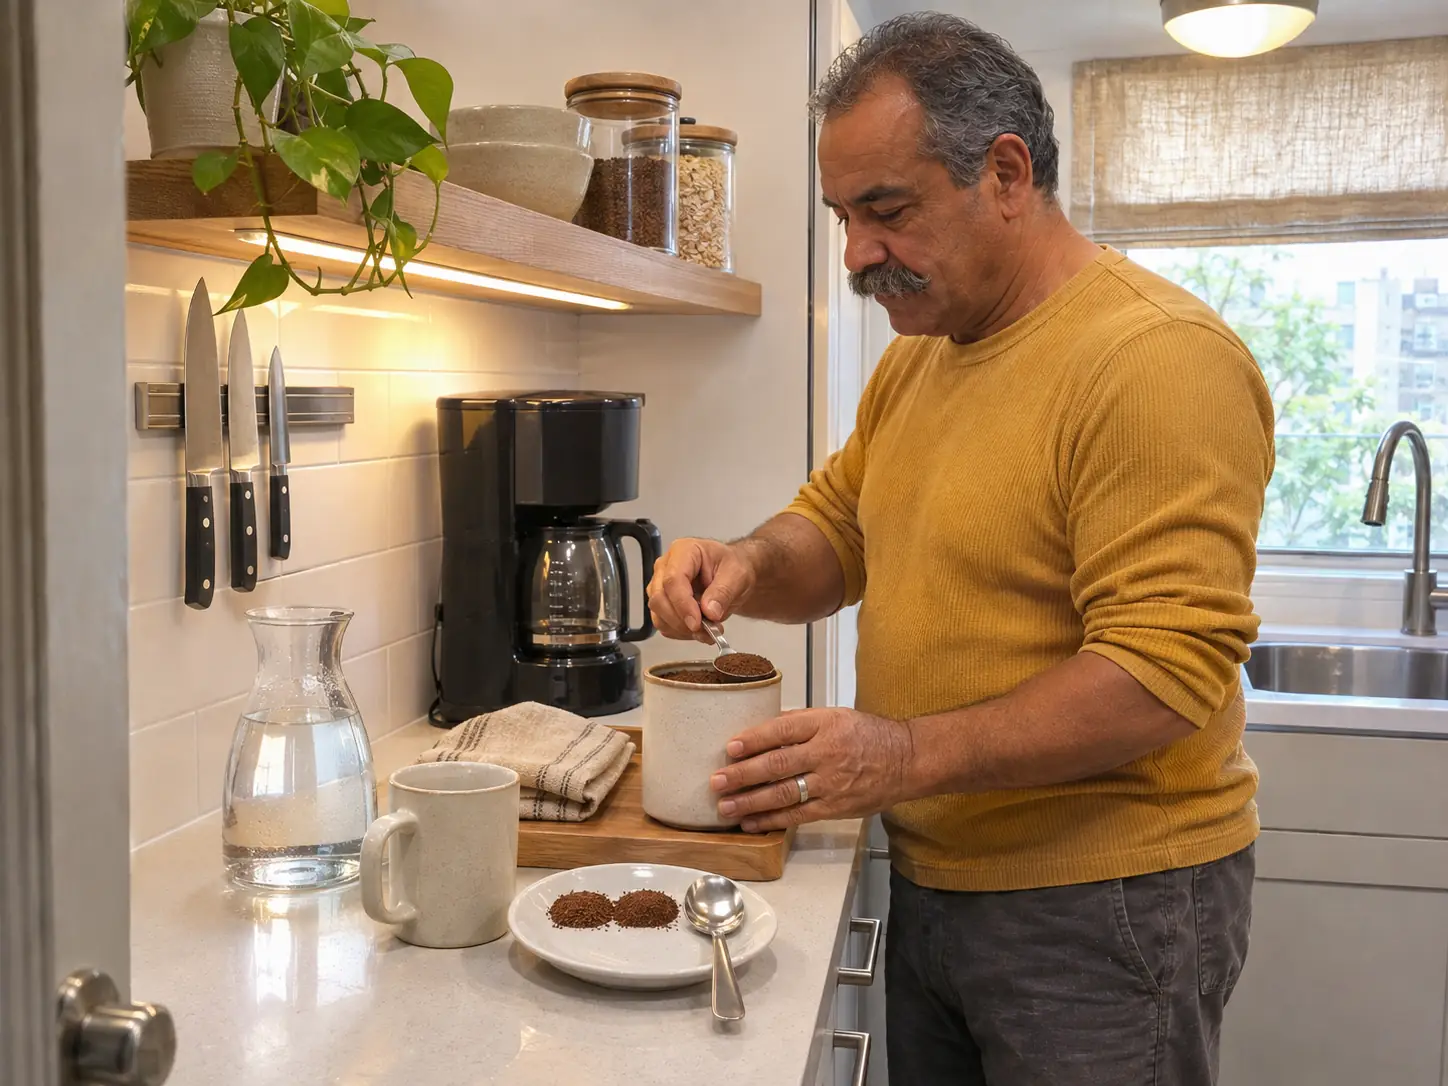
- Scrape each spoon flat with a straight edge, with no tapping and no heaping.
- Brew as usual.
- Taste, and write the count down.
Water goes first because the grounds can be adjusted in half spoons afterward, while a water line cannot be adjusted once the water is poured.
The step-by-step for a pot
For a pot, the water comes from the carafe’s line and the spoons follow the ounces, as in the 30 fluid ounce sum above. Fill the reservoir, count the spoons, level each one, brew. When a scale does arrive, the same drip pot worked out in grams uses these same ounces as its starting point.
Each brewer’s spoons
The ratios below are the working ranges of the trade, labeled approximate, and every spoon count is computed for 8 fluid ounces (240 g) of water at 5 g per level tablespoon.
| Brewer | Usual starting ratio | Coffee for 8 fl oz of water | Level tablespoons |
|---|---|---|---|
| Drip | about 1:16 | about 15 g | about 3 |
| Pour-over | 1:16 to 1:17 | about 14 to 15 g | about 3 |
| French press | about 1:12 to 1:15 | about 16 to 20 g | about 3¼ to 4 |
| AeroPress | 1:10 to 1:15, varies with the recipe | about 16 to 24 g | about 3¼ to 5 |
| Cold brew concentrate | about 1:8, diluted afterward | about 30 g | about 6 |
The AeroPress row is wide because its recipes are, so start with the recipe’s own dose and count spoons from there. A French press is dosed with a coarse grind, and coarse grounds sit loose in a spoon, so the same level spoon weighs less than it does with a drip grind; count toward the higher end of its row. A moka pot needs no spoon count at all: fill the basket level and the water to the valve, as the maker says.
Espresso is the exception. A dose there is written against the liquid in the cup, 7 to 9 g for a single and 14 to 18 g for a double, which is about 1½ to 3½ level tablespoons, and that range sits inside the error of a spoon. The last section returns to it. For the sums on bigger or smaller pots, the weight-based calculator for the same sums does the division.
Sour or Bitter? Move Half a Spoon
A spoon cannot be exact, but it can be steered: the cup says which way the dose is off, and the move is a single change of half a tablespoon, followed by tasting again. Before the dose gets touched, the grind takes its turn, because it is free and the likeliest culprit.
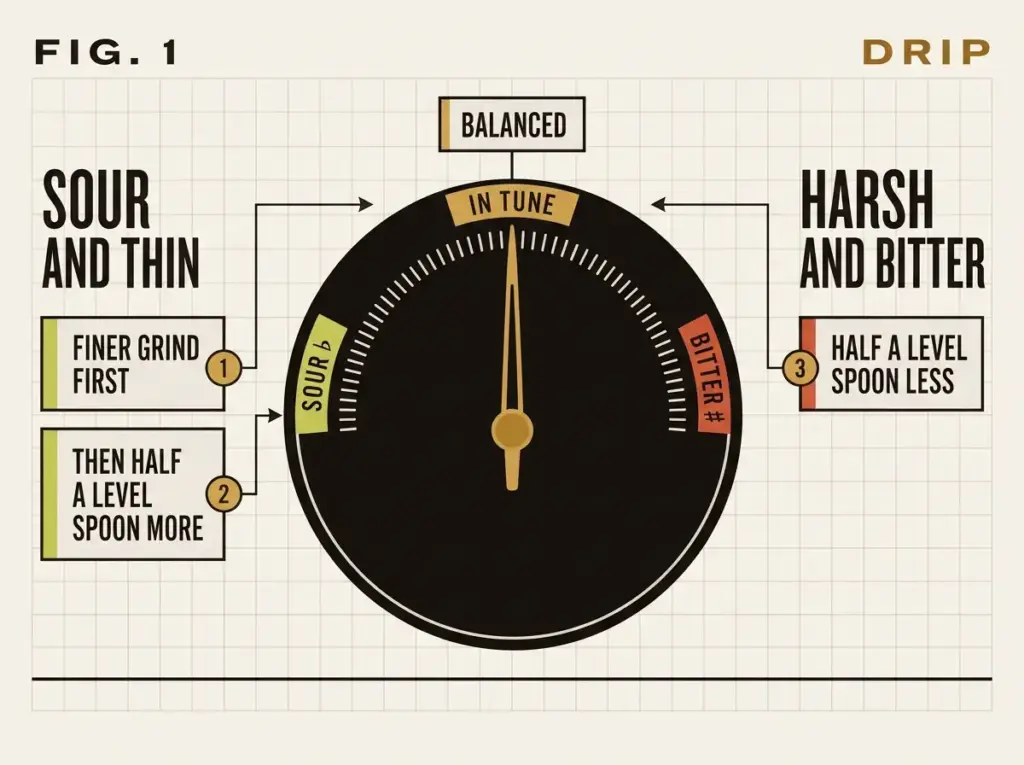
Sour and thin: go finer first, then add half a spoon
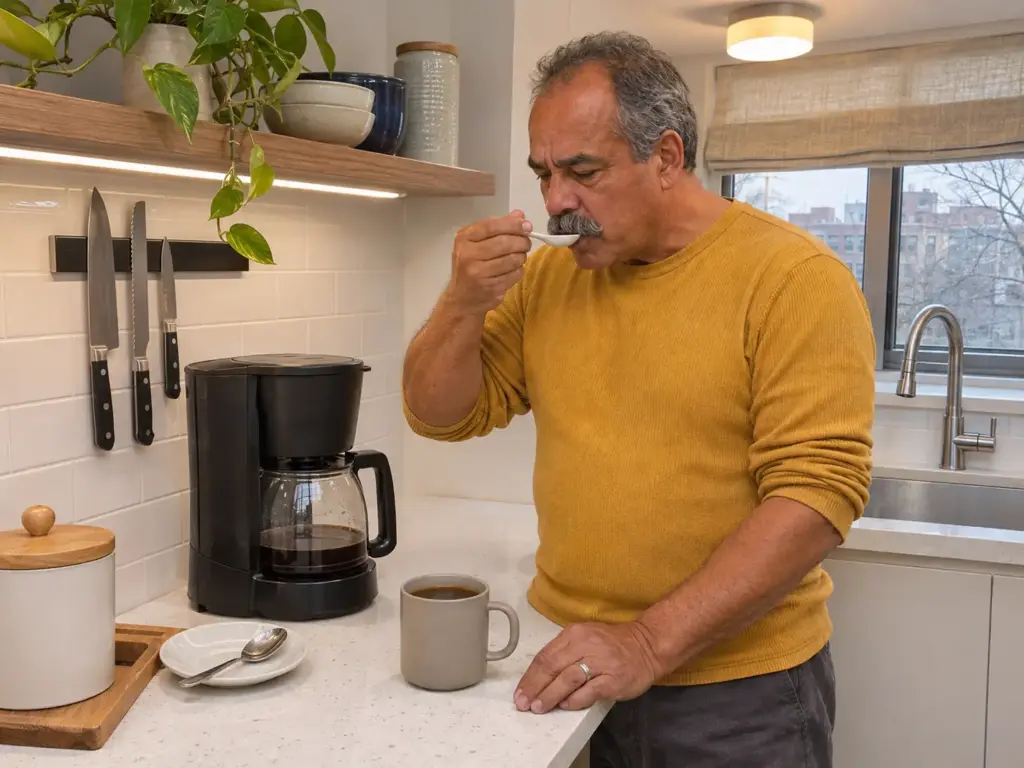
Sour and thin means the water left before it finished, so the grounds gave up too little. Start with the free change, one step finer on the grinder (the starting range for a machine is in which grind setting suits a drip machine), brew the same dose with the same water and the same brew time, and taste. If the cup is less sharp but still watery, add half a level tablespoon and taste once more.
A finer grind raises how much each particle gives up, while a bigger dose raises strength, so the cup tells which of the two is missing, and for sour the grind goes first. Two half spoons in a row without a taste between them overshoot: the cup swings from sour to harsh, and the middle never gets found.
Put together, the moves read like this: sour and thin goes finer, then half a level spoon more; harsh and bitter takes half a level spoon out. Never the grind and the dose in the same cup, because the reader who moves both cannot tell which one worked.
Harsh and bitter: take half a spoon out
A cup that is heavy, harsh and bitter usually carries too much coffee for its water, and spoons run heavy easily: a heaping tablespoon holds visibly more than a level one. Take half a level spoon out and taste. If the cup is bitter and dry without being heavy, the trouble is over-extraction, and the free change is a step coarser on the grinder. When the taste keeps pointing at the beans, why a light roast goes sour and a dark roast goes harsh is the next stop.
Half a tablespoon is one and a half teaspoons, so a teaspoon plus a half-filled one makes the move exactly instead of by eye. On a single mug of 3 spoons that is a jump of roughly a sixth of the dose, plenty to taste before moving again.
When the spoon is not the problem
A blade grinder produces boulders and dust in the same pass. The dust packs into the gaps between the chunks, so the same level spoon weighs something different each day, and no half-spoon routine can hold still on top of that; what a blade grinder does to a spoon count is worth reading first. A burr grinder cuts a far narrower spread of sizes, so a spoon of its grounds repeats better from one morning to the next. The other quiet culprit is the water line, which comes from counting a machine’s cups instead of reading its carafe, and that one is settled in the section on the machine’s cup above.
The Same Spoon Holds a Different Weight Next Month
The dose is rarely what goes wrong; the drift is. A level tablespoon is a volume, the bag decides what that volume weighs, and a routine that worked for one bag can make a stronger or weaker cup on the next with nothing else changed.
Why the weight moves
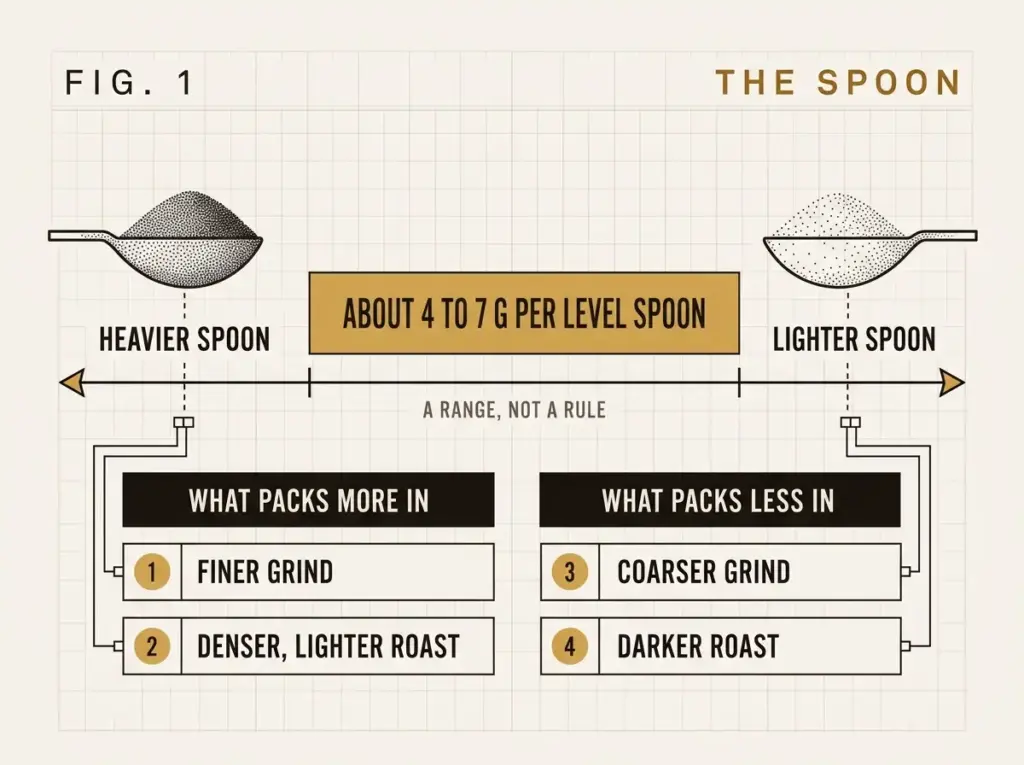
A level tablespoon of ground coffee runs from about 4 g to about 7 g across beans, roasts and grinds (an approximate range, not an institutional figure). Three spoons at 4 g make 12 g in 240 g of water, which is 1:20; three spoons at 7 g make 21 g, which is close to 1:11. One routine, two very different cups, and only the bag changed.
Bean density is the first cause. A denser bean packs more weight into the same space, and light roasts and high-altitude beans tend to be denser, whereas a dark roast has lost mass and expanded and weighs less per spoon (how grind setting and roast move together is the subject of how grind size changes with roast). Grind is the second: a fine grind packs tighter than a medium grind, and a medium grind tighter than French press coarseness, so a spoon of espresso-fine coffee outweighs the same spoon at the coarse end. And whole beans and ground coffee are different units altogether, so a spoon count for beans cannot be carried over to grounds.
The one-cup recalibration at each new bag
On the day a bag is opened, or the day the grinder’s setting moves, measure the water as always and brew one cup with the usual spoon count. Taste it using the directions above, move half a spoon if the cup says so, and note the count that worked for that bag. One cup, one bag. The reason to do it on opening day is that the drift only shows after a week of cups that taste slightly off, by which time the machine has been descaled, the water has been changed and the spoon has been blamed last.
What to write down
A cheat sheet taped to the canister’s lid or the bag carries four things: which spoon, the water line, the grind setting and the roast date. The roast date matters most, because it shifts weight and flavor together as the beans age (how long beans keep after the bag is opened puts a clock on it).
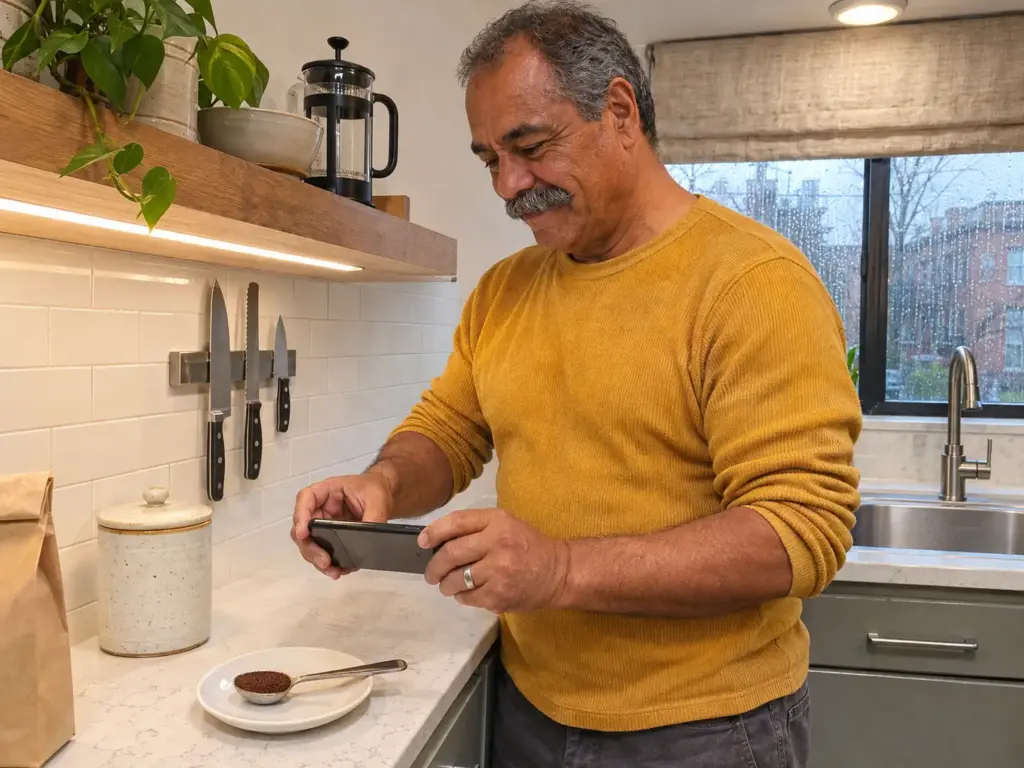
Photograph the level spoon just before it goes into the brewer. A phone picture from the same angle each day turns “did I heap that one?” into a comparison against yesterday’s, and the picture that matches the best cup of the bag becomes the reference.
When a Spoon Stops Being Enough, and What a Scale Costs
A spoon can bring a drip machine to a repeatable pot, but it has a ceiling: small doses, espresso, and the cup that never settles at one setting. Past that ceiling a digital scale stops being optional. This is the one place the article sends the reader to a shop, with the flaw of each choice in writing.
Three cases a spoon cannot cover
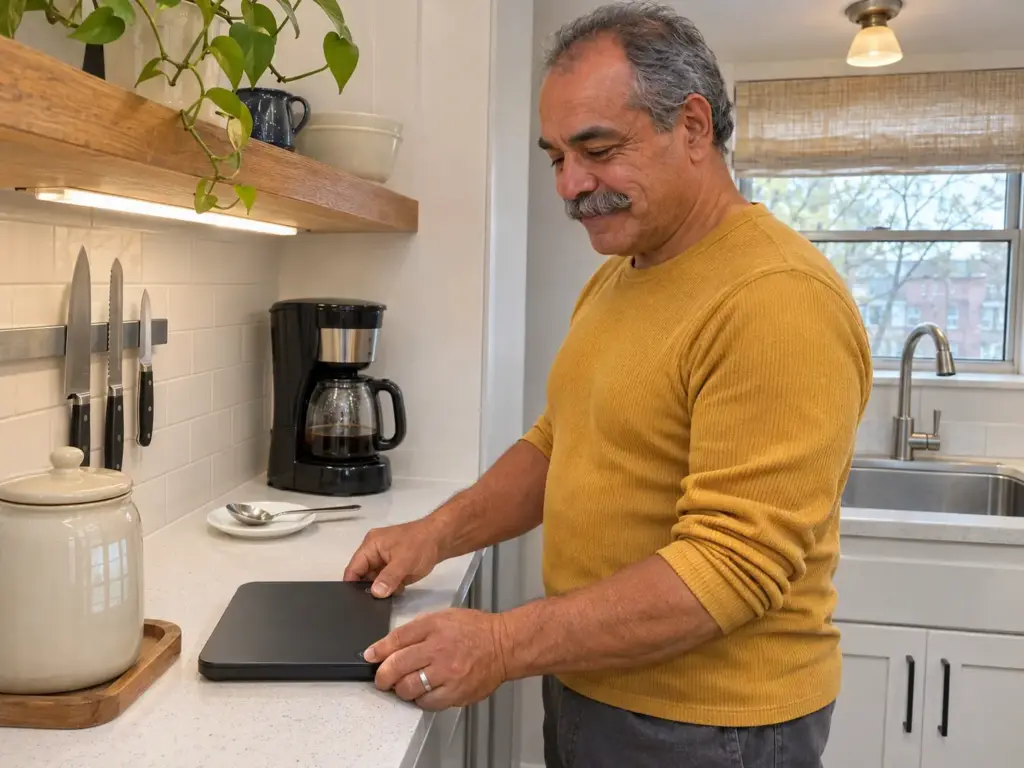
Espresso comes first: 7 to 9 g for a single and 14 to 18 g for a double leave no room for a spoon’s error, and a gram off is a visibly different shot. Small doses come second, such as a single AeroPress or pour-over cup, where one extra half spoon is a 15 to 20 percent jump in coffee. The third is the cup that will not settle at one setting however the spoon is steered, the blade-grinder case from the section on direction above.
What a first scale needs
The free fixes come before any purchase: the half-spoon steer and the one-cup recalibration cost nothing and cover most drip machines. Once they stop being enough, the list for a first scale is short. A resolution of 0.1 g handles both the espresso and the small-dose cases, and it is also what turns how many cups a 12-ounce bag makes into exact grams per cup instead of a guess. An ordinary kitchen scale that reads in whole grams is a rough match for a drip pot and too coarse for espresso.
A built-in timer matters if pour-over is the method. A battery or charge that takes little effort keeps the scale from living in a drawer, and an espresso reader should measure the clearance between the drip tray and the portafilter spout before choosing, since the scale has to fit under the cup. The four below climb from the cheapest tier to the premium one, and the extra money buys features, not a better cup.
The ladder, from the cheapest up
The KitchenTour Coffee Scale with Timer EK6012 (see it on Amazon) is the cheapest of the four that still carries a timer, with 0.1 g resolution, a 3,000 g capacity, tare and switchable g, oz and ml units. Its precision and durability are mixed: the timer can run fast on some units, and the scale can give out within the year.
The Hario V60 Drip Scale, Black (New Model), model VSTN-2000B (see it on Amazon) steps up to 0.1 g increments, a 2,000 g capacity, a built-in timer, a five-minute auto-off and two AAA batteries. Its accuracy only holds up to about 200 g, which covers any coffee dose comfortably and stops short of a full brewer of water set on top, and the buttons can be unresponsive.
The TIMEMORE Black Mirror Basic 3 (see it on Amazon) is the mid-level step, with three modes (regular, pour-over and espresso), USB-C charging and a battery rated at up to 24 hours. The pour-over mode does the water-divided-by-ratio sum from the first section automatically. Its quality and reliability are mixed, and some units work only some of the time.
The Fellow Tally Pro Coffee Scale with Timer (see it on Amazon) is the premium step: 0.1 g resolution, a 2,500 g capacity, an OLED display, a guided brew-assist mode and a rechargeable battery. That guided mode is the same arithmetic, automated. The price is the complaint, because most households will never recoup it.
A scale left in a drawer is a scale that never gets used. The one that stays on the counter beside the canister is the one that replaces the spoon.
The Spoon Count Worth Writing on the Canister
Water goes in first and is read from the carafe’s line; the ratio divides it; level spoons turn the grams back into something the kitchen has; and half a spoon is the only move made between cups. One recalibration at each new bag keeps the routine honest, and a scale is the step after the spoon has been tried, with its flaws known in advance.
After a few bags, or after the grinder’s setting has moved, read the count on the lid against the cup: if the cup has drifted, the new bag’s density has shifted the weight again, and the count needs rewriting for that bag.
Tomorrow’s first move is to fill the carafe to its line, level the spoons the arithmetic gave, and taste before touching anything else. Sour points to a finer grind and then half a spoon more; bitter and heavy points to half a spoon less; and whichever way it goes, only that step is taken before the next sip.
Frequently Asked Questions
01Is it 1 or 2 tablespoons of coffee per cup?
Two level tablespoons per 6 fluid ounces of water is the usual drip dose, which works out to about 1:18. A full 8 fluid ounce mug at 1:16 takes about 3 level tablespoons.
02Is 1 cup of coffee actually 1 cup?
On many drip machines a cup is 5 to 6 fluid ounces, not the 8 of a US cup, so a 12-cup pot holds about 60 fluid ounces. The carafe’s printed lines are the reference.
03How do I measure 8 oz of coffee grounds in cups?
Eight fluid ounces of grounds is a volume of about one cup, while 8 ounces by weight is about 227 g, roughly 45 level tablespoons at 5 g each. Check which one the recipe means.
04Is a coffee scoop 1 or 2 tablespoons?
A standard coffee scoop is 2 tablespoons, about 10 g of ground coffee. Scoop sizes vary by maker, and the scoop page covers what a given one holds.
05How do I measure coffee beans without a scale?
Weigh the beans once on someone else’s scale, or divide the bag’s weight by the cups it says it makes, then count the level spoons or the beans for that dose. Write the count down for that bag.

How did your cup turn out?
No comments yet. Tell us what you changed — and whether the needle moved.