

We may earn a commission when you buy through links on this page. It never changes what we recommend. How we pick
On this page8 parts
- What the Cup Line on Your Carafe Really Holds
- The Coffee That Much Water Asks For
- Filling the Tank by Weight Instead of the Line
- Two Cups in a Twelve-Cup Basket
- When the Pot Is Wrong and the Water Is Right
- When the Same Line Pours a Shorter Pot
- Write Your Machine's Cup on the Carafe
- Frequently Asked Questions
Fill the tank to the line you have used for a year, and one morning the pot stops an inch short of where it used to. The first suspect is the bag of coffee, but the water is the likelier one, and it is also where the question of how much water to put in a drip coffee maker begins. The “cup” printed on a carafe is a serving the maker chose, not a measure: two machines that both say 10 cups can differ by 20 ounces of water, and the grounds keep a good share of whatever goes in. What follows covers what a cup line holds, the coffee that water asks for, filling by weight, the two-mug morning, the faults that imitate a wrong water amount, and what the same line does after a few months of hard water.
Quick Answer
A drip machine’s cup is a serving of 4 to 6 fluid ounces, well short of the 8 ounce measuring cup, so a 12-cup machine takes about 60 to 72 fluid ounces of water. Add roughly 11 grams of coffee, about two level tablespoons, for every 6 ounces.
What the Cup Line on Your Carafe Really Holds
The number printed beside each line on the carafe is a serving count the maker picked, and nothing in the kitchen says which serving it chose. Every ounce of water and every gram of coffee after this point hangs on that one number, so it gets settled first.

Why a Machine’s Cup Is Smaller Than a Measuring Cup
A cup on a drip machine is 4 to 6 fluid ounces. The American measuring cup holds 8, and the carafe markings follow the maker’s cup, not that 8 ounce cup. Mr. Coffee lists one cup as 5 fluid ounces, which makes its 12-cup carafe a 60-ounce pot instead of a 96-ounce one: five generous mugs.
The Moccamaster KBGV Select is a 10-cup machine with a 40-ounce (1.25 liter) tank, so its cup is 4 ounces, KitchenAid marks its carafe at about 4.75 ounces a cup, and a single-serve brewer counts 6. Same word, a spread of 50 percent. Past twelve cups the gap only widens, and a tank bigger than twelve cups runs the same arithmetic on a larger scale.
The Test: Fill to the Top Line and Pour It Into a Measuring Jug
Your own machine’s number takes two minutes to find, once:
- Fill the water reservoir or the carafe to its top line with fresh cold water.
- Pour it into a kitchen measuring jug and read the ounces.
- Divide those ounces by the number of cups on the line.
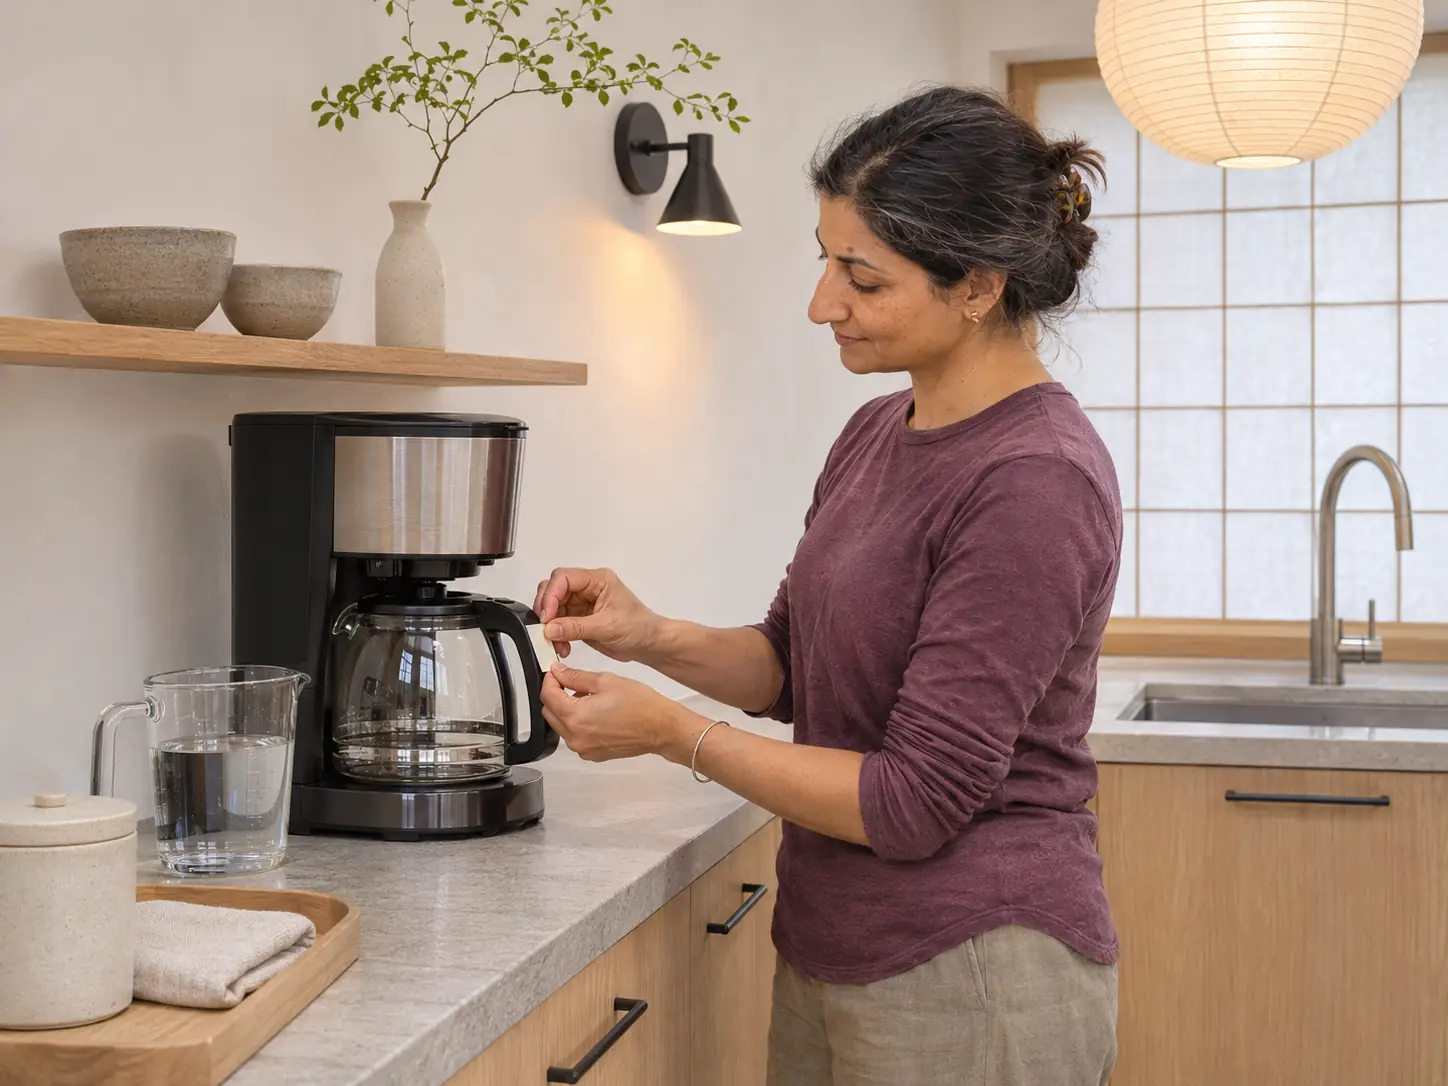
The answer is the machine’s cup. Write it on a strip of tape on the carafe handle or inside the cabinet door, because by month six the printed line gets read from habit, and habit is where a wrong number lives. Marks are often calculated with the filter and basket in place, so a check with an empty tank can read a little short and look like a fault. It is not one.
Run the jug test twice: once pouring the carafe’s water into a jug, once pouring the jug’s water into the tank up to the tank’s own mark. If the tank mark for 5 cups lands near 4.5 on the carafe, the machine is behaving as built, and the carafe line is the one to trust for the pot you will actually pour.
What a Full Tank Means Once the Grounds Take Their Share
Grounds absorb water, and the amount is not small. On a 12-cup pot roughly 6 ounces never reach the carafe: most of it stays in the wet grounds and a little leaves as steam. To pour 60 ounces, the tank needs about 66.
KitchenAid says the same of its own carafe, naming about 5.25 ounces of fresh water to pour 4.75 ounces of coffee. That gap is also why the tank marks and the carafe marks can disagree on one machine, and why some reservoir scales look inconsistent from the bottom mark to the top. When the print argues with itself, the manual wins.
The Coffee That Much Water Asks For
Once the water is a number of ounces, the coffee follows by arithmetic. The advice contradicts itself because two good ratios are in circulation, a notch apart, and they rarely get set next to each other.
The SCA’s 55 g/L and the Everyday 1:16 Are One Notch Apart
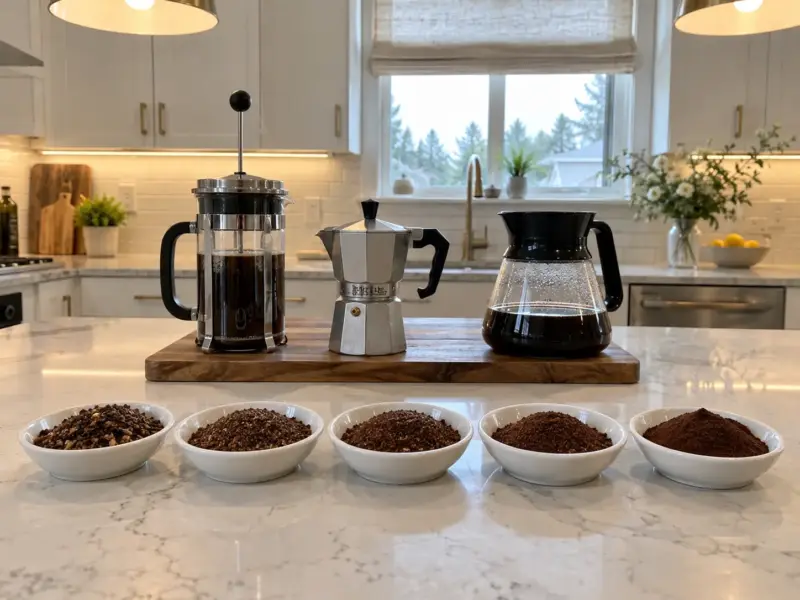
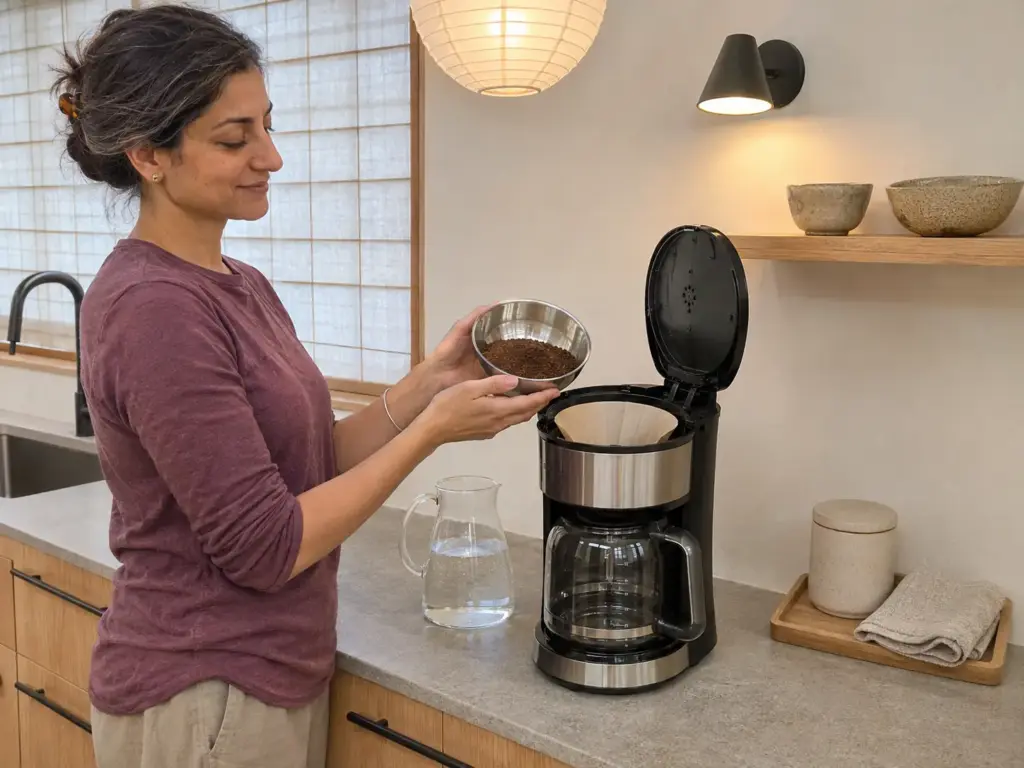
The Specialty Coffee Association’s standard is blunt about the coffee to water ratio. According to Roastopedia’s summary of the SCA Golden Cup ratio in grams per liter, “Coffee-to-Water Ratio: 55 grams of ground coffee per liter of water, with an acceptable tolerance of ±10% (i.e., 49.5–60.5 grams per liter).” That works out to about 1:18 by weight. The everyday 1:16 is 62.5 grams per liter, just outside that tolerance on purpose: a stronger start that suits American drip tastes, and both numbers are right for what they are.
This article starts the brew ratio at 1:16 and moves toward 1:17 or 1:18 when the pot tastes heavy. The reasoning behind the starting point has a longer write-up on why 16 to 1 is a good place to start.
From Ounces to Grams to Spoons
A 60-ounce tank holds 1,774 milliliters and asks for 111 grams of coffee at 1:16, or 98 grams at the SCA’s 55 g/L. A 72-ounce tank, 2,130 milliliters, asks for 133 grams and 117. For six cups at 5 ounces each (30 ounces of water) the sums come to about 55 grams and 49, and the dose for exactly six cups of water carries that one further.
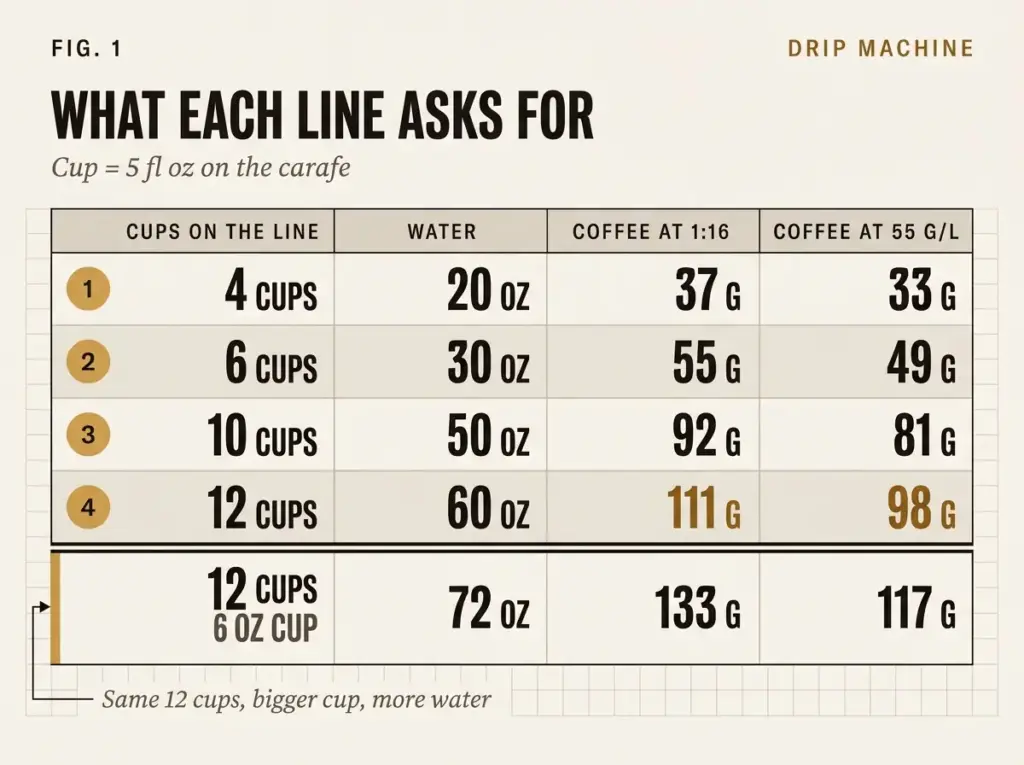
The spoon version comes from how the National Coffee Association says to brew drip coffee: 1 to 2 level tablespoons of ground coffee per 6 ounces of water. A level tablespoon is about 5 grams, so 2 tablespoons per cup of 6 ounces make 10 grams, close to the SCA end of the range. The coffee scoop in the canister was built to go with a 6-ounce serving, and what one scoop really holds sorts out how far real scoops drift from that.
Skip the cup count entirely and multiply the fluid ounces going into the tank by 1.85 to get grams at 1:16 (about 1.6 for the SCA’s 55 g/L). Sixty ounces gives 111. It works for any machine and any tank, because the dose is worked out from the water that goes in.
A Weak Pot Is a Strength Problem
A pot made with too much water for its coffee tastes watery because it is diluted. It is tempting to call that under-extraction, but extraction is what the water pulled out of the grounds and strength is how much of it ended up in each ounce of cup. The fix is the dose first and the grind second, and the next pot says which one worked. That also answers the pot that looks short at the fill line: the dose was worked from the water that went in, and the grounds kept their share on the way through.
Other methods run on other numbers, as common ranges: French press about 1:12 to 1:16, pour-over 1:14 to 1:16, espresso near 1:2, cold brew 1:5 to 1:8 as a concentrate. A ratio quoted without its method has no home. For a drip machine, move a single notch (1:16 to 1:17), brew, taste, and stop when the cup stops improving.
Filling the Tank by Weight Instead of the Line
A measuring jug fixes the cup question once, while a scale handles the water and the coffee in the same unit every morning. The free version comes first, and the three scales come after it with what each one gives up.
The Free Version: A Measuring Cup and a Strip of Tape
Use the jug test from the first section and write the cup on tape. A scale changes more cups than a new machine ever will, but it does not have to be the first thing you buy. If there is no scale in the house and none coming, the level-spoon way to do this with no scale at all gets close.
Weigh the Water in a Pitcher, on the Scale You Use for the Beans
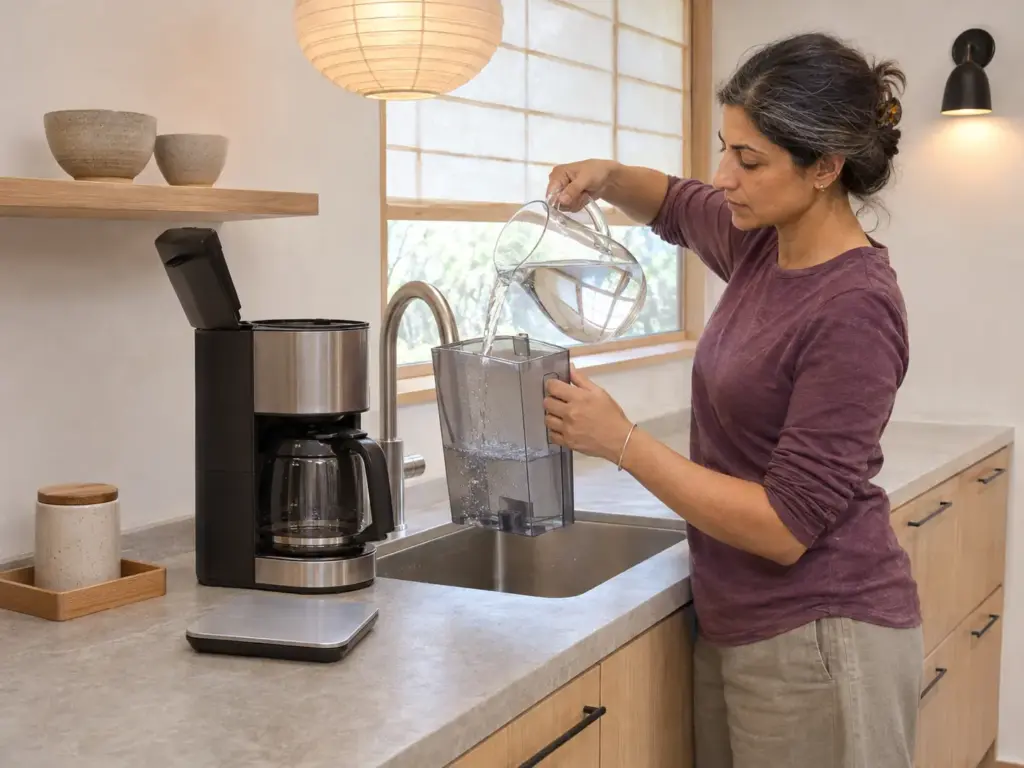
Weighing the water in a pitcher keeps the ratio exact even when the tank line is a little off, and the ratio is the number that matters. Put the pitcher on the scale, tare it, and pour to the target: a milliliter of water weighs a gram, so a 60-ounce tank is about 1,774 grams. Tip it into the tank (a removable reservoir fills at the sink), then weigh the coffee to match: divide the water by 16.
A tank that cannot come off needs a slow pour from the pitcher. A full 12-cup carafe is heavy and wide, which is why the platform and the capacity matter more here than the decimal. Use filtered water if the tap smells of chlorine, since the pot tastes of whatever goes in the tank.
The Three Scales and What Each Gives Up
A full carafe asks for capacity first. The Etekcity Food Kitchen Scale (EK6015) is the cheapest of the three that still weighs one: 1-gram steps, 11 pounds of capacity, a wide steel platform. Its accuracy is irregular from unit to unit, some units stop working, and it eats batteries.
Timing the brew is a pour-over habit that a drip pot rarely needs, but a timer covers the bloom and the total run if you want it. The Hario V60 Drip Scale, Black New Model (VSTN-2000B) has one. Its 0.1 gram steps hold only below 200 grams and then it reads in 1-gram steps, and the small platform is a tight fit under a full 12-cup carafe.
A live ratio on the display changes how the two targets feel. The TIMEMORE Black Mirror Basic 3 reads 0.1 gram from 0.2 to 2,000 grams and shows the ratio as the water goes in, so the tank target and the dose target become one number. Several units have stopped working inside six months, and the display takes about five seconds to wake.
For this job the cheapest does the same work, because a tank only needs whole grams. A scale left in a drawer never gets used, and the one that lives next to the canister is the one that replaces the printed line. When the same dosing by weight is the habit you want to build, a drip machine used in grams instead of scoops is the next step.
Two Cups in a Twelve-Cup Basket
The ordinary morning is one mug, sometimes two, and fill-to-the-line advice only answers for the full pot. The same wide basket and the same heater do a worse job with a fraction of the water, and the reason comes before the remedy.
Why a Small Batch Runs Cool and Thin
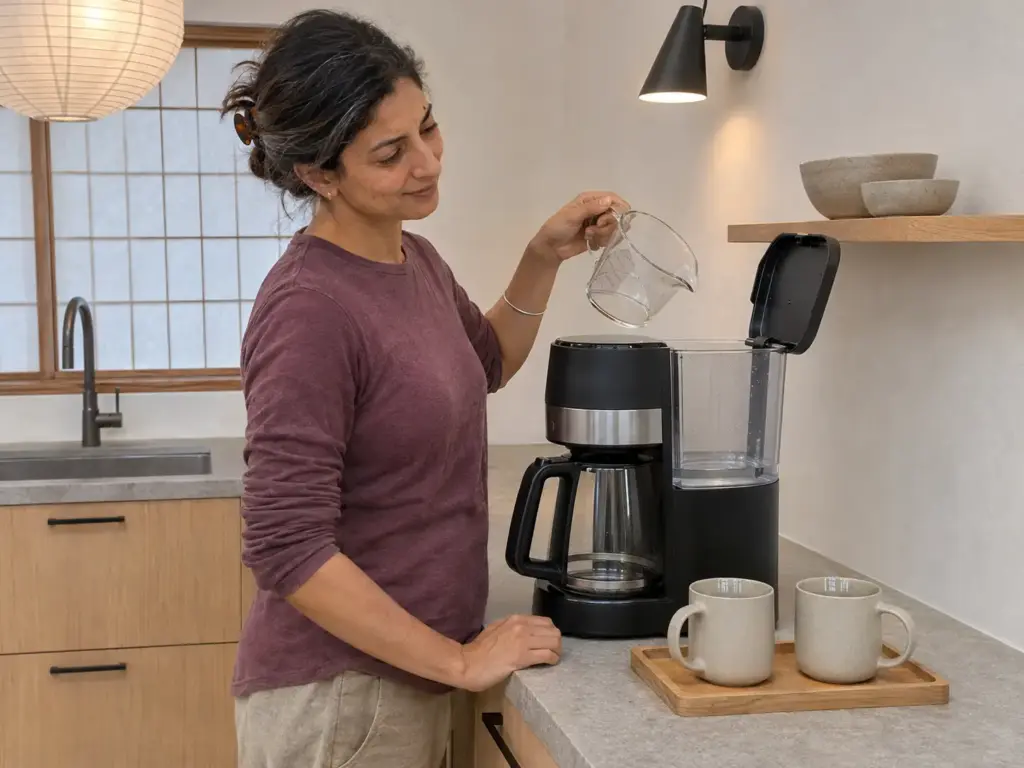
The shower head spreads the water across the whole width of the basket, and how the water travels through a drip machine covers that route. With water for two cups the bed is barely wet, the slurry runs cooler, and the cup comes out thin and sour, because sour is the direction of too little contact. Some machines also have a minimum fill, and a max fill line above which the tank overflows: below the minimum the sensor will not lift water at all. That number lives only in the manual.
The Minimum Fill, and What the Manual Says
Heat is the other half of the story. The SCA puts the brew temperature at the point of contact at 200°F, give or take 5 (93°C, give or take 3), with a total drip time of 4 to 8 minutes. A machine that never reaches 195 to 205 F (the SCA’s range) makes a thin pot at any water amount, and a small batch leans on that heat harder than a full one. The box never says what the machine reaches; the SCA’s list of certified home brewers does, since those machines are independently tested for brewing quality, consistency and performance, and what makes a drip machine hot enough explains what to look for when the machine is not on it.
The second cup of a small batch tastes different from the first because the carafe sat on the warming plate while you hunted for the sugar, and a hot plate keeps cooking what it holds. Two cups out of the right-sized batch beat two cups out of the wrong-sized tank.
Four Cups Instead of Two, a Small-Batch Setting, or a Cone and a Kettle
Free first: brew four cups instead of two, the smallest batch a wide bed and a heater handle well, and keep what you do not drink out of the warming plate’s reach. A thermal carafe or a preheated mug does that job. The next pot should taste fuller than the two-cup one; if it is still thin, the machine’s heat is the suspect.
Fill the mugs with hot tap water while the pot brews, then pour the water out just before the coffee goes in. A cold ceramic mug pulls a few degrees out of the first cup, and that is the cup people judge the machine by.
A second option is a machine built for the small pot. The Ninja Fresh Brew Coffee Maker 12 Cup CE251 has a 1-to-4-cup small-batch function, and its 70-ounce reservoir comes off so you can fill it at the sink where a measuring cup is readable. The glass carafe is the weak part, and breakage around the ten-month mark is the failure to expect.
The third option is a cone and a kettle for the single mug, which is a different method with separate articles.
When the Pot Is Wrong and the Water Is Right
A pot that comes out thin or flat with the water right still gets blamed on the water, and the blame is often misplaced. Before the tank takes another accusation, two free checks and a direction to taste in settle where the cup is off.
Which Way the Pot Is Off
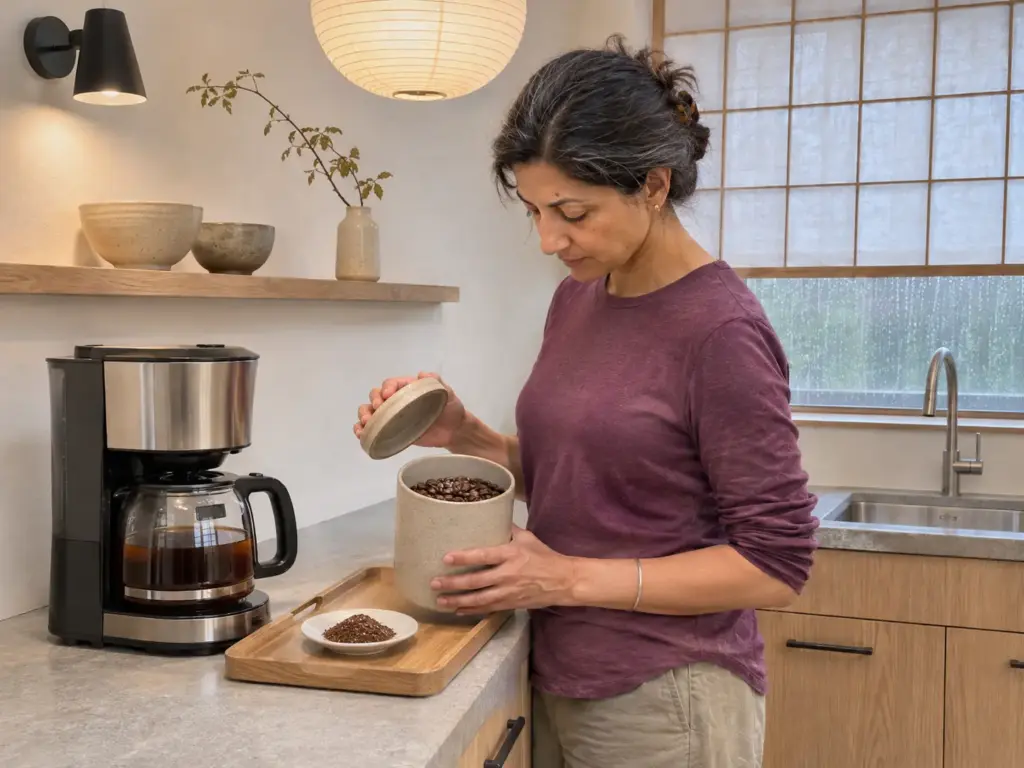
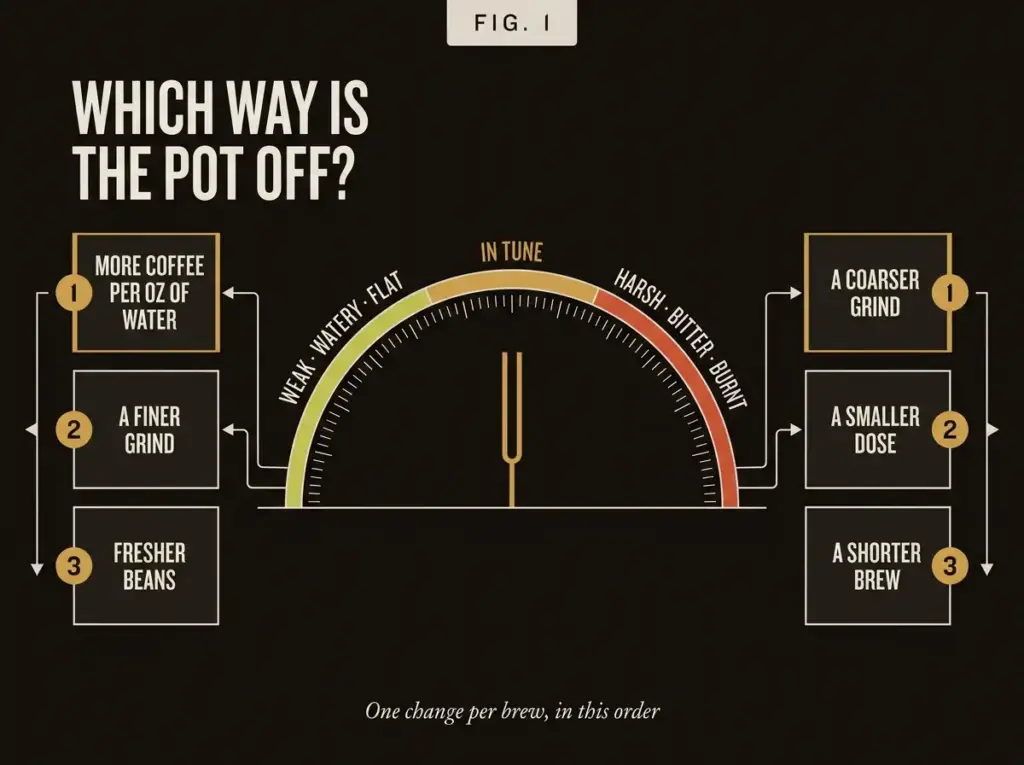
Thin, watery or flat points one way: the pot is diluted, either from too little coffee for the water or from a grind that lets the water run through too fast. Harsh, bitter or burnt points the other: over-extraction, from too much contact or a grind too fine for the basket.
Start with the dose by half a notch (toward 1:15 if the pot is thin, toward 1:17 only if it is heavy), brew, taste. Then move the grind one step, finer for a thin cup and coarser for a harsh one. Beans come last. Each brew changes one thing, so the cup tells which move worked, and adjusting to taste is the last word on any number printed here.
The Grind That Drains Too Fast
A grind too coarse for the basket lets the water slip through before it has pulled much, so the pot tastes thin even at the right dose. Sea salt is the shorthand for drip: a medium grind, finer than gravel and coarser than powder, with a paper filter in the basket. Pre-ground coffee from a bag is usually cut for exactly this basket, while whole bean ground at home lets you move it.
A flat-bottom basket and a cone filter each like a slightly different grind, and which grind a drip basket wants has the numbers. The pot that tastes weak at the right line makes you reach for another scoop, and that works only if the grind was right to begin with.
Beans That Taste Flat at Any Water Amount
Stale beans taste flat and woody whatever the tank holds, which is how they end up blamed on the water. A medium roast and a dark roast both go that way once the bag is old, so the roast level is no alibi. The date to read is the roast date printed on the bag, since the best-by date tells you very little about the cup. A new bag at the same fill line that tastes like cardboard on the first brew means the old beans were the problem and the tank was fine; telling stale beans from the smell to the cup walks through the check.
Brew one pot with beans roasted within the last few weeks, at the same fill line and the same dose, before touching the tank or the grind. If that pot is right, the water was never the issue, and a stale bag has just saved you a new machine.
When the Same Line Pours a Shorter Pot
The pot that stops an inch short at the line used for a year is the water side of month two, and more coffee will not fix it. Scale does it, and the signs and the order of fixes are below.
What Scale Does to the Tank and the Tube
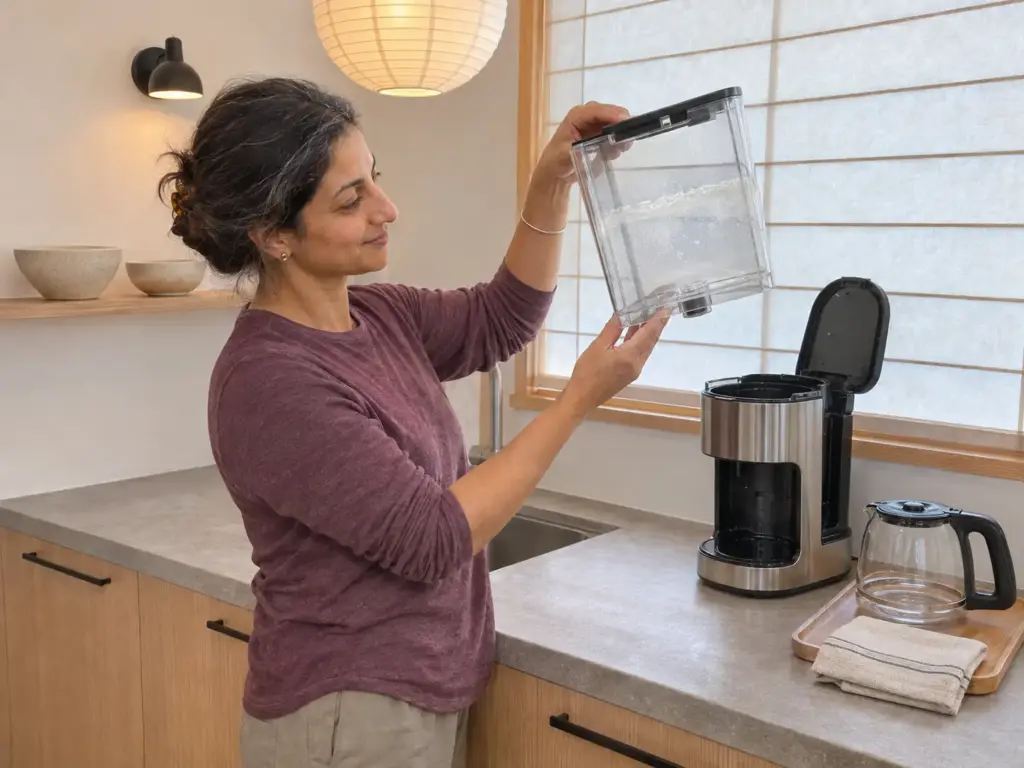
Limescale narrows the heating tube, so the machine delivers less water and shuts the cycle off early: set for 6 cups, it can deliver 4. The signs are slow flow, a longer brew, more steam, and a pot shorter than the fill line. Everything points at the water. The machine many kitchens own goes through exactly this drift in what the same machine does in year two.
The Signs, and the Free Fix First
White vinegar, one to one with water, followed by a full rinse, is the free descale. The manual rules on the exact dilution and the number of rinse cycles, and its figures win over anything here.
After a descale the first pot runs longer than the last one did and tastes of nothing wrong. The machine was delivering less than you thought, and a new bag would not have changed that. The next pot should reach the fill line again.
Descale on a Schedule, Not on a Symptom
Moccamaster’s manual gives a figure worth borrowing: descale every 100 cycles or at least every 3 months. Two years of hard water means a machine delivering less water at a worse temperature, silently. The SCA’s brewing water standard puts calcium hardness at 50 to 175 ppm as CaCO3 and alkalinity at 40 to 70 ppm, and tap water inside those ranges needs no filter. That is the standard’s range, so a reading of the tap tells you where yours sits.
For a measured dose instead of vinegar, Urnex Dezcal Coffee and Espresso Machine Descaler comes as a 900 gram powder bottle (15-DZP-UX900) dosed at 1 ounce per 32 ounces of tank, and the bottle’s instructions govern the rest. It can stain stainless steel, and the dilution directions on the bottle are not clear enough, so read them twice before the first run. For most kitchens vinegar does the same job.
After descaling, run two plain-water cycles and mark where the carafe ends up at the fill line. That mark is the machine’s true baseline, and a pot that falls under it later is telling you the tube is narrowing again.
Write Your Machine’s Cup on the Carafe
Measure the machine’s cup once, and let the water set the dose: 1:16 to start, a notch toward 1:17 or 1:18 when the pot tastes heavy. Weigh the water whenever the printed line argues with the pot. Brew four cups instead of two in a twelve-cup basket, and rule out the grind and the beans before the tank takes the blame. Descale when the same line pours short.
After a few months of hard water, set the carafe next to the fill line again: the height of the pot at that line is the first thing scale shortens.
Tomorrow, fill the carafe to its top line, pour it into a measuring jug, tape the machine’s cup to the handle, dose for that water at 1:16, and taste. Thin means a little more coffee, and heavy means 1:17. When you want a number of cups instead of a ratio, the arithmetic when you want cups instead of a ratio does the sums for you.
Frequently Asked Questions
01How much water do I put in a coffee machine?
Fill it to the line for the cups you want, remembering that a drip machine’s cup is 4 to 6 fluid ounces, so a 12-cup machine takes about 60 to 72 ounces. To find your own machine’s cup, fill the carafe to its top line, pour it into a measuring jug and divide the ounces by the cups.
02What is the ideal ratio of coffee to water for a coffee maker?
Start at about 1 part coffee to 16 parts water by weight, and move to 1:17 or 1:18 if the pot tastes heavy. The SCA’s own standard is 55 grams per liter, close to 1:18.
03How much coffee grounds do I use for 4 cups of water?
On a machine whose cup is 5 fluid ounces, 4 cups is 20 ounces of water, which takes about 37 grams of coffee at 1:16, roughly 7 to 8 level tablespoons. Weigh it if you can.
04How much water should I use for just two cups in a 12-cup coffee maker?
Two cups is usually too little for a twelve-cup basket, so brew four, or use the machine’s 1 to 4 cup setting if it has one. A wide bed with a thin film of water runs cool and tastes thin.
05Why does my coffee maker make less coffee than the water I put in?
Dry grounds keep a good share of the water, about 6 ounces of a 60-ounce tank, so the pot always comes out shorter than the tank line. A pot that has shrunk over months points to scale in the tube.

How did your cup turn out?
No comments yet. Tell us what you changed — and whether the needle moved.