
We may earn a commission when you buy through links on this page. It never changes what we recommend. How we pick
On this page7 parts
- How to Know Coffee Grind Size by Eye and Fingertip
- Sift a Spoonful to See the Dust and the Boulders
- Let the Brew Tell You the Size
- Tools That Put a Number on Your Grind, and What They Miss
- "Medium" Is Not a Size, So Keep a Sample You Trust
- Three Checks That Each Catch What the Others Miss
- Frequently Asked Questions
The bag on your counter says medium, the new grinder’s dial sits at 14, and the old grinder made the cup you liked at 6. None of those three is a size. A grind is a spread of pieces, from dust to chunks, and the water responds to the whole mix while your fingertips report only the middle of it. So learning how to know coffee grind size means running three checks that each see a different part of that spread: rub it, sift it, then time the brew, with one jar of grounds from a good cup to hold everything against.
Quick Answer
You know a grind size by three checks that see different things. The word on the bag or the number on the dial is not one of them.
- Rub a pinch on a white plate beside a sample you trust.
- Shake a weighed spoonful through a sieve and weigh both parts.
- Time the brew against your own best brew.
- Taste, move the grinder one step, and repeat.
How to Know Coffee Grind Size by Eye and Fingertip
Your fingers are the first instrument, and they cost nothing. In about ten seconds they place a grind roughly where it sits between powder and gravel, as long as you hold it against another pile of grounds and not against a word you half remember.
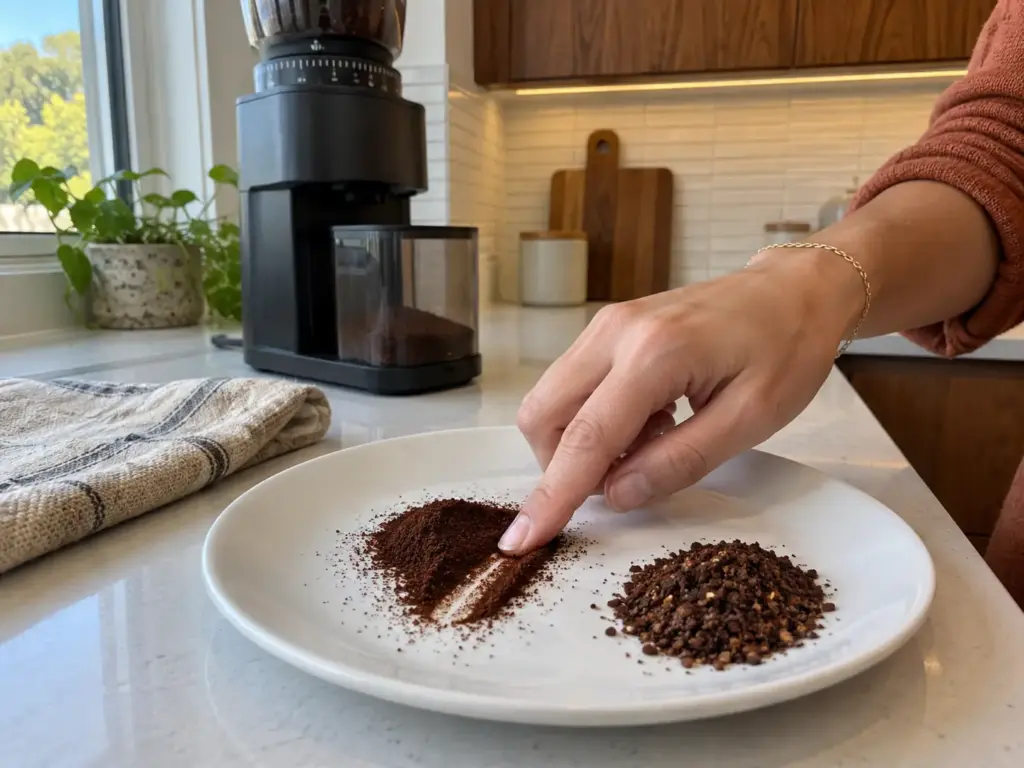
A White Plate, Side Light and a Pinch to Compare
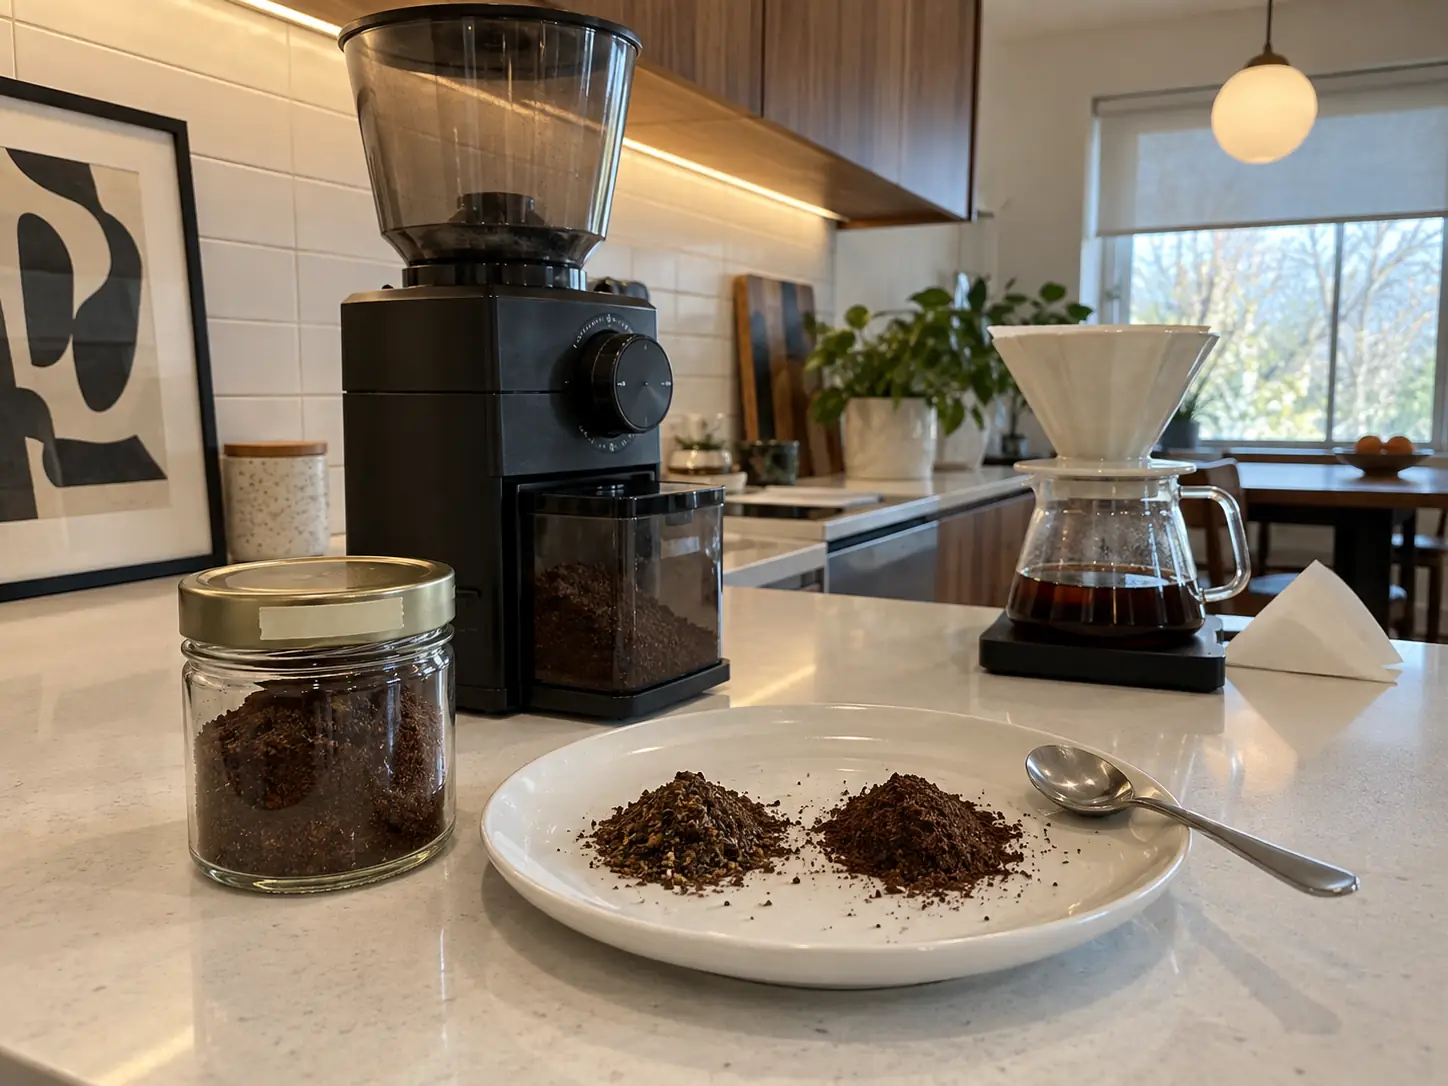
Tip a pinch onto a white plate and carry it to a window, so the light comes across the plate from one side. Each particle then throws a small shadow, and that shadow is what your eye actually reads. Under a ceiling light straight above, the same pinch flattens into one brown smudge and the pieces disappear.
Now put a second pinch next to it. That second pile is the whole trick: a spoonful from a bag marked medium beside a spoonful from your own grinder, or today’s grounds beside the ones from a cup that worked. Held side by side, a difference of one step shows up as one pile looking tighter and darker than the other, where the same pile judged against memory looks like about medium every time. When you have nothing of your own to compare against yet, the pantry comparisons in the grind size chart put you in the right neighborhood.
Take your pinch from the middle of the catch bin, never off the top. Every knock of the bin against the counter sends the fines toward the bottom, so the top layer reads coarser than the dose you are about to brew, and a scrape from the floor of the bin reads finer.
What Fine, Medium and Coarse Do Under a Fingertip
Then rub. The pinch test takes three moves: take a pinch between thumb and forefinger, roll it once, press it onto the plate and drag a fingertip through it, then look at the fingertip. Each size answers those three moves differently:
- Extra coarse (cold brew): pieces big enough to pick up one at a time, and nothing stays on your skin.
- Coarse (French press): rolls as separate grains, like fine gravel, and the fingertip comes away clean.
- Medium (a drip machine): feels gritty with no single grain standing out, and leaves only a faint dusting.
- Medium-fine (a pour-over cone, an AeroPress): dust settles into the lines of your fingerprint, with grit still under it.
- Fine (espresso): clumps when you press it, keeps the mark of your finger and smears into a streak when dragged.
On the plate, a coarse grind leaves a trail of separate specks and a fine grind a smear with no gaps. In between, the rub is good for one name either way (a medium grind or medium-fine, say), which is plenty for a first look and not enough for a second.
What Your Fingers Can’t Feel
Fingers read the average. They don’t read the spread (what a lab would call the particle size distribution), and the spread is where two grinds with the same feel part ways. Coffee Review describes the SCA’s own sieve rule as “an acceptance of 25-30% oversized particles with no limit at all for undersized.” A grind that meets the standard can carry any amount of dust, and your thumb would never know.
Zoomed-in photos of a grind can show anything from fine to coarse, and a size word names only its middle. A real grind is a range.
Your eye adds its own bias, because it goes to the biggest pieces first. But the biggest pieces are not what slows the water. The dust is.
At the extreme, a blade grinder makes dust and chunks in the same pulse, the rub averages that uneven grind into something that feels like medium, and the cup comes out sour and bitter at once. Seeing that takes a sieve.
Sift a Spoonful to See the Dust and the Boulders
Once your fingers have placed the grind, the next question is how wide it spreads. Eyes can’t weigh dust, so this check needs something with holes in it and a scale, and it turns the spread into a number you can compare from one grind to the next.
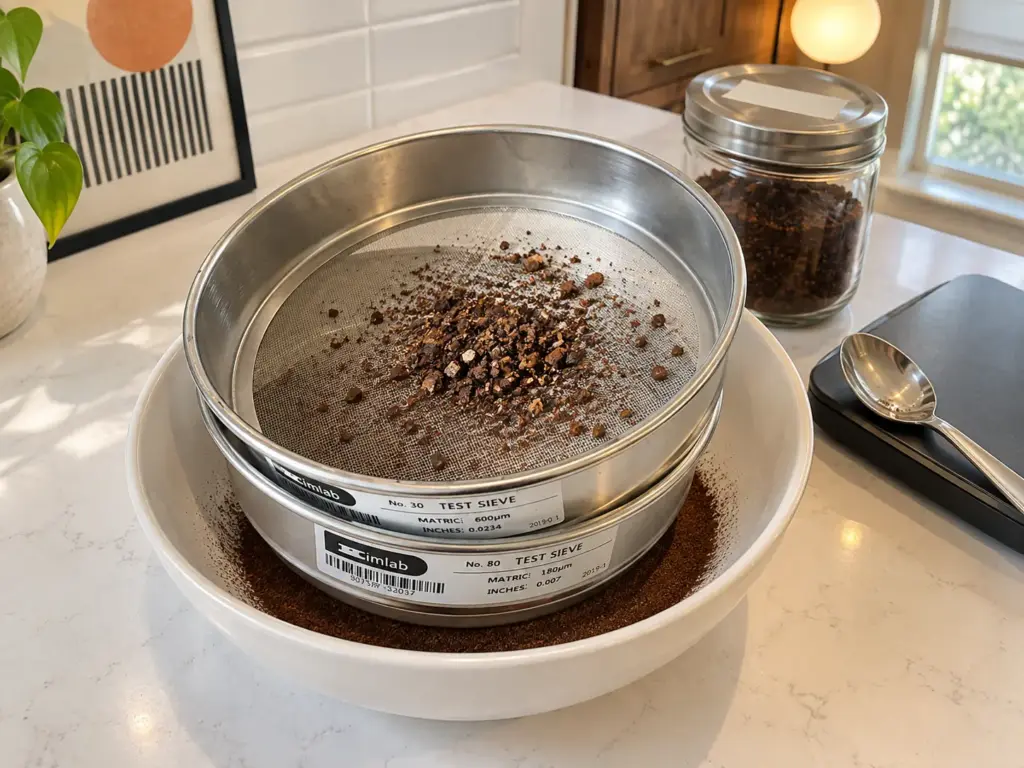
Try the Strainer You Already Own First
Start with the fine-mesh strainer in your kitchen drawer. Set it over a white bowl, tip in a spoonful of grounds and shake it for a minute. If a layer of larger pieces stays in the mesh while tan dust collects in the bowl, you have a rough sorting tool for free.
It fails on one condition, and that condition is common. A small kitchen strainer can have holes larger than the biggest particle, so nothing gets strained out.
Strainer openings are never printed either, so even a strainer that does hold something back sorts without measuring. It can compare two grinds poured through the same mesh, and nothing else. With a fine grind, most of the spoonful may simply fall through.
Weigh What Stays on Top and What Falls Through
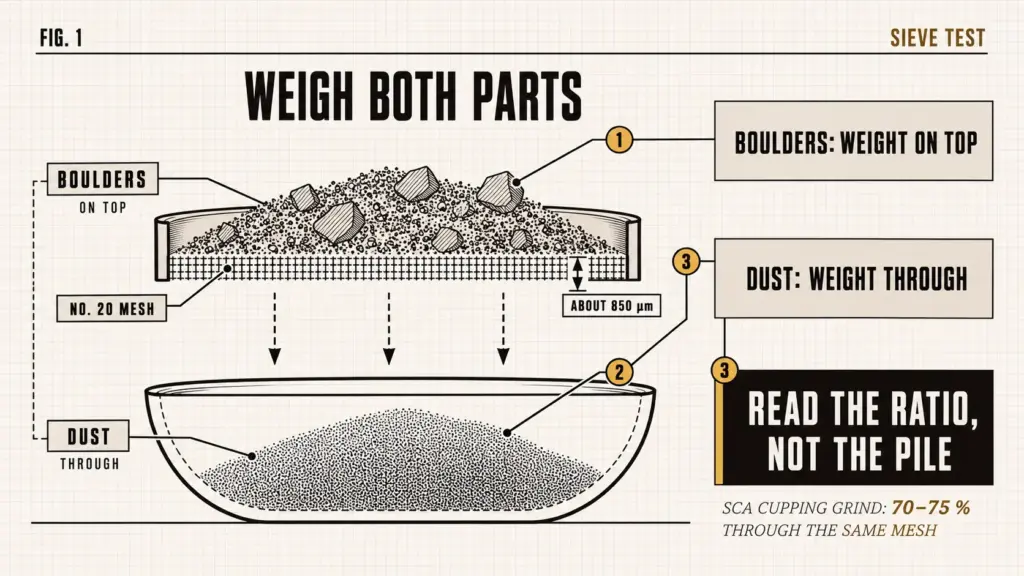
A sieve with a known opening, plus a scale, fixes both problems. Sieving by weight is the plain lab method (ISO 23134:2022 sets out a sieving method for ground roasted coffee), and graded mesh and weighing are simple to perform and well standardized. The home version below is this article’s own routine, built from that method:
- Set a bowl on the scale and zero it.
- Grind about 20 g at the setting you want to read (roughly two level coffee scoops).
- Tip the grounds onto a No. 20 sieve, about 850 µm (0.033 in), held over the bowl.
- Shake side to side for a minute, tapping the frame on the rim of the bowl halfway through. The mesh clogs as you go, and the last fines won’t fall until it’s knocked clear.
- Read the scale: that is what fell through. Subtract it from 20 g for what stayed on top.
- Divide. 13 g through out of 20 g means 65 % through.
The sieve that matches that routine is the KimLab Economy Test Sieve 20 Mesh: an 850 µm opening in 304 stainless wire cloth, on an 8-inch frame wide enough to shake a spoonful without spilling. What you’re paying for is an opening that never changes, so this month’s spoonful and next month’s go through the same ruler. The frame is the weak part. It’s chrome-plated steel rather than stainless, and reviewers on the listing report the ring rusting after damp grounds sat in it overnight, so knock it clean and towel it dry as soon as the test is done.
The scale matters more than it looks. On a 20 g sample, a scale that reads in whole grams can be off by half a gram on each weight, about 2.5 % of the spoonful, which is the same size as the shift you’re trying to catch.
The Hario Drip Scale Timer reads in 0.1 g steps and carries the timer the brew check below relies on. Its track record is the worry: Amazon’s review summary says several buyers report it broke within six months, and the auto-off cutting out mid-pour is the complaint that comes up most. Any kitchen scale with 0.1 g steps does the sieve job just as well.
Write the setting, the date and both weights on a strip of masking tape and stick it to the bag. One sieve result on its own tells you very little. The second one, read next to the first, is where the test starts paying off.
Read the Change, Not the Number
Then resist grading the result. The SCA’s cupping protocol sets its grind with “70% to 75% of the particles passing through a U.S. Standard size 20 mesh sieve,” and the same protocol calls that grind slightly coarser than a paper-filter drip grind. So 70 % through does not mean your grind is right.
A pour-over grind that tastes good can sit well past it and a French press grind well under it, because the SCA number describes one cupping grind, not your brewer.
What the sieve does well is catch a change. The same setting through the same sieve next week, or with the next bag, should land close to the number on the tape. If 65 % through turns into 75 % at the same setting, more of the grind is small now. The beans, the roast or the grinder moved, and your fingers would have missed it.
A wide spread isn’t a verdict either. Sieving the coarsest setting of a burr grinder through lab sieves can show the grounds almost evenly split between three sizes, and the brew can still be enjoyable. Keep the limits in view as well: one spoonful, one opening, and nothing in this test tells you how much of what fell through is true dust and how much is just a little smaller than 850 µm.
Let the Brew Tell You the Size
A pinch on a plate is a guess about what the water will do. The brew is the water doing it, and unlike the pinch, it also reads a bag you didn’t grind yourself.
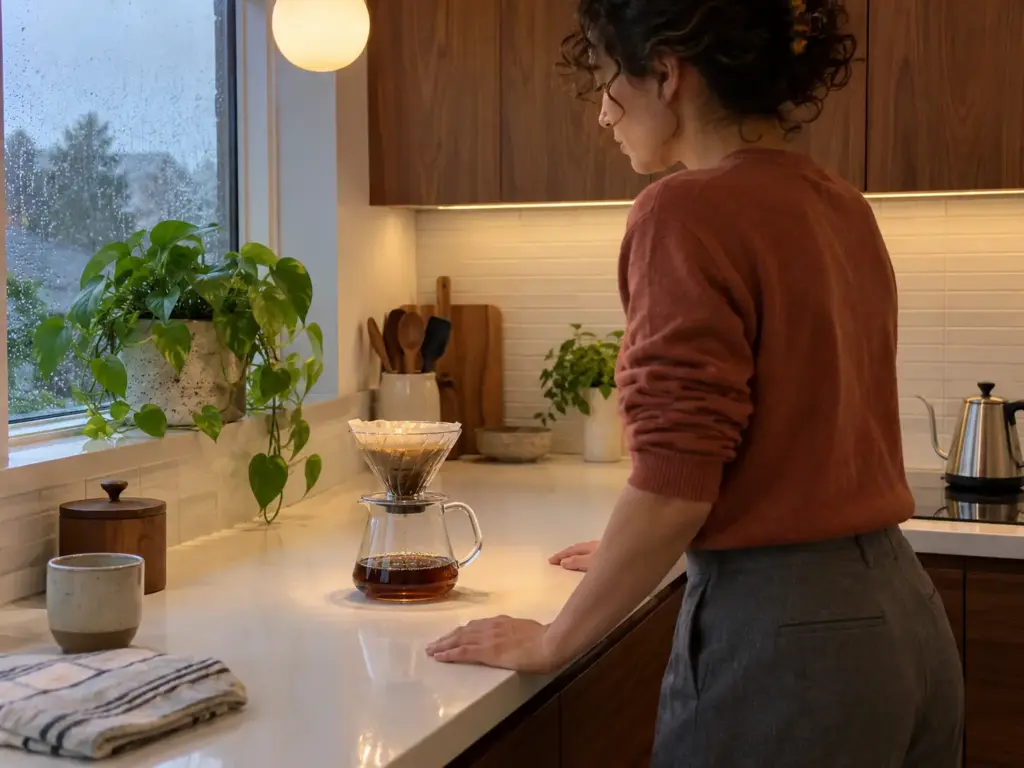
Time a Brew You Liked, Then Time the Next One
Say the pinch feels exactly as it did last week, yet the pot finished early and the cup tastes thin and a little sour, under-extracted. That’s the dust talking. According to a 2024 Scientific Reports study on fines and flow, “An increase of share of fines decreases coffee bed permeability, leads to reduced flow rates and longer extraction times.”
The study measured espresso beds under pressure. A paper-filter bed drains by gravity instead, but the same mechanism holds, since fine particles pack the gaps the water has to pass through. The speed of a brew reads the part of the grind your fingers skip.
For pour-over there is no drawdown time that suits every dripper and dose, a V60 or a flat-bottom cone, so don’t chase one from a chart. Time one brew you liked, write the time on the bag and compare every brew after it. Judge by drawdown and taste rather than the visual grind pile alone.
A beginner steers a hand grinder the same way, aiming at the recipe’s final drain of about 45 seconds and going down a tenth of a setting at a time while it runs fast. Faster than your own baseline points coarser than you think (or, more exactly, fewer fines than last time, which on one grinder usually comes to the same thing); slower points finer. The ranges for each cone are in pour-over grind by dripper and drawdown.
One timing trap: the first brew after you move the grinder still carries grounds from the old setting that were sitting inside the grinder. Time the second brew, not the first.
Start the timer when the last of the water goes in, not when you begin pouring. How fast you pour drifts from one morning to the next, while the moment the kettle comes away is the one point you can repeat exactly.
What a Drip Basket and a French Press Give Away
A drip machine has no timer you control, so the basket becomes the gauge. KitchenAid’s own support page warns that “Grounds that are too fine can clog the filter and lead to an overflow.”
Water standing high in the basket, or a brown line of grounds above the top edge of the paper filter, points finer than the machine can handle. A brew time noticeably shorter than usual, with a thin cup, points coarser. The right grind for a drip coffee maker sets the range to start from.
A French press gives it away in the last sip. Some silt is normal behind a metal filter, so what you’re reading is more of it than usual, a muddy, gritty layer you notice before you taste anything. Fines, silt and sludge add a slight bitterness to the taste, so extra fine is not the safer grind for a press. More sludge than last week means more fines than last week, and the way back is a French press grind that leaves less silt.
Look at the Spent Bed
When the drip ends, look down into the cone before you throw anything away. A flat, level spent bed with a thin, even coat of grounds up the paper means the water went through evenly. A crater in the middle, a hole where the stream dug in, or a puddle still sitting on a bed that stopped draining all point finer: the fines sealed the paper, and the water either stalled or cut a shortcut through the weakest spot (channeling). A stalled bed tends to pour an over-extracted cup, bitter and dry.
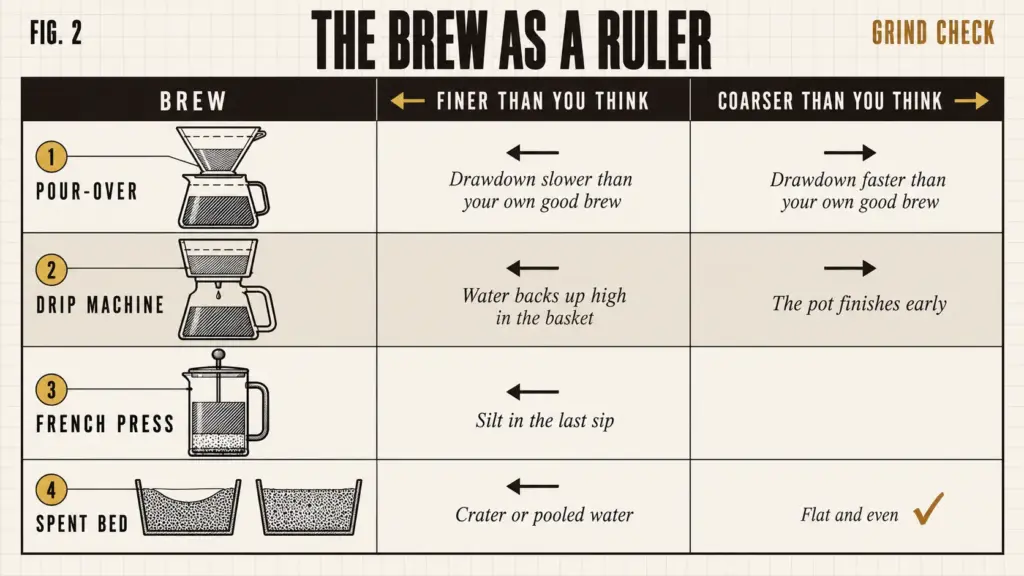
Then make one change at a time. Move the grinder one step, keep the same dose, brew and taste again, and let the cup confirm what the clock suggested. The taste side of that decision lives in which way to turn when the cup is sour or bitter.
Tools That Put a Number on Your Grind, and What They Miss
Some tools promise a size in microns instead of a feel. Each one measures something real, and each one measures a spoonful.
A Stack of Sieves
The Kruve sifter is the best-known version of the sieve test, stacked two deep. The routine a trade magazine described: grind 50 g, shake for about a minute, and the boulders stay on the top sieve while the dust drops into the tray. The maker’s target, per that review, is about 80 % caught in the middle band.
The maker’s own page calls the size words and the sugar-or-salt comparisons unhelpful. They aren’t measurements, true, but they still put you in range in ten seconds.
Getting one is the first snag: it isn’t sold on Amazon at the moment. Coffee Review found its recommended grinds “veering substantially finer than the norm,” because the sifter pulls out the very fine particles that ordinary brewing advice assumes are in the bed.
Sieves made for espresso can be too fine for grinder calibration, so lab sieves (No. 10, 20 and 30) are the better pick. 10, 20 and 30) instead. For comparing two grinds from one grinder, I’d take a single coarse lab sieve like the one in the section above: one opening, one number, and nothing to stack back in order.
A Phone Photo With a Coin for Scale
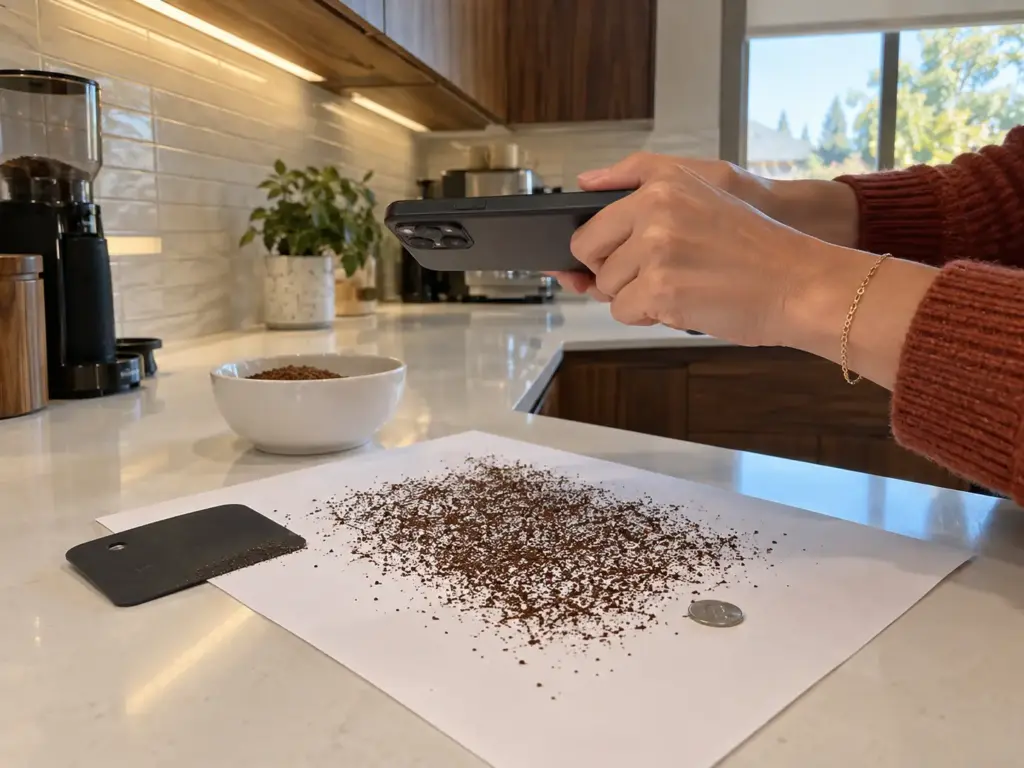
Two free iPhone apps try to do the same job with a camera. GrindLab (iPhone and iPad, iOS 26 or later) asks you to calibrate “with a coin or ruler” and reports a median size, a fines share and a boulder share; it has too few ratings for the App Store to show a summary. DOSE (iPhone only) skips the coin, wants the camera about 7 to 9.5 inches (18 to 24 cm) above the grounds and parallel to them, in light without harsh shadows, and had a single rating when checked. Its own privacy label says it may collect usage data for analytics.
The camera’s limit has been measured. A 2023 study on measuring grounds with a phone camera photographed grounds on plain A4 paper with a 12-megapixel phone and found an error of about 100–150 µm per particle, roughly one sieve step of the sifter it was checked against. That is enough to tell espresso grounds from French press grounds. It is not enough to see one click.
Comparing grounds by photo adds the fussy part. The thread starter got consistent results only when he spent time spreading the particles apart and kept the image sharp and evenly lit. Another member looked at grounds under a microscope, saw small particles stuck together into larger clumps, and wrote, “I’m not sure those applications measure what we think they’re measuring.”
Static does the same thing on a sheet of paper: grounds cling to each other, and a clump reads as a boulder. Spread them thin with the edge of a card before you take the photo.
Every One of Them Measures a Spoonful
A sifter, a lab sieve and a phone app all read one small sample from one spot in the bin. So the rule from the plate applies to all of them: the same setting, the same dose, and a comparison with last time rather than a verdict. Following a single grinder over time is where these measurements pay off, which points straight at the cheapest tool of all.
“Medium” Is Not a Size, So Keep a Sample You Trust
Every check so far compares grounds to something. The most useful thing to compare them to is a spoonful from a cup you actually liked, because the words on bags and the numbers on dials don’t hold still.
The Same Word Lands in a Different Place on Every Grinder
No public standard ties a dial number to a particle size. Consumer Reports notes that “some grinders have up to 60 settings” while its top performer “does a great job with just 15,” and adds that “extra settings don’t automatically mean better results.” Coffee Review calls makers’ setting guidance “simply too vague and are often specific to the performance of one machine.” The SCA does publish a home-grinder test standard, SCA-320, but only for its members, and the sifter’s maker states flatly that no two grinders are alike.
So the 14 on your new grinder and the 6 on the old one are marks on two different rulers. To carry a size from one to the other, grind about 5 g at three neighboring settings on the new grinder and lay each pile beside grounds from the old one under side light. Start at the pile you can’t tell apart from the reference, then time a brew to confirm it, because two piles that look alike can still hold different amounts of dust.
A pre-ground bag works the same way. Its medium is the roaster’s word for the roaster’s grinder at the roaster’s setting, not a measured size, and unlike whole bean you grind yourself, there’s no setting to move. The only way to know what’s in the bag is to tip a pinch beside your own grounds and look.
Keep a Jar From a Cup You Liked
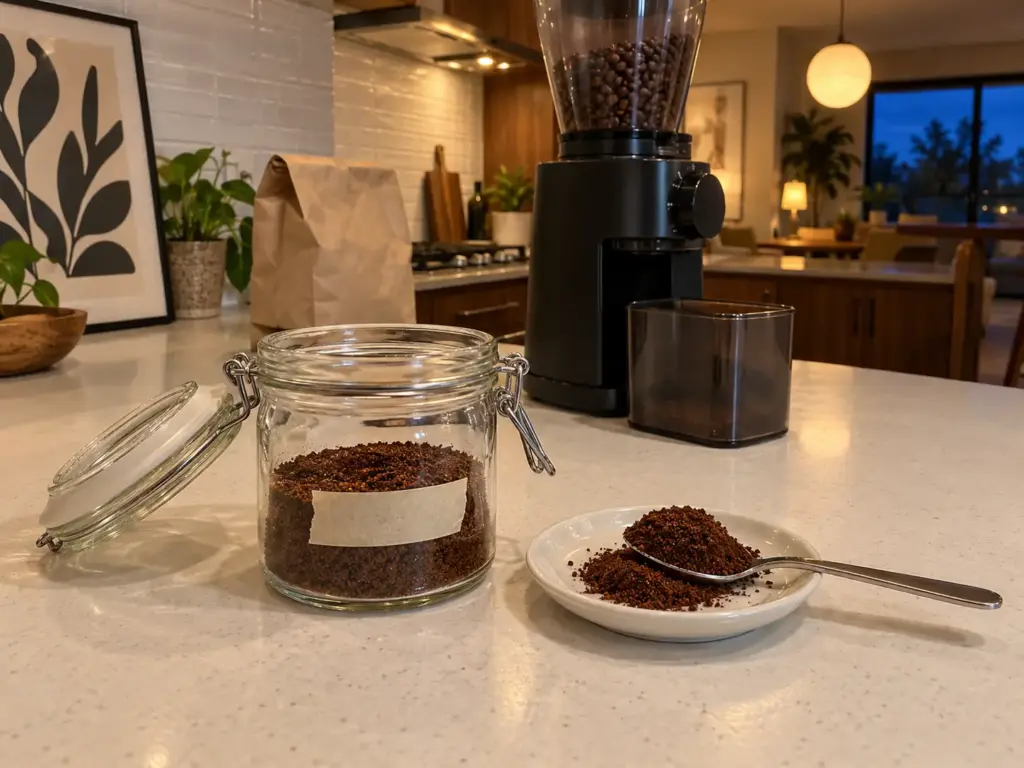
What this article recommends instead is small and nearly free. After a cup you liked, keep a spoonful of those same grounds in a small jar as a reference sample, and write the setting and the date on it. The next time something changes (a new bag, a pre-ground bag, a new grinder), set the new grounds beside the jar and compare them on the plate, through the sieve, or by timing a brew against the time you wrote down. It’s the physical version of a habit worth keeping: note the grinder settings for each type of bean for future reference.
Replace the sample every time you dial in a new bag. Old grounds keep staling, and a new roast behaves differently at the same setting (a lighter roast needs a finer setting than a dark roast to reach the same cup), so last month’s jar stops being a fair comparison.
The jar is a ruler and nothing more. Within days the grounds have lost their smell, so compare the particles, never the aroma, and never brew from the jar to check a taste. Keep the lid tight, too: grounds that pick up moisture clump, and a clumped reference looks coarser than it is, so crumble it gently with a fingertip before you set a new pinch beside it.
Label the jar with the setting and the date, not with how the cup tasted. The flavor belongs in your notes. The jar only has to answer one question: do today’s grounds look like these?
The Sample Shows When the Grinder Drifts
Grinders don’t hold still either. Grinders change and wear over time, and measuring the same grinder over time shows the condition of its burrs. A jar and a strip of tape are that measurement at kitchen scale.
When the usual setting on a similar bag starts giving grounds that look finer or coarser than the jar, or the sieve number on the tape moves while the setting stayed put, the grinder has moved and the coffee hasn’t. Burrs that came out for a cleaning and went back in are the first thing to check. Slow wear is the other possibility, and how long a coffee grinder lasts before the burrs drift covers what to look for. Once the jar tells you where your grounds really sit, the next question is which number your grinder should start on for the brewer you use.
Three Checks That Each Catch What the Others Miss
Fingers and a white plate place a grind within a name or two, as long as they compare two piles instead of a pile and a word. A sieve and a 0.1 g scale show the spread, and the number worth keeping is how it changes from one test to the next. The brew confirms both: the drawdown, the drip basket, the silt and the spent bed all read the dust your fingers can’t feel, and the cup has the last word.
A month from now, grind your usual setting on a similar bag and set it beside the jar; if the two piles no longer match, the grinder has shifted, and you’ll know before you blame the beans.
Tomorrow, time the brew you already like, from the last pour to the last drip, and write the time on the bag. If the next brew runs faster than that number and tastes thinner, go one step finer and taste again: the cup should come back fuller and a little sweeter, and if it turns harsh and dry instead, you went a step too far.
Frequently Asked Questions
01Is a finer grind a higher or lower number?
On most grinders a lower number means a finer grind, but some dials run the other way, so check your own grinder before trusting the direction. Grind a little at each end once and compare the two piles on a white plate; the grind size chart helps you map the rest.
02What is the perfect grind size for coffee?
There isn’t a single one: the right size depends on the brewer, the dose and the roast, and it shifts a little with every new bag you open. Start in your method’s range, then let the cup tell you which way to adjust the grind.
03Can a phone app measure coffee grind size?
Roughly: a 2023 study of phone photos of coffee grounds found an error of about 100 to 150 microns per particle, close to one step of a sifter. That separates an espresso grind from a French press grind, but not one click from the next.
04Is pre-ground medium the same as medium on my grinder?
Not necessarily, because the word on the bag describes the roaster’s grinder at the roaster’s setting rather than a measured size you could match on yours. Put a pinch from the bag beside a pinch from your own grinder on a white plate and compare them directly.
05Why do two grinds that feel the same brew differently?
Fingers read the average size and miss the dust, so two grinds can feel identical while one carries far more fines than the other. More fines slow the water, so that brew runs longer and tastes different. A sieve or a timed brew shows the gap.


How did your cup turn out?
No comments yet. Tell us what you changed — and whether the needle moved.