
We may earn a commission when you buy through links on this page. It never changes what we recommend. How we pick
On this page9 parts
- Measure the Water at the Grounds, Not on the Kettle Display
- Make the Thermometer Prove Itself in Ice Water
- Read It at the Right Depth, and Pick a Probe That Keeps Up
- With No Probe at All: Rest the Boil in the Kettle and Never Decant
- Checking a Drip Machine at the Outflow, and Descaling Before You Chase a Number
- What a Kettle Display Promises, and What a Month Does to It
- When the Measurement Is Not the Problem: Grind Before Degrees
- Run the Ice Check Tomorrow, Then Read the Bed Once
- Frequently Asked Questions
The display on your kettle says 205°F, you pour, and the pour-over still comes out flat, so the beans get the blame. Before they do, it pays to know how to measure water temperature for coffee where it matters: the brew temperature that counts is the water at the grounds, and the number on a kettle display is what the heater is aiming at, and a pour that leaves the spout at the top of the brewing window can sit under the bottom of it by the time it reaches the bed of grounds. This guide covers where the probe goes, how to make it prove it tells the truth, what to do with no probe at all, how to check a drip machine, and what a kettle display can and cannot promise.
Quick Answer
The number that counts is the water at the grounds, and this is the shortest route to a reading you can trust.
- Check the thermometer in crushed ice and water; it should read 32°F.
- Write down any offset and subtract it from every reading.
- Push the stem 2 inches into the wet bed and wait until it stops climbing.
- Take three readings and use the middle one.
- Aim for 195–205°F (90–96°C) at the grounds, whatever the kettle display says.
- With no probe, rest a rolling boil 30 to 45 seconds in the kettle.
Measure the Water at the Grounds, Not on the Kettle Display
Every thermometer answers one question, and for coffee water temperature there is one right place to ask it. The kettle display, the pour stream, the wet bed of grounds and the finished cup each answer a different one, and only one of them is the question the brewing window was written for. This section names that one, so the rest of the guide can measure the right place.
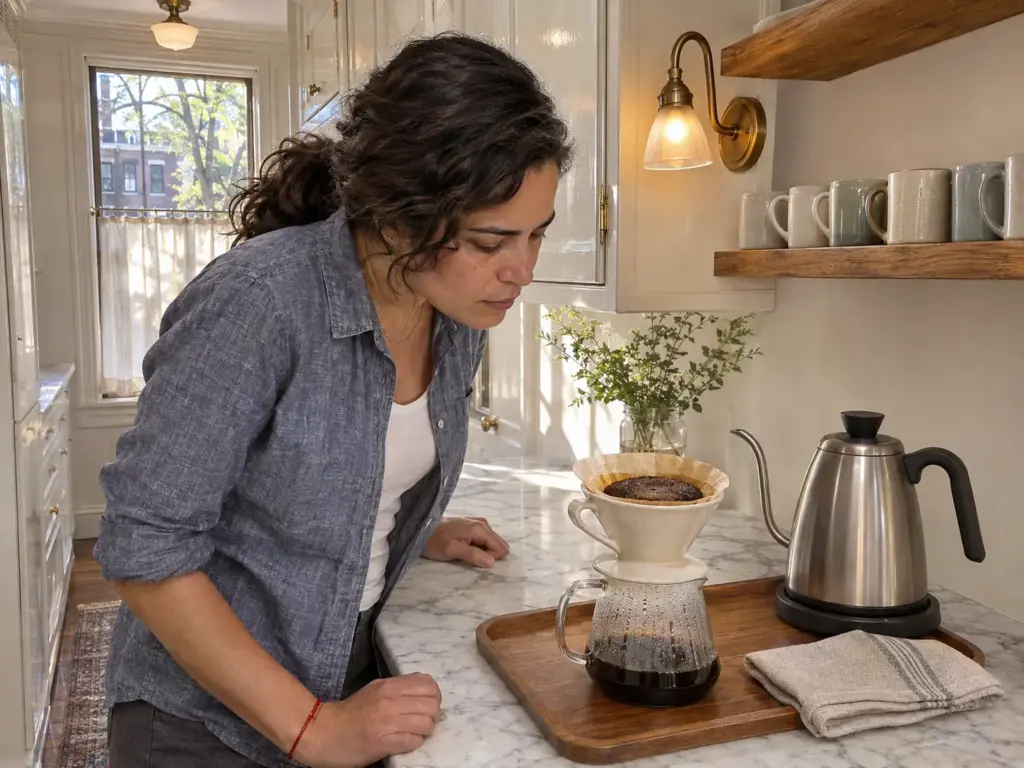
What the Display Really Tells You
A kettle display is a setpoint. It reports what the heater is aiming at and how closely the hold loop stays to it, and it says nothing about the water after it has crossed the spout, fallen through room air and met a cone of cold paper and ceramic. The kettles in this guide that hold a temperature do it for a set time (30 minutes, an hour, or to the degree), and none of them reads the bed of coffee.
The standard talks about the coffee itself. According to the SCA’s certified home brewer list, a certified machine offers “Precision brewing: Maintains 198–205 °F with even water distribution for full flavor.” The promise covers the whole brew cycle, so a kettle that touches 205°F and then falls away still brews cool in the second half of the pour.
The SCA’s Golden Cup standard puts brew water at 200°F ±5°F (93°C ±3°C) at the point of contact with the grounds. That band is 10°F wide, which is the reason a reading has to be trusted before it is used: a probe that reads 2°F off has spent a fifth of the working room before the first pour.
A display that shows the same number in week one and in week eight while the cup slowly tastes cooler is a sign that the reading has drifted, and the beans have nothing to do with it.
The Five Places to Read, and the One That Counts
Water can be read in five places, and each one answers a different question.
Inside the kettle, a reading says whether the heater is doing its job. In the pour stream, it says what leaves the spout. At a machine’s outflow, it says what the machine delivers before the water meets the coffee.
In the finished cup, it says how hot the coffee is to drink, which is no extraction number at all. In the slurry, the wet coffee bed during the pour, it gives the slurry temperature, which is what the coffee is actually being extracted at.
That is the number the window belongs to. The target for that number, the window itself and why the grind outranks it, is laid out on a separate page; this guide is only about reading it.
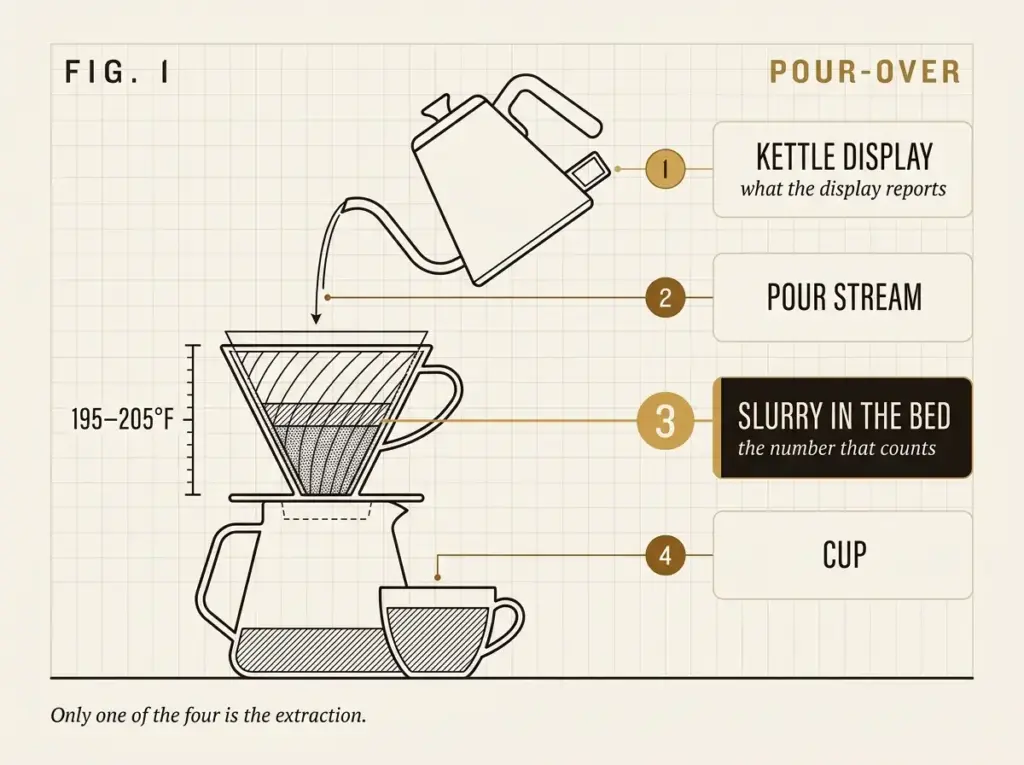
Why a Kettle at 208°F Can Brew Under 195°F
Measured in the bed, a pour-over poured from a 208°F kettle lands under 195°F, mostly at or below 192°F, while the same brewer poured straight from a boil reaches about 197°F. A thin stream falling through room air loses heat on the way down, and a cold cone, whose thermal mass has to warm up before it gives anything back, takes more. That heat loss happens before the water has done any work.
The kettle was right and the coffee still brewed cool. The cone matters too: a plastic one held more heat than a preheated ceramic or glass one in the same kitchen with the same pour.
So the owner of a kettle with a bright readout, who sets it to the top of the window and still gets a flat cup, is not misreading anything. The display and the cup disagree, and the cup wins. Everything below is about taking a reading from the place where the cup is actually made.
Make the Thermometer Prove Itself in Ice Water
A thermometer that has never been checked is a confident guess, and the one in the drawer is the cheapest place to start. Ten minutes with a glass of ice tells you whether the number you have been trusting is true, and it costs nothing. The boil gives a second fixed point, with an altitude caveat that matters more than most kitchens expect.
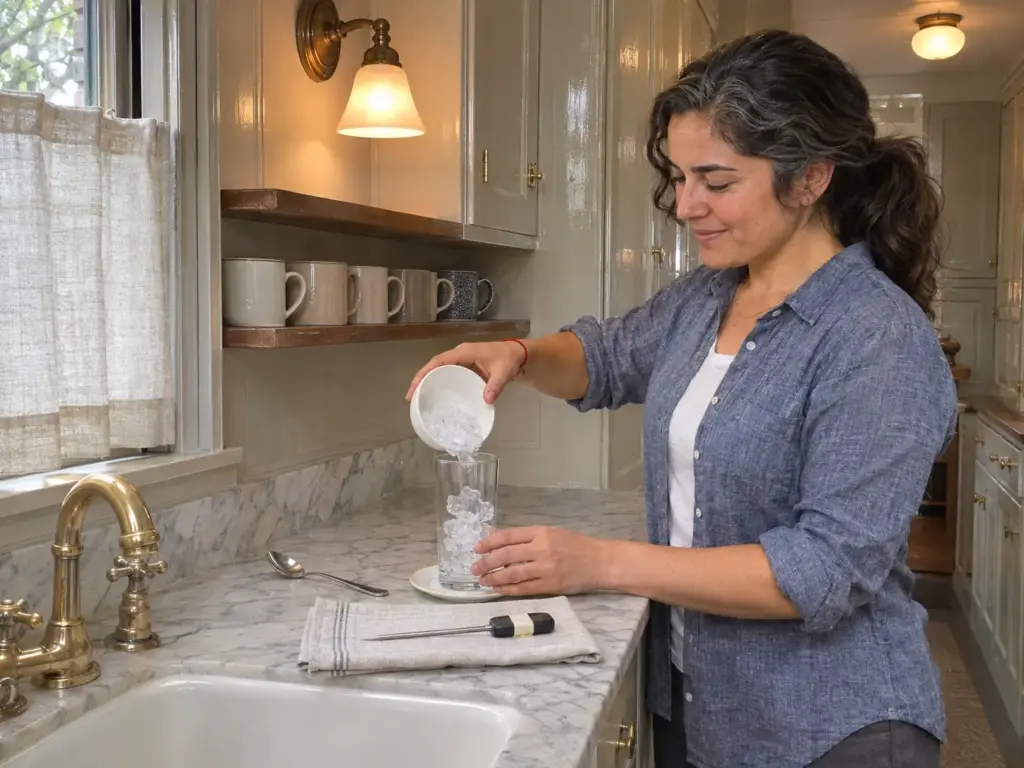
The Ice-Water Check, Step by Step
The ice-water bath is the fixed point every other check hangs from. Ice and water sit at 32°F wherever the kitchen is, which makes this the check to trust everywhere. The USDA’s thermometer calibration method is written for food thermometers, and it works unchanged for a coffee probe: “Wait a minimum of 30 seconds and check the reading without removing the stem from the water.”
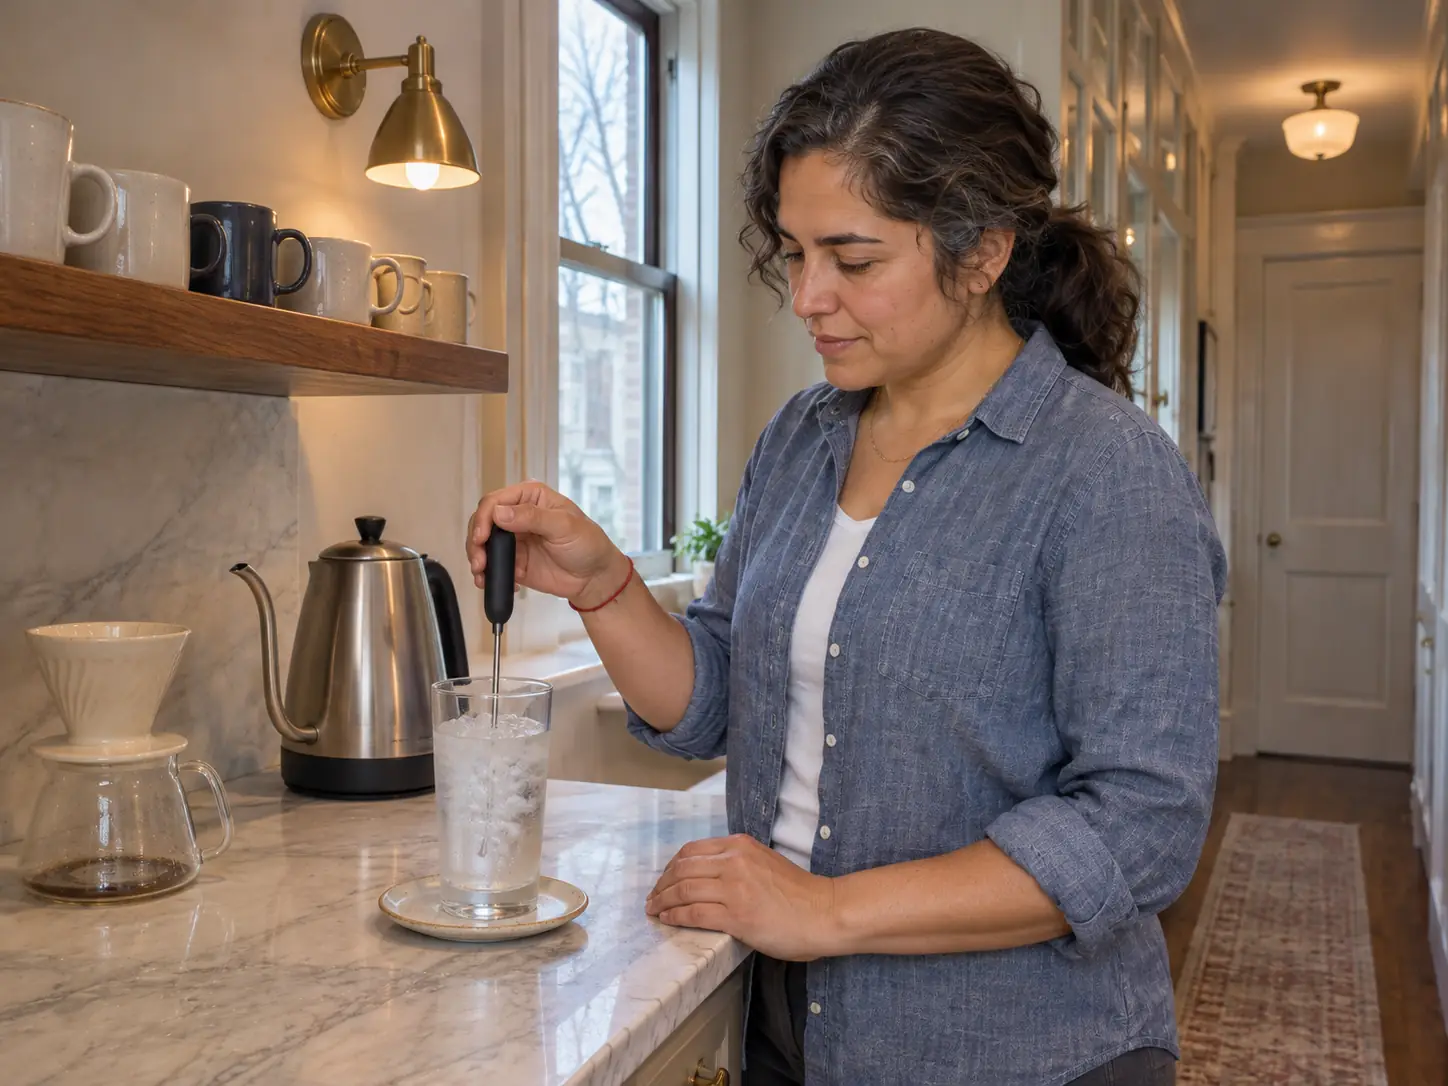
- Fill a tall glass to the brim with crushed ice, then add drinking water to fill the gaps and stir.
- Lower the stem at least 2 inches, touching neither the sides nor the bottom of the glass.
- Wait at least 30 seconds, with the stem staying in the water.
- Read the display. Anything other than 32°F is the probe’s offset.
- If the model has a calibration nut or button, adjust it here; if it has neither, keep the number.
The 2 inches are mechanical. The sensing element sits partway up the stem, so a probe laid shallow on the surface of a slurry reads the air above it, and the same logic is behind the USDA’s 2 to 3 inches for a dial thermometer.
Use crushed ice and fill the glass before the water goes in. Whole cubes floating in a lot of water leave pockets that sit above 32°F, and the reading then depends on which pocket the stem happens to find. A glass that is mostly ice with just enough water to fill the gaps holds the true ice point from top to bottom.
A probe that sits in the glass and never settles, still creeping after the first minute, is telling you it is slow before it tells you it is wrong. Treat that as a result and not as a nuisance.
The Boil as a Second Point, and What Altitude Does to It
A rolling boil gives a second check: the same stem 2 inches in, 30 seconds, and a probe in good shape reads 212°F at sea level. It catches a probe that reads low at the hot end, where the ice point cannot. Keep your hand out of the steam and move the pan by its handle; the reading only needs the stem.
Altitude moves that second point. The USDA’s high-altitude boiling point figures put the drop at just under 1°F for every 500 feet of elevation, so water boils near 202 to 203°F at 5,000 feet and close to 198°F at 7,500 feet. Two things follow. The ice point is the one to trust at any elevation, and above about 5,000 feet a kettle cannot reach the top of the window at all, so the pour starts at the boil and not below it.
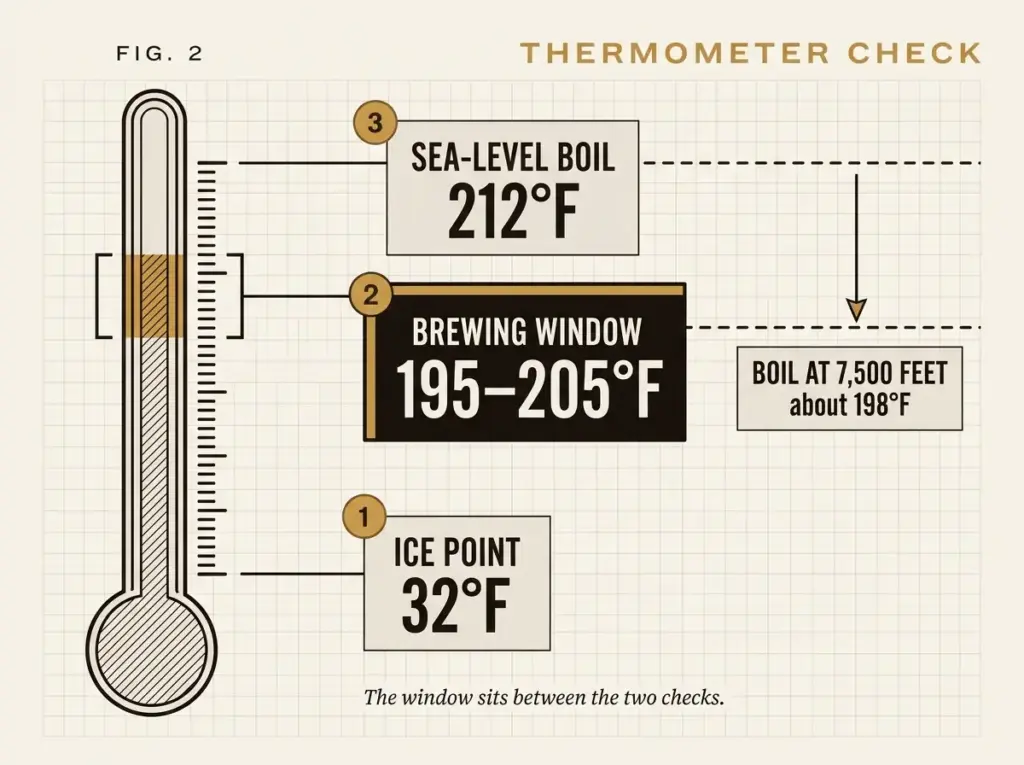
Write the Offset Where You Will See It
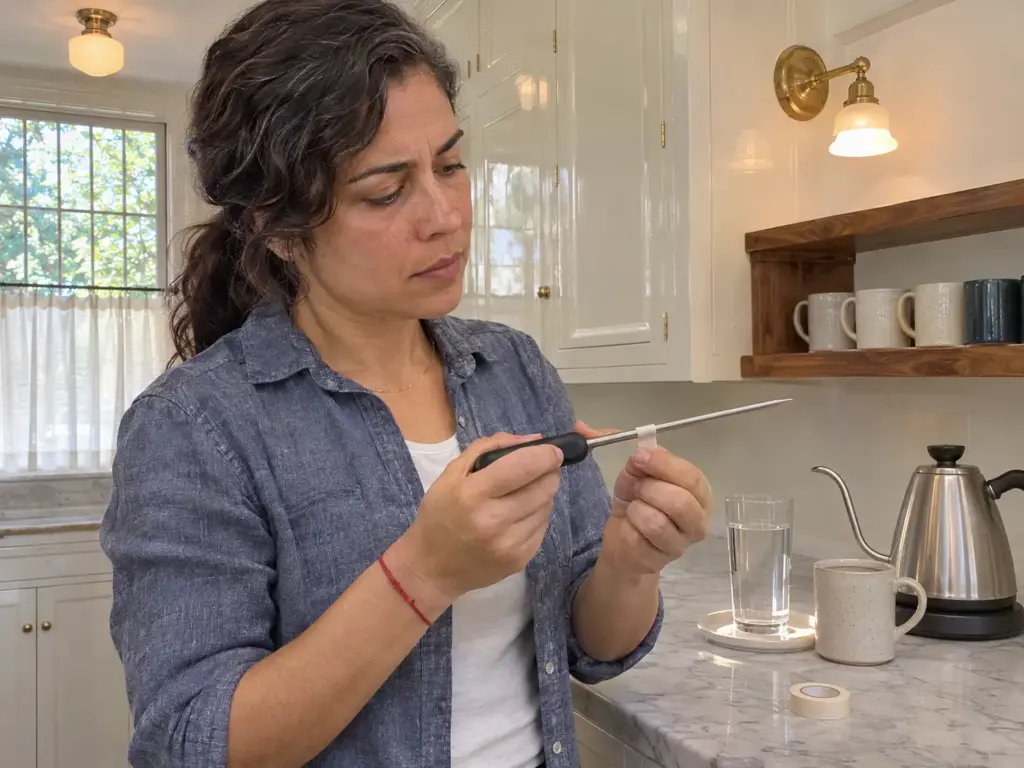
Note what the probe read in the ice, say 34°F when it should have been 32°F, and subtract that from every reading afterward. A strip of tape on the handle holds the number where you will see it. The check takes ten minutes and wants repeating about once a month, because a probe that read true in spring can sit a couple of degrees off by winter, and that drift is the one that gets blamed on the beans.
Read It at the Right Depth, and Pick a Probe That Keeps Up
With a probe that tells the truth in ice, the reading itself is a small procedure, and the procedure is what makes it repeatable. Only after it comes the question of which probe is worth owning, and the first answer is the one already in the kitchen.
Depth, Waiting and Three Readings
The procedure is short, and each step closes a specific error.
- Mark the stem 2 inches from the tip with a strip of tape, so the depth is the same every time.
- Hold the probe by its handle in the middle of the slurry or the water, away from the filter and the wall of the dripper.
- Wait until the number stops climbing, never until it first looks right.
- Take three readings and use the middle one, or average them.
The first step fixes the depth, the second keeps the stem away from cold paper and ceramic, the third deals with the probe’s own response time, and the fourth smooths out the moving water. A digital display that jumps a degree or two every second while the stem is moving settles only when the hand stops. The probe is fine and the hand is the instrument.
The same depth rule holds for a V60 or a Chemex. In a French press the stem goes into the middle of the grounds and water, and in an AeroPress, where the chamber is narrow, read it right after the pour and before the lid goes on. An infrared thermometer is the wrong tool for any of them: it reads the surface it points at, so aimed at a kettle it reports the wall and aimed at a slurry it reports the top skin, and neither is the water in the bed.
Take the reading while the water is still going in, or right after the pour, never after the draw-down. By the time the bed has drained the grounds have been cooling for minutes, and the number says more about the draw-down than about the extraction.
Probe Lag Against a 20-Second Pour
A probe has to settle inside the pour, not after it. Its settling time is the probe response time, and it is a different spec from resolution, the smallest step the display can show: resolution makes the number look fine, and says nothing about how fast or how right it is. A digital thermometer with a thin probe settles faster, because there is less metal to heat.
In Serious Eats’ test of 24 instant-read thermometers, most answered in 2 to 3 seconds, and the slow ones took 10 to 21 seconds.
On a 20-second pour a 2-second lag is survivable. On a 3-second splash, the probe shows the last thing it touched. A cheap thermometer in the drawer may sit twenty seconds behind the water it is standing in, and a reading that late is a memory.
The Three Probes, and What Each Gives Up
The free option comes first: a digital food thermometer, a probe thermometer with a steel stem, already in the kitchen and checked in ice, does the job a kettle’s display only claims to do. A budget one is enough, and both accuracy classes in this price range (±0.5°F and ±0.9°F) are usable against a 10°F window. What ruins a reading is an unchecked probe.
For a kitchen that wants a dedicated one, the TempPro TP19H is the budget answer: a 1-second read, ±0.9°F, a 4.3-inch stem, an IP65 rating and a calibration function that fits the ice-water check directly. Durability is a coin flip. Some units last, others fail at around eighteen months, and the plastic housing is where it goes.
The Lavatools Javelin PRO sits in the middle. It carries the half-degree accuracy of the premium probe, IP65 protection and a 2-inch rotating display that reads at an angle, and a rated read of 2 to 3 seconds. On a fast pour a 4 to 5 second read shows, and units are known to break a little over a year in.
At the top, the ThermoWorks Thermapen ONE reads in 1 second at ±0.5°F, with a 4.33-inch folding probe, an IP67 rating and a NIST-traceable certificate. That certificate is the reason it earns its spot: the monthly ice-water check confirms its number instead of inventing one, and a 1-second read fits inside a 20-second pour. It is the older model in its maker’s line, a faster one exists, and at this price some units fail inside three months.
With No Probe at All: Rest the Boil in the Kettle and Never Decant
Most kitchens have no thermometer, and the honest answer for them is a method that comes with an error band, which beats a guess. This section gives the band and the single mistake that wipes it out.
Boil, Take It Off, Wait 30 to 45 Seconds
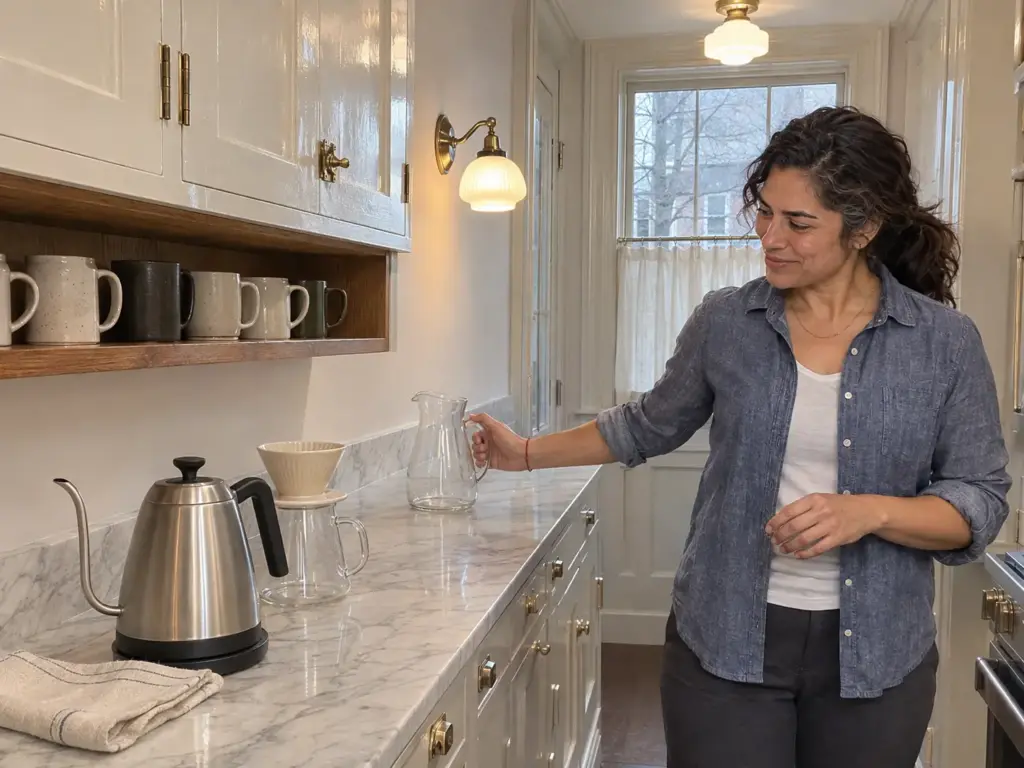
Take the kettle off a rolling boil and wait 30 to 45 seconds before pouring. One measured minute off the boil put the water at about 205°F in a home kettle, so 60 seconds is still inside the window at sea level. The band is an honest one: the kettle’s material, the room and the amount of water each move the number a few degrees. Whether a boil is too hot to pour at all is a separate argument, covered in whether a full boil damages the coffee; this page only measures the wait.
The rest that works in a steel kettle with the lid on fails in a wide open pan, because the pan loses heat from a large surface. The wait is calibrated to a kettle like yours, and a different vessel needs its own.
Start counting when the boil stops, not when you lift the kettle. A kettle that clicks off and a pan that has been lifted from the burner begin to cool at different moments, and the seconds in between are where the error band comes from.
Never Pour Into a Jug to Find Out
The container is a heat sink. Water that rests 60 seconds in the kettle comes out near 205°F, while the same water poured into a jug first drops into the 187–190°F range (86–88°C) before the coffee has even seen it. Rest the water where it is and pour it straight onto the grounds; a jug or a mug steals the heat before anything has been measured. A cold cone and a cold mug do the same to a pour-over.
The Saucepan Kitchen
A kettle is not mandatory. A thermometer clipped to the pan, or a food thermometer with a steel probe, is the whole kit, calibrated in ice as above. Altitude changes the rule: past about 5,000 feet the boil is the ceiling and the wait shrinks or disappears, and at 7,500 feet water boils near 198°F, so it goes into the coffee straight from the boil. The dose has the same workaround problem one measurement over, and it has a no-instrument answer too, in weighing the dose without a scale.
Checking a Drip Machine at the Outflow, and Descaling Before You Chase a Number
A drip coffee maker shows nothing about its own water. The certificate that proves a machine reaches the window exists exactly because the machine’s dial is a label, and this section measures the one number a machine will never report truthfully.
Where the Probe Goes on a Drip Machine
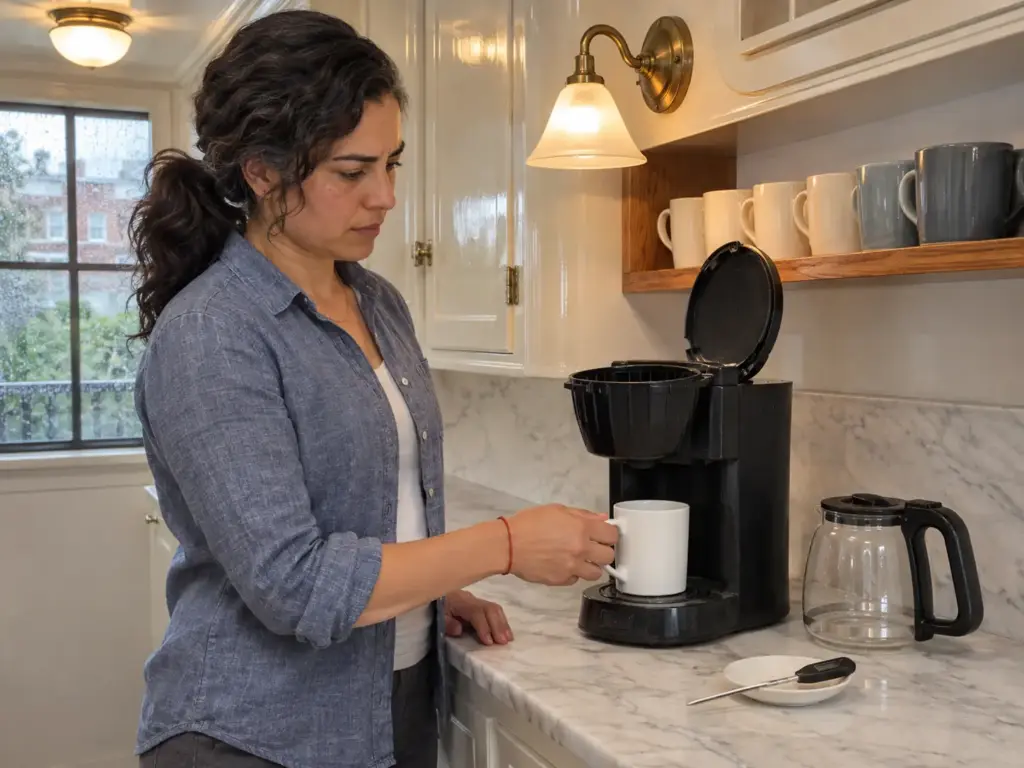
Set an empty mug or a heat-safe cup under the outflow and run a water-only cycle. Hold the probe by its handle with the stem in the middle of the water in the mug and your hand out of the stream, and read it as the number settles. A machine that is not on the SCA’s list can brew well under the window, since the machine’s own number is not evidence.
The reading is a floor, not the slurry: a probe in a mug sees the water on its way to the basket, before the grounds have taken any heat. For what happens to that water on the way, see what the water does inside a drip cycle. Anything inside the machine, such as opening it or tracing its wiring, stays with the manual.
Run the water cycle twice and read the second. A machine and a carafe that start cold take the heat out of the first run, so the first pot of the day brews cooler than the third, and a reading taken at the wrong moment tells you about the morning and not about the machine.
When the Number Comes Back Under the Window
Hold off on buying anything. Run the cycle again and read it a second time, then descale the machine as its manual describes and check again. Only if the water still comes back under about 195°F is the machine the limit, and then it makes sense to look at drip makers picked by the heat they reach, where the temperature at the basket decides the ranking.
Scale and the Order of Checks
Limescale, the scale buildup on the heating element, slows recovery and skews what the machine promises. A machine that read well in week one reads cooler by month two, and the cup goes thin and sharp without anything obvious changing. That sets the order of operations: descale, then re-check with the probe you have already proven in ice, then suspect the beans. A budget machine’s heater can only do so much, and the cheaper machines and the heat they give up is where a probe reading under the window usually leads.
What a Kettle Display Promises, and What a Month Does to It
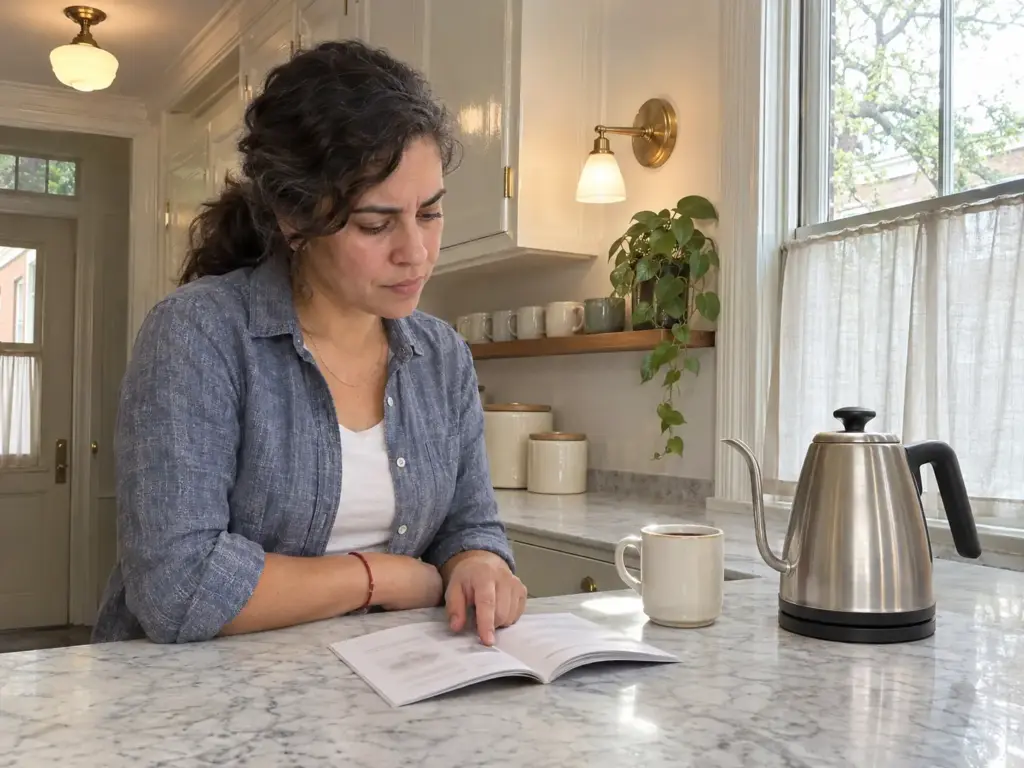
After every free check, a kettle that holds a number earns a place. The reason is repeatability, because a move of a few degrees only means something when the kettle can make it again tomorrow. The display is still a setpoint.
What a Set Point Buys You
A temperature-control kettle, also sold as a variable-temperature kettle, keeps the water at a number instead of chasing the boil, and nearly all of them are a gooseneck kettle, which steadies the pour as well. That hold is the only way a few degrees can be repeated morning after morning. It buys repeatability and not taste, and the probe from the section above is still what says what the water is at the coffee. The same measuring problem shows up on a machine with a tap setting: a hot-water dispenser with the same measuring problem is a dial against the SCA’s window, and the dial is a setpoint there too.
The Three Kettles, and What Each Gives Up
The Cosori Gooseneck is the cheapest of the three that does the job: 0.8 L, 1200 W, five presets, a 60-minute keep warm and a 304 stainless interior with no plastic touching the water, for a fraction of the Fellow. Some units stop working inside about four months, all at once, and the electronics are the weak point.
The OXO Brew Pour Over Gooseneck Electric Kettle is here for its 1°F steps from 104 to 212°F. Set 203°F, and it holds that for 30 minutes, which is how you find out whether your cup is a 203 or a 208. Units are known to break inside a year, it costs more than a kettle usually does, and the handle and lid get hot at a full boil, a detail the spec sheet leaves out and the first rinse of a morning reveals.
The Fellow Stagg EKG Pro is the splurge: 0.9 L, 1200 W, to-the-degree control, a pour timer, a hold and an altitude setting, which makes it the only one here with an answer for a kitchen above sea level. Reliability is the weak point. Some units read the temperature unreliably, others stop working within weeks, and it is the most expensive way to solve this problem.
A probe and a plain kettle make the same cup as a controlled kettle for a fraction of the splurge. The controlled kettle is for the reader who wants to stop thinking about it, and the flaws above are the price of that.
The Electronics, Not the Pour, Are What Fail
Kettles tend to fail from the electronics, and the pour is rarely what gives out. Each of the three carries that pattern in some form: units that stop working inside a year, readings that stop being reliable. A kettle display that has begun to lie is a reason to descale first and then re-check with the probe, in the same order as for a drip machine. A coffee maker whose temperature dial has the same month-two story shows what that drift looks like when the setpoint is the whole product.
When the Measurement Is Not the Problem: Grind Before Degrees
A measured number ends where the cup begins. A cup that is off after the water has been proven right is a reason to look elsewhere, and this section puts the checks in the order that spends the least effort for the most movement.
The Order That Saves the Most Effort
Grind first, temperature second. The grinder has more range, and it is easier to control, so a cup that comes out sharp or hollow with a trusted 200°F is a grind question before it is a temperature one: how to know if the grind is too fine or too coarse is the check that comes before the degree. At the same strength and extraction, temperature moves the cup less than the grind does, and it is worth changing only when it can be measured with certainty.
What a 5°F Move Can and Cannot Do
The window is 10°F wide, so a 5°F move is half of it. That is a real lever, and a coarse one next to a single step on the grinder.
Too cool tends toward under-extraction: sour, hollow, short on sweetness. Too hot, or too long, runs into over-extraction: bitter, astringent, with an ashy dry finish. Extraction yield, the share of the coffee that ends up dissolved, and TDS, the strength of the cup, both move with temperature, and both move with the grind, the brew ratio and the contact time as well. Roast shifts the target too: a dark roast gives up its flavor easily and turns bitter when hot, so it sits at the lower end, a light roast is dense and sits near the top, and a medium roast sits between them.
Which direction a cup goes with each move is covered in what each five-degree move does to the taste. Measuring is a habit and never a one-time check: the second cup from the same kettle in the same minute reads differently from the first, because the kettle has cooled and the cone has warmed.
The Next Measurement After the Thermometer
What you have now is a thermometer that has proven itself, a reading taken at the right depth, a no-probe method with an honest error band and a machine checked at its outflow. The next measurement is the dose, and a scale makes that repeatable the way a probe made the water repeatable: the ratio to start from, in grams is where it begins.
Run the Ice Check Tomorrow, Then Read the Bed Once
The number that counts is the water at the grounds and never the one on the display. A thermometer earns trust only after an ice-water check and a written offset. Read it at the same depth every time, let it settle, and take three. With no probe, rest the boil in the kettle and never decant.
Check a drip machine at its outflow and descale before chasing a number, and put the grind ahead of the degrees.
The things that drift here drift slowly: a probe that read true can wander after a season and wants its ice check again, and scale on a kettle’s element shows up as a cup that tastes cooler the next time the water looks cloudy or the element looks chalky.
Those steps are a whole measurement protocol, and it fits on a strip of tape. Tomorrow morning, run the ice-water check on the thermometer already in the drawer and write the offset on tape. Then take one reading at the grounds on the next pour and taste the cup. If the number turns out to be the problem, a fast probe is the first purchase, a kettle that holds a number comes only after the reading is proven, and the scale that makes the dose repeatable follows them both.
Frequently Asked Questions
01How do you measure water temperature for coffee without a thermometer?
Boil the water, take the kettle off the heat and wait 30 to 45 seconds in the same kettle before pouring. A full minute still lands near 205°F at sea level. Never pour it into a jug to check, since a second vessel steals the heat.
02Where do you put the thermometer when making pour-over coffee?
Put the stem at least 2 inches into the wet bed of grounds, held by its handle in the middle, away from the filter and the dripper wall. Skip the stream and the surface. Wait until the number stops climbing and take three readings.
03How do I know my coffee thermometer is accurate?
Fill a glass with crushed ice and just enough water to fill the gaps, put the stem in 2 inches for 30 seconds, and it should read 32°F. Write any difference on tape and subtract it from every reading. Repeat the check about once a month.
04What is the right water temperature for coffee?
The Specialty Coffee Association and the National Coffee Association both put brew water at 195 to 205°F (90 to 96°C) at the grounds. Inside that window the grind moves the cup more than the degrees do, so settle the grind before chasing a number.
05Does my drip machine brew hot enough?
Only a reading can say: run a water-only cycle into a mug under the outflow and read the water with a probe held by its handle. If it comes back under about 195°F, run another cycle, descale as the manual says and measure again.

How did your cup turn out?
No comments yet. Tell us what you changed — and whether the needle moved.