
We may earn a commission when you buy through links on this page. It never changes what we recommend. How we pick
On this page9 parts
- Which Way the Cup Is Off, and What 5°F Does About It
- Where 195–205°F Comes From, and What Boiling Changes
- Roast and Method Move the Number
- The Number Belongs to the Wet Grounds, Not the Kettle
- What an Ordinary Drip Machine Really Brews At
- Reaching the Number With the Kettle You Already Own
- Kettles That Hold a Number, and What They Do by Month Two
- Tomorrow's 5°F Move, and What to Recheck When the Scale Builds
- Frequently Asked Questions
Same bag, same scoop, same drip machine, and the pot comes out hollow and sharp on a weekday, then drying and harsh on a slow Sunday when the kettle boiled a little longer. The beans take the blame first, yet the question sitting under that cup is the one in the title: how does water temperature affect coffee taste?
The answer is a sequence. Sour compounds dissolve first and bitter ones last, so a cool brew stops short (under-extraction) and a hot one runs long (over-extraction), and the temperature that decides it belongs to the wet coffee, and the kettle only gets the water there. From here you will read the cup as a direction, give the 195–205°F (90–96°C) window its owner, adjust it for roast and method, see what an ordinary drip machine really brews at, and learn how to reach the number and hold it.
Quick Answer
Brew with water that reaches 195–205°F (90–96°C) at the wet grounds, not in the kettle. Cooler water leaves the cup sour and thin because the sugars never dissolve; hotter water runs on into the bitter compounds and the cup turns drying. Inside the window, a 5°F move is audible in the cup, but it is a smaller dial than the grind.
Which Way the Cup Is Off, and What 5°F Does About It
A cup that tastes wrong points in a direction before it points at a gadget. The direction is the order in which the water pulled things out of the grounds, so read it first: a degree is the fix for only one half of the map, and the last subsection says where grind and ratio outrank it.
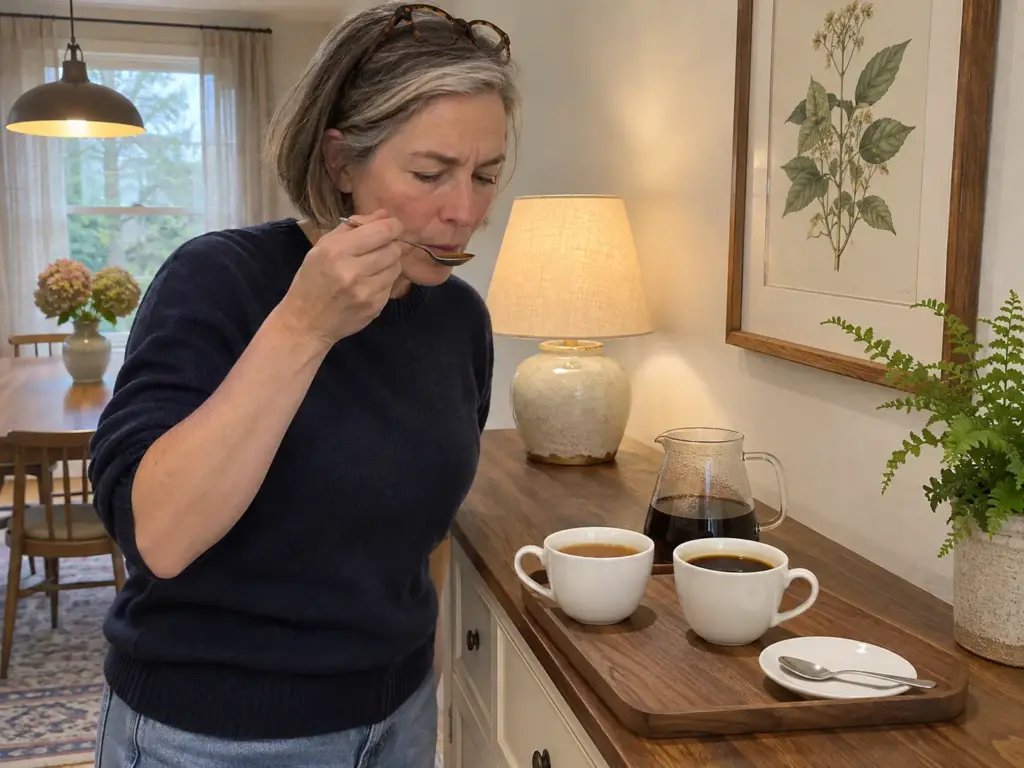
Sour arrives first, bitter arrives last
Caffeine, sugars and organic acids dissolve in the first seconds of contact. The bitter compounds, chlorogenic acid lactones among them, need longer contact or more water, and the low-polarity compounds extract poorly while the water is cool, as a published review of coffee extraction chemistry sets out. A cool brew therefore stops after the acids and before the sugars: sharp, thin, hollow. A hot one runs on into the bitter polyphenols at the end: drying, astringent, harsh.
The direction holds over a wide range. In a UC Davis Coffee Center study of brew temperature and flavor, coffee brewed hot at 92°C (198°F) read higher for bitter taste, sour taste and rubber flavor than coffee brewed at 22°C (72°F) or 4°C (39°F), and the hot water, with its higher solubility, pulled about 13% more soluble material.
Hollow and sharp: move the water up
When the cup is hollow, sour and thin, the water was too cool: the acids came out and the sugars stayed behind. Check that the dose and the grind size are in a sane range, then raise the water 5°F before you move the grind, because a finer grind would also push the bitter end into a cup that only needed more sweetness. The next cup should taste rounder in the middle, with the sharp edge softened. If it tips into dry and bitter, the move was too big; come back half of it.
Drying and harsh: move the water down
A cup that dries the tongue, turns astringent and harsh at the finish has run on into the bitter compounds, so the water was too hot. Lower it 5°F before you go coarser, because a coarser grind also weakens the cup and you would be trading one fault for a thinner copy of it. The next cup should lose some of the dryness and keep its body; if it turns sour and thin, you passed the middle.
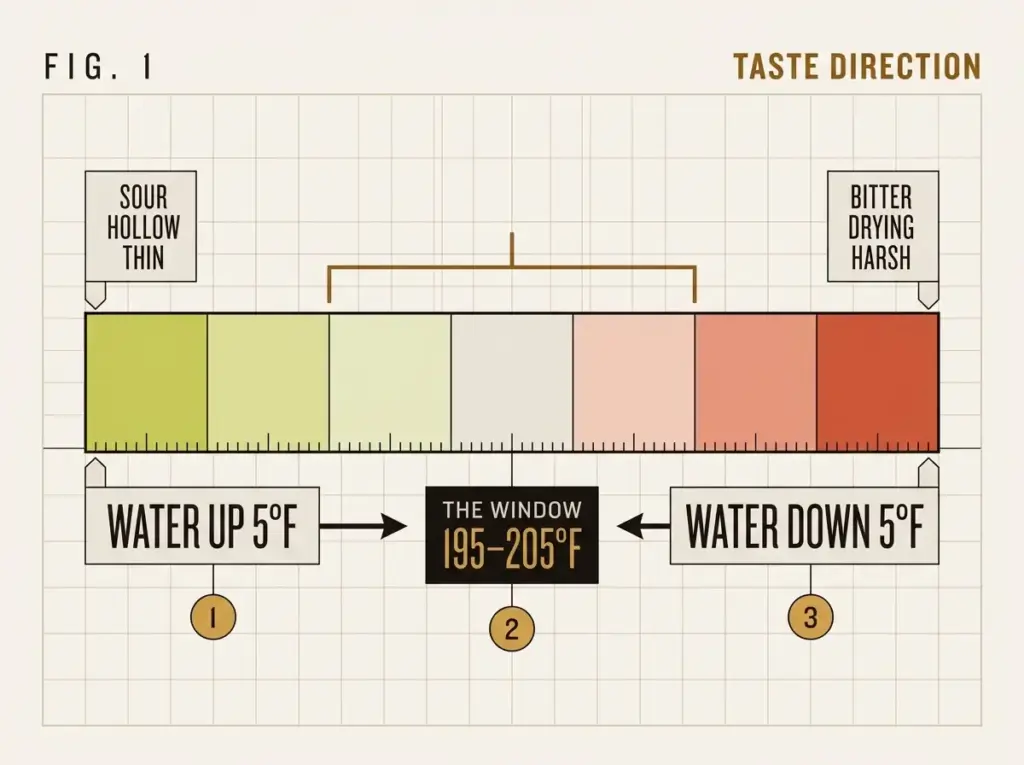
A 5°F move is a real dial. About 2°F (1°C) is the first difference a palate picks up from the same bag at the same grind, and 5°F is a clear one. But it is a smaller dial than the grind.
When the degree is not the dial
The counterweight belongs in writing. According to the SCA’s own brewing-temperature study, “any changes in flavor that were a result of changing brewing temperature alone were so small” that most were insignificant once strength and extraction were matched between 87°C and 93°C (189–199°F). In a kitchen nothing matches them for you: hotter water extracts more, and the cup shows it. That is why degrees come after dose and grind, never before.
A thin cup is a strength problem first, so start at a 16 to 1 brew ratio and move from there before touching the water. A cup that is sharp and drying at the same time is rarely a temperature problem at all. That pairing is uneven particles or channeling, and the grind move that fixes the same two tastes is the dial for it, and grind size, not degrees, is the one to touch.
Weigh the dose before the first 5°F move. A level scoop of a dark roast weighs less than a level scoop of a light one, so a ratio set by scoop shifts whenever the bag changes, and the cup will blame the water for it.
Where 195–205°F Comes From, and What Boiling Changes
The 195–205°F window, sold everywhere as the ideal brewing temperature, has an owner and a measuring point, and both change what the number means in a kitchen. This section gives it its source, then spends two sentences on boiling, because that question arrives in the same breath.
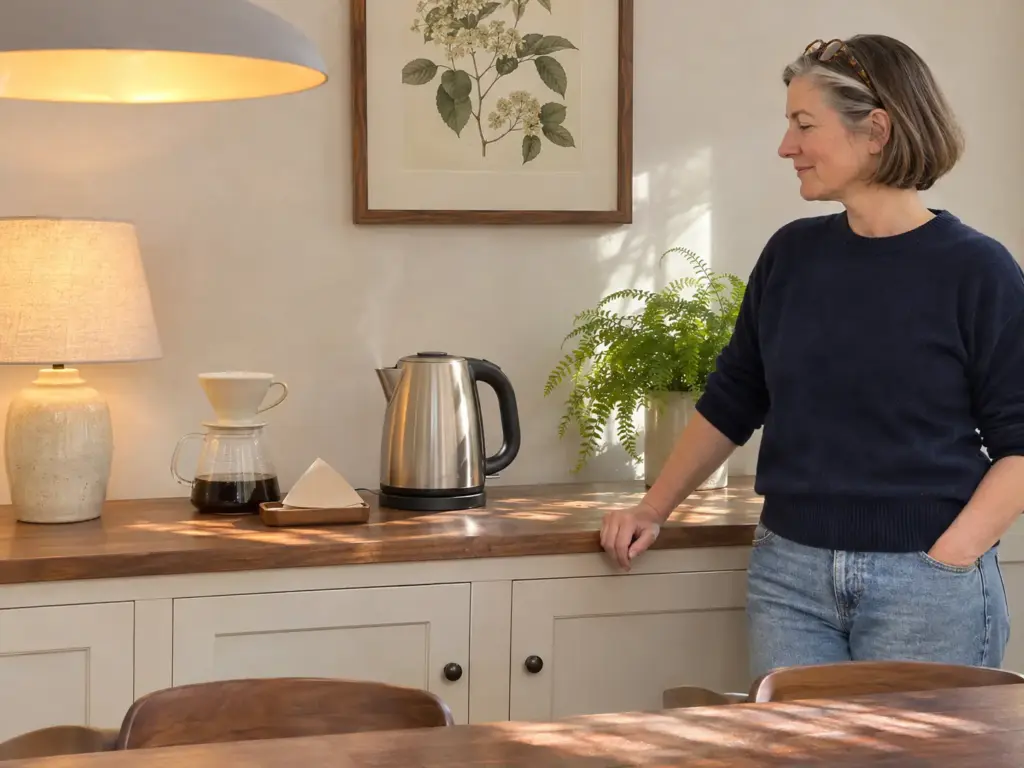
The window and its owner
The 195–205°F figure came from the National Coffee Association (NCA), whose brewing guidance asked for brewer water between 195 and 205°F for optimal extraction. Its current guidance is the National Coffee Association’s pour-over guide, which gives 93 ± 3°C, the same 90–96°C (194–205°F) in metric. The standard people usually mean is the Specialty Coffee Association’s (SCA), and its current home-brewer rule (310-2021) measures the slurry, the wet coffee itself: 90–96°C once a third of the water has been sprayed, held to the end and read by three thermocouples floating at the top center of the bed. For a single number to brew at and the steps to reach it, see which number to brew at and how to reach it; this page only uses the window.
The rule that 310-2021 replaced, from 2017, asked for 92°C (198°F) within the first minute and never above 96°C (205°F), so a figure can be right under one version and 2°C off under the other. And the tightest number in coffee is not for brewing at all: cupping asks for 200°F ± 2°F (92.2–94.4°C) on the grounds, which suits the cupping table and has little to say to a V60.
Boiling, settled in two sentences
A bean roasted past 400°F is not damaged by 212°F (100°C) water. What boiling changes is the extraction speed and the width of the window, and the full argument on resting water off the boil sets out why that is a grind-and-time problem and what 30 seconds of rest buys.
At altitude the boil is the ceiling
The boiling point falls roughly 1°C per 300 m, about 2°F per 1,000 ft. At 4,000 ft water boils near 204°F (96°C), the top of the window, so resting it can only move it down. At 7,500 ft it boils near 198°F (92°C) and the boil itself is the ceiling, with nothing to rest off. The advice to let the kettle sit is right at sea level and wrong in that kitchen: pour straight off the boil and put the effort into preheating the cone and the mug, covered further down.
Roast and Method Move the Number
A single window is a simplification. A roast that is already half dissolved by the roaster wants less heat than one that is still dense, and a brewer that holds water for four minutes wants a hotter start than one that finishes in two. This section moves the number by roast first and by method second.
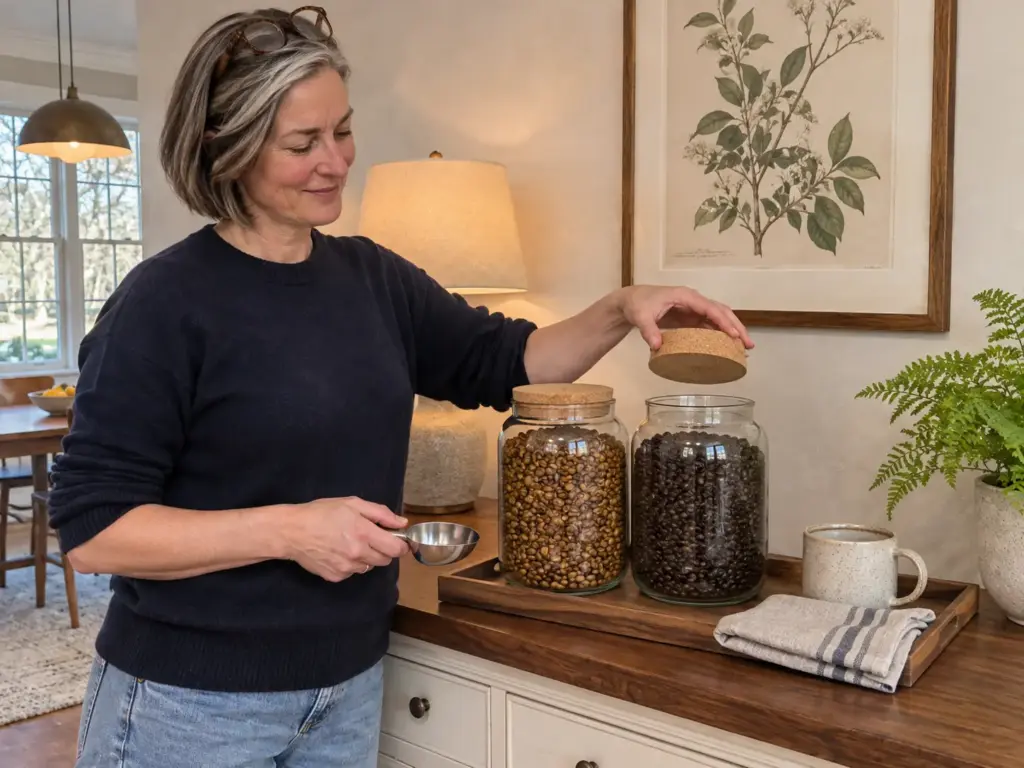
Light roast wants more, dark roast wants less
Light roasts sit toward the top of the window, about 200–205°F (93–96°C), and dark roasts toward the bottom, about 195–200°F (90–93°C). Dark beans are more porous and dissolve faster, so the same hot water runs on into the bitter end sooner, while a dense light bean needs the heat to bring its sugars out. A medium roast sits between the two, so start in the middle of the window. Why a light roast goes sour and a dark one goes harsh has the roast comparison in full, and how roast also moves the grind covers the second dial that travels with it.
Some brewers push as far as 207°F (97°C) on a light roast and 185°F (85°C) on a dark one, and those are outliers of the pattern, a poor place to start.
Both ends show up in one afternoon with one kettle: the dark roast that tastes scorched at the top of the window and fine five degrees lower, and the light roast that stays sour until the water goes up by the same amount. No new gear is involved in either.
Brew two cups of the same bag with the same dose and grind: one straight off the boil, one after the kettle has rested a minute to a minute and a half. Write the winner on the bag with a marker. That is your bag’s number until the roast date or the roast level changes.
Pour-over, French press and the drip machine
Pour-over sits around 198–205°F (92–96°C) at the slurry, and a Chemex or a Kalita counts as pour-over. The water also loses heat to the cone and the air on its way down, and that loss is measured below.
French press sits near 195–200°F (90–93°C), and because four minutes of contact time bleed heat into the glass and the air, it is the method where pouring at the top of its range matters most; the grind for a four-minute immersion runs coarser for the same reason, since time is doing the work. A drip machine aims at the same 90–96°C at the grounds, and on a mainstream one the water reaching the basket sits closer to 180–190°F (82–88°C). That shortfall is measured further down.
Every method is aiming at the same 90–96°C at the grounds. What differs is how much the water cools on the way there.
Espresso and cold brew do not play by this table
Espresso is the one method where the machine sets the water, and the figure that matters is the one in its manual or on its thermostat. This guide gives none, because a number from a table that disagrees with the manual is wrong for that machine; what espresso asks of the grind instead is the dial that stays in your hands, together with the seconds. Cold brew has no hot water to adjust, and twelve to twenty-four hours of time does the work that heat does elsewhere. The filter that sets the grind for cold brew is the choice that matters there.
The Number Belongs to the Wet Grounds, Not the Kettle
The window is measured where the water meets the coffee, and between the kettle and that point the water loses more than most readers guess. A cold cone and a cold mug are part of the temperature you brew with.
What the water loses on the way
Jonathan Gagné measured it in The Physics of Filter Coffee: a plastic V60 poured from a 200°F (93°C) kettle averaged 182°F (83°C) in the slurry, 18°F under the kettle, and the same cone poured from a 210°F (99°C) kettle averaged 191°F (88°C). Other measurements in the same range put the normal fall at 18–27°F (10–15°C). The SCA reads the slurry with three thermocouples at the top center of the bed, so the display on a kettle is not the slurry temperature the standard speaks about.
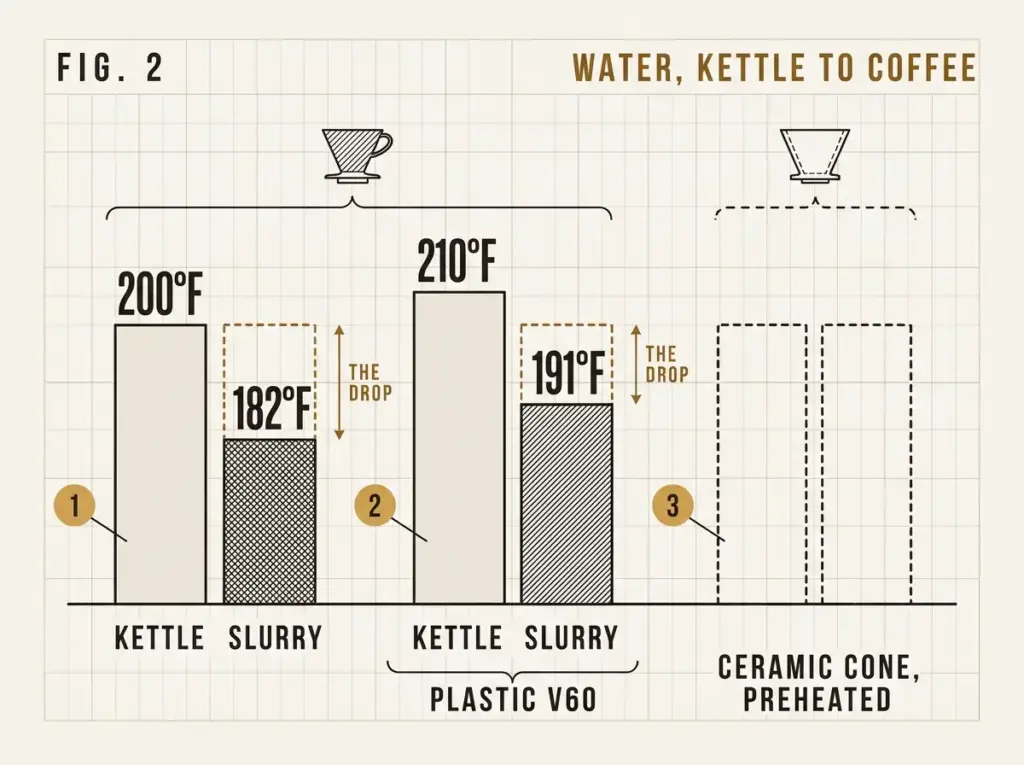
That heat loss means a kettle that looks right on its display can be brewing a full 15°F or more below the window. And since the cone, the server and the mug are all cold metal, ceramic or plastic, each one takes its share.
Preheat the cone, the server and the mug
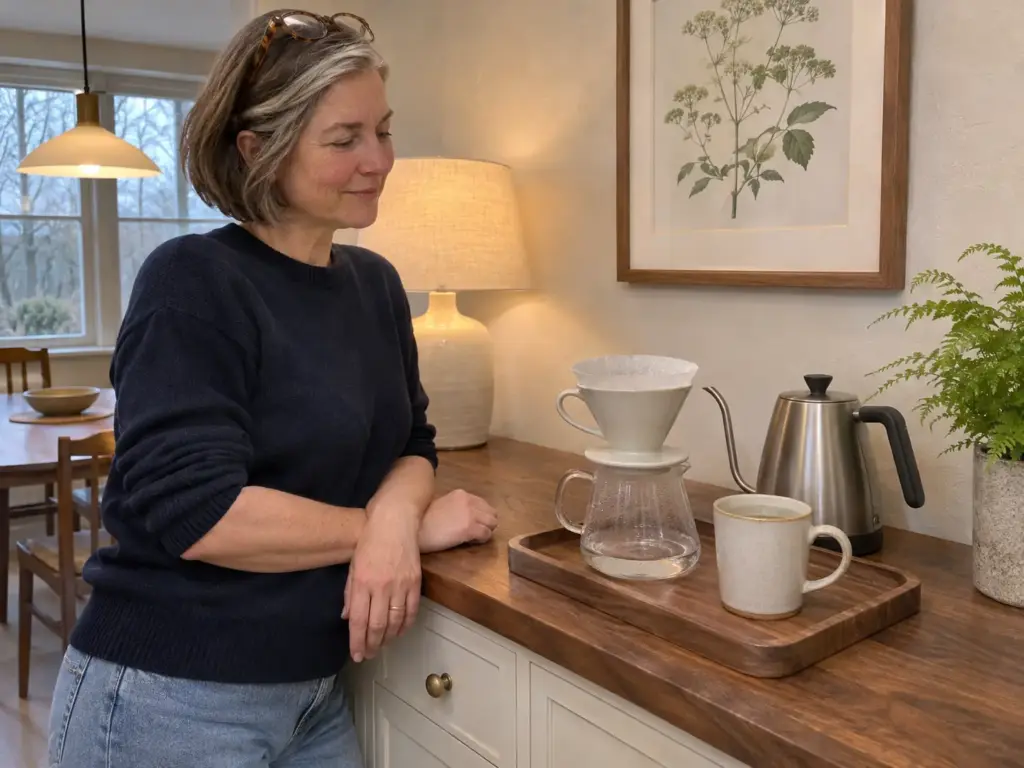
Free first. Start with the rinse: run the rinse water through the paper and into the cone, then pour it into the server and into the mug you will drink from, so the first pour meets warm material instead of the cupboard’s cold.
Taste that cup against yesterday’s. A cup that loses its hollowness here was a cold-cone problem, and no kettle was needed. If it is still thin or sharp, pour from hotter than the target: a 200°F kettle is a 182–185°F brew, and a boil that rested 30 seconds sits closer to the window than it looks. The grind for a pour-over, by dripper covers the setup where that loss happens.
If you boil in one pot and pour from another, fill the second one with boiling water first, leave it a minute, tip it out and only then transfer. Empty metal takes a few degrees from the first pour, and what it takes at your counter is worth reading once with the probe.
Record the slurry of the cup you liked
The only temperature you can reproduce is the slurry of a cup you liked. Read it once with a probe held by its handle, never with a hand over the steam, write the number on tape on the kettle or inside the cabinet door, and brew back to it. Everything in this guide is a way of getting to that number again on a rushed weekday.
What an Ordinary Drip Machine Really Brews At
Most readers brew on a drip machine, tap water and ten minutes before work, and a drip coffee maker’s support page treats a brew-basket temperature far under the window as normal. This section shows how to check it for free before blaming the beans, and it keeps any purchase for the end.
A mainstream machine’s normal is 15–25°F under the window
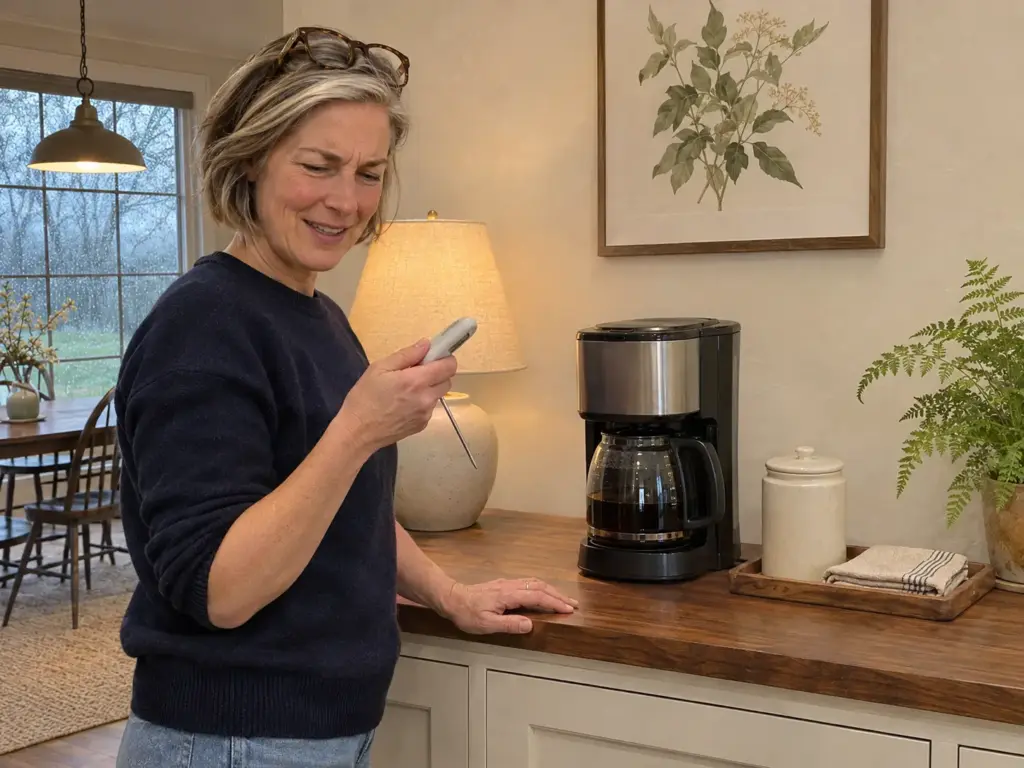
Breville’s support page for its drip brewer says of the brew basket, “The measured temperature should be between 180°F and 190°F.” Against the SCA window that is 4–14°F under the 194°F floor and 15–25°F under the 205°F top, and the maker calls it normal, telling owners to service the machine only below 180°F.
The machine is not broken. It is just cool. You can spend a year stirring the carafe and swapping bags and never suspect a basket that sits under 190°F.
The free check, and the free fixes first
At the budget end the answer is usually that 180–190°F band, and what a cheap drip machine’s brew temperature really is goes through the details. To see where your own machine sits, use the SCA’s method:
- Mark the reservoir at two-thirds and brew a full batch with room-temperature water.
- When the water reaches the mark, read the wet coffee at the top center of the bed with a probe held by its handle, away from the steam, then read it again at the end.
- If the probe reads below about 194°F, run a water-only cycle, descale per the manual and measure again.
Never put a hand over the basket while you measure.
If the reading is still low after the descale, the fixes come in this order, with a taste in between. First the water-only cycle and the descale themselves: scale cools the brew and fools the sensor, and a clean machine costs one cycle. Taste after it; a cup that was flat and sharp should come back rounder.
Then a finer grind, because a machine that runs cool wants more extraction out of the grounds it can reach. The next cup should be sweeter and heavier, and if it turns bitter you went a step too far. Last, a fuller batch, since a small batch in a wide basket runs cooler.
If the probe still reads under the window after all three, the machine is built to brew there, and a drip machine picked for the heat it holds is the upgrade path.
The thermometer, when the free check needs one
A digital thermometer is the tool for the free check. The budget one is the TempPro TP19H, which reads in about a second as advertised, to ±0.9°F, with a calibration function that lets a home probe be trusted. Its tolerance is also its limit: ±0.9°F swallows a 1°F move, so it confirms a 5°F change in the machine or the kettle but cannot confirm a 1°F one. Cheap probes in general read high and climb slowly, so wait until the number stops moving before you write it down.
The other end of the range is the instrument you would use to audit the first one. The ThermoWorks Thermapen ONE reads in a second to ±0.5°F, finer than the roughly 2°F step a palate notices, and comes with a NIST-traceable calibration certificate, so it can tell you whether the kettle or the machine is lying. It costs a multiple of the budget probe for a job the budget probe already does, and it drifts like any other, so it needs the same ice-bath check.
Put a new probe in a glass of ice and water the day it arrives. It should read 32°F (0°C). A probe that reads 36°F is 4°F high, and every temperature you take with it is 4°F too hopeful. Repeat the check every season, because probes wander after months of daily use.
Reaching the Number With the Kettle You Already Own
A variable temperature kettle is a convenience, and this section is the free route to the same number and the order to use it in, so you have tasted the result before any purchase comes up.
Rest the water off the boil
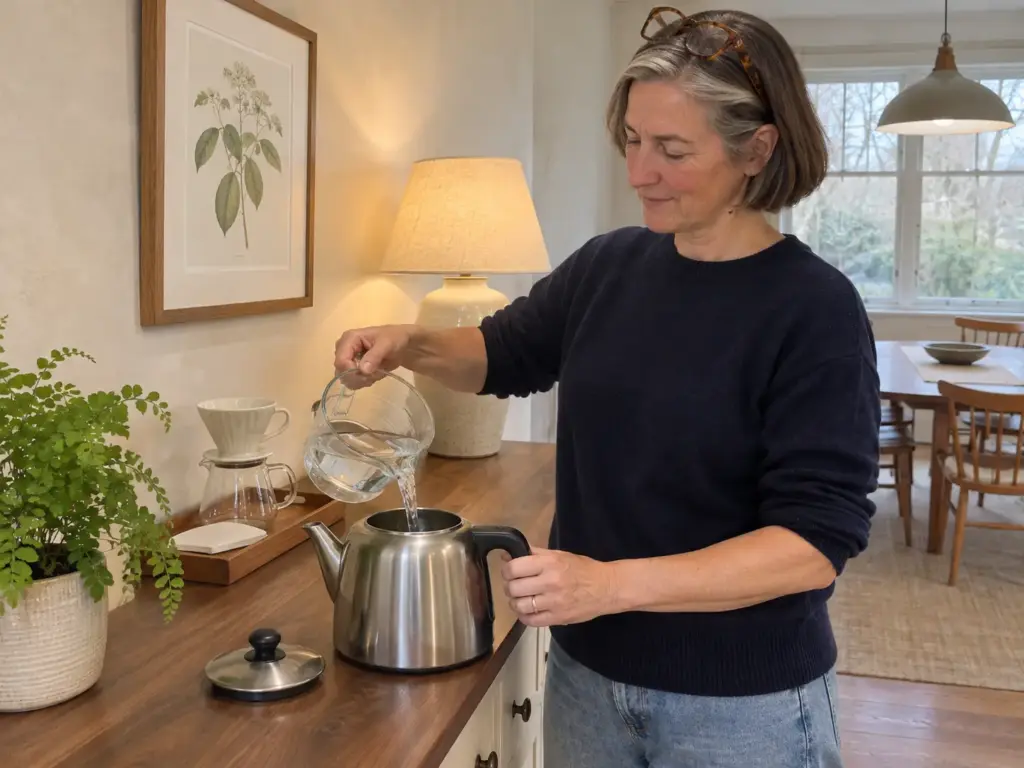
Take the kettle off the heat 30 seconds to two minutes before pouring and the water drops into the window. Against a controlled kettle the difference in the cup is slight. At altitude it does not apply, as the 7,500 ft example above shows. A rested kettle is also hotter on the first pour than on the last, so a pour-over that takes three minutes has a hot first minute and a cooler end, and you can taste it in the last third of the cup.
A plain kettle, a third full, poured slowly
A regular kettle filled a quarter to a third full gives a steadier stream for a V60 after a few weeks of practice. The whole setup costs less than any kettle with a set point, and the practice cannot be bought. Slow pouring also keeps the water from cooling in the air as much as a fast, wide stream does.
The burner on low under a stovetop kettle
A stovetop gooseneck with the burner on low after the boil holds the water for a minute or two before it drifts, and it is the quiet way to hold a number without electronics. Take it off the burner when you pour; the water falls within a minute or two of leaving the heat.
Kettles That Hold a Number, and What They Do by Month Two
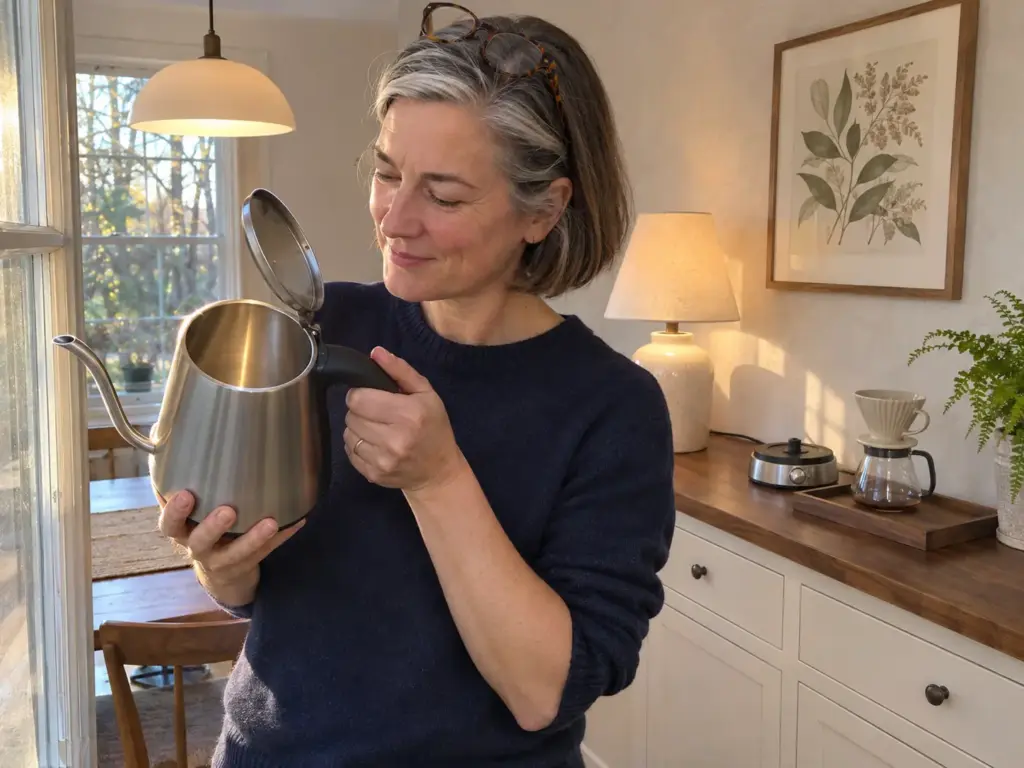
Only after the free routes does a kettle with a set point earn its place, and the reason is repeatability: a temperature control kettle that holds a number makes a 5°F move repeatable, and one that cannot hold it makes the move meaningless.
What a set point buys you
A set point buys repeatability and little else. The kettle holds a number instead of chasing the boil, and that is the only way a 5°F move can be made again tomorrow and the morning after. It does not buy a better cup than the free routes above, and a probe in an ordinary kettle does the same job.
The three kettles, and what each gives up
The cheapest way to stop guessing at the boil is the Cosori Gooseneck Electric Kettle: 0.8 L, five presets plus a variable setting, a 304 stainless interior and a 60-minute hold. Its control only lands within ±5°F of the temperature you ask for, and a kettle that is ±5°F cannot make a 2°F move. It is also loud, measured at 66–70 dB where quieter models run near 51 dB.
If you want a point held to the degree, the Fellow Stagg EKG Pro holds anything from 135 to 212°F (57–100°C) for up to an hour from a 0.9 L, 1200 W kettle, and it makes a 5°F move repeatable. Its weak point is the temperature sensor: drift shows up around year one and a half to two, with readouts off by 5, 10 and even 20 degrees. It also leaks from the top when tipped far over, and some models lack a chime. It is the name most people reach for first, and for the reader who only wants to pour, the second choice makes the same cup.
That second choice is the HARIO V60 Buono Stovetop Gooseneck Kettle: 1 L of stainless steel with a thin spout, which does the pour while the probe from the drip-machine check does the temperature. It has no thermometer and no set point, so the number is whatever the pot gives you, and it cools from the moment it leaves the heat.
Scale, not age, is what makes them lie
By month two the display of an electric kettle can read the same set point as in week one and the water can be off by several degrees. Scale is the cause, and age is mostly innocent; in hard water the film builds sooner, since mineral content sets the pace: 0.5 mm of limescale gives about 4–7°F (2–4°C) of overshoot at a 90°C (194°F) set point and delays the sensor by 1.2–2.8 seconds, and Fellow’s answer to a fluctuating readout is to descale because scale sits on the sensor. A kettle scaled badly and boiled over can end with a thermostat that walks its set point down a few degrees every few seconds, and descaling does not bring that back.
Stovetop kettles outlive the electronics because there is nothing electronic to fail. Descale per the manual.
The decision is simple. A probe and a regular kettle make the same cup as a controlled kettle for a fraction of the cost of the splurge, and the controlled kettle is for the reader who wants to stop thinking about it, flaws included. A display that still shows the same set point while the cup slowly tastes cooler is the signal to descale and taste again.
Tomorrow’s 5°F Move, and What to Recheck When the Scale Builds
Read the cup as a direction first: hollow and sharp points the water up, drying and harsh points it down, 5°F at a time, with dose and grind sane. The number belongs to the wet grounds, so rest the boil and preheat the cone and the mug. An ordinary drip machine’s normal sits under the window, so measure the basket before suspecting the beans. And a probe plus the kettle already on the counter makes the same cup as the splurge.
Later, look at what drifts in this gear. The scale film on a kettle’s element and sensor makes the cup taste cooler over weeks and months, and a probe wants its ice-bath check again after a season.
For tomorrow morning, make one 5°F move in the direction the cup points, brew one cup, and look for the taste that move should bring: rounder and sweeter in the middle if you went up, less dry at the finish if you went down. A thermometer comes first; a kettle only earns its place if the move proves repeatable.
Frequently Asked Questions
01At what temperature does coffee taste best?
Coffee tastes best when the wet grounds sit between 195 and 205°F (90–96°C), with light roasts toward the top and dark roasts toward the bottom. A kettle reading is not that number: a 200°F kettle averaged 182°F in a plastic V60.
02Does hotter water make coffee stronger?
Hotter water extracts more and faster, about 13% more soluble material across a wide range, but the extra is mostly bitterness. Strength is set by the ratio of coffee to water, so a thin cup is a ratio problem first.
03Why does my coffee taste sour even at the right temperature?
Sour means the water left the grounds too early, and temperature is only one cause, rarely the first. Check the grind first, then the brew time, then the number at the grounds, since a drip machine’s basket can sit under the window.
04Can water that is too hot ruin the coffee?
Boiling water does not burn the bean; a roast past 400°F is not damaged by 212°F water. It speeds extraction and narrows the window, so the cup turns harsher and drier. Rest the water about 30 seconds off the boil.
05How do I check the temperature of my coffee machine’s water?
Brew a full batch with room-temperature water and read the wet coffee at the top center of the bed with a probe held by its handle, away from the steam. Below 194°F, run a water-only cycle, descale and measure again.

How did your cup turn out?
No comments yet. Tell us what you changed — and whether the needle moved.