
We may earn a commission when you buy through links on this page. It never changes what we recommend. How we pick
On this page8 parts
- The 195–205°F Window Is Measured at the Grounds, Not at the Machine
- A Drip Machine Starts Cold and Climbs Through the Pot
- A Pod Machine Has Two Numbers, and You Drink the Lower One
- The Free Fixes, in Order, Before You Spend Anything
- Month Two: Scale Makes the Same Machine Brew Cooler
- When the Machine Is the Limit: What a Certified Brewer Promises
- Tomorrow's Rinse Brew, and the Descale to Schedule
- Frequently Asked Questions
You pour the first mug of the pot and it tastes thin and a little sour, and by the last mug the same coffee tastes fine. The beans did not change; the water that went through the first third of the pot was simply cooler than the water that finished it.
So what temperature water for a coffee maker comes down to one number, and the real question is whether your machine reaches it. A drip brewer’s heater can be set correctly while the tube that carries the water up to the shower head runs through the cold tank, chilling it on the way, so the figure on the box is true at the coffee only late in the cycle. Below you get the number and where it counts, what a drip machine and a pod machine do to it, the free fixes in order, what scale does to the same machine over a year, and what a certified brewer actually promises.
Quick Answer
Aim for 195 to 205°F (90 to 96°C) where the water meets the grounds, and put cold, filtered water in the tank. A drip machine only reaches its own number at the shower head, late in the cycle: it starts cold and climbs, so the first cup of the pot is the cool one.
The 195–205°F Window Is Measured at the Grounds, Not at the Machine
The answer to the question in the search bar is a single printed range, and every brewer’s box quotes it. What the box leaves out is where that number is read. For a machine, that place decides whether the number is true or only hoped for.
The range and who prints it
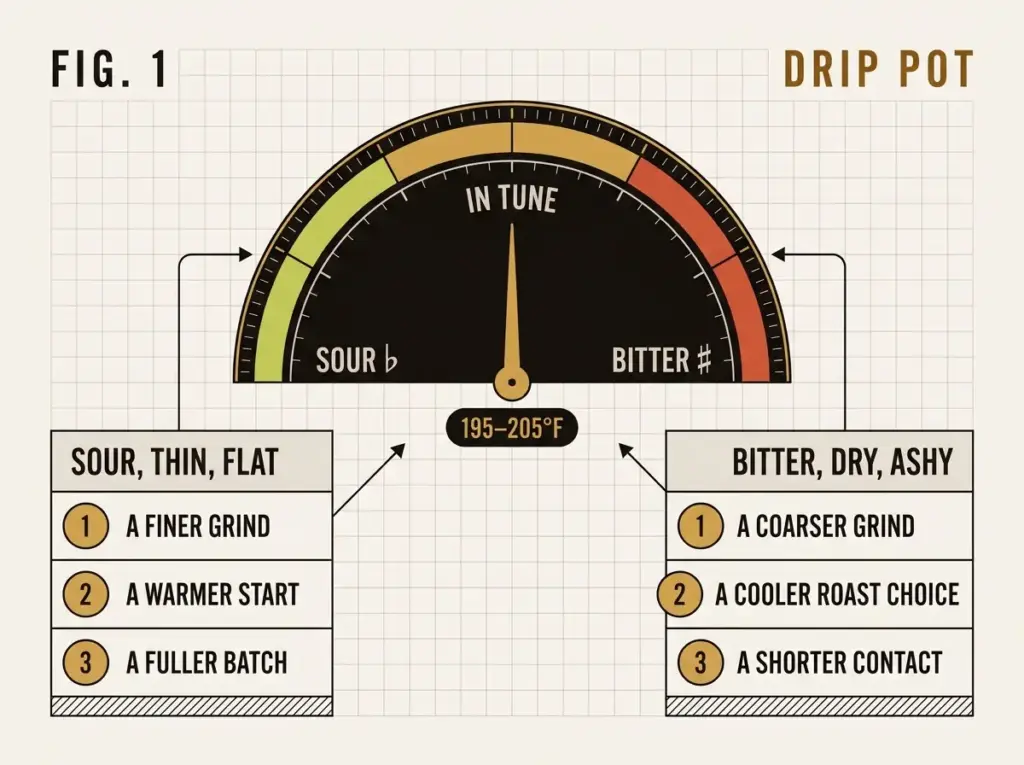
The Specialty Coffee Association sets the brewing window at 200°F ± 5°F, so 195–205°F (90–96°C), measured where the water meets the grounds. The National Coffee Association’s own brewing temperature page puts the same window in Celsius: “the optimal water temperature before pouring over coffee grounds is 93 ± 3°C”. Nothing in that range is a taste preference, and a machine that sits under 195°F under-extracts whatever beans you load into it. The kettle side of the story, including why the grind outranks the degrees, lives in the window itself and why the grind outranks it.
Which way the pot is off: sour and thin, or bitter and dry
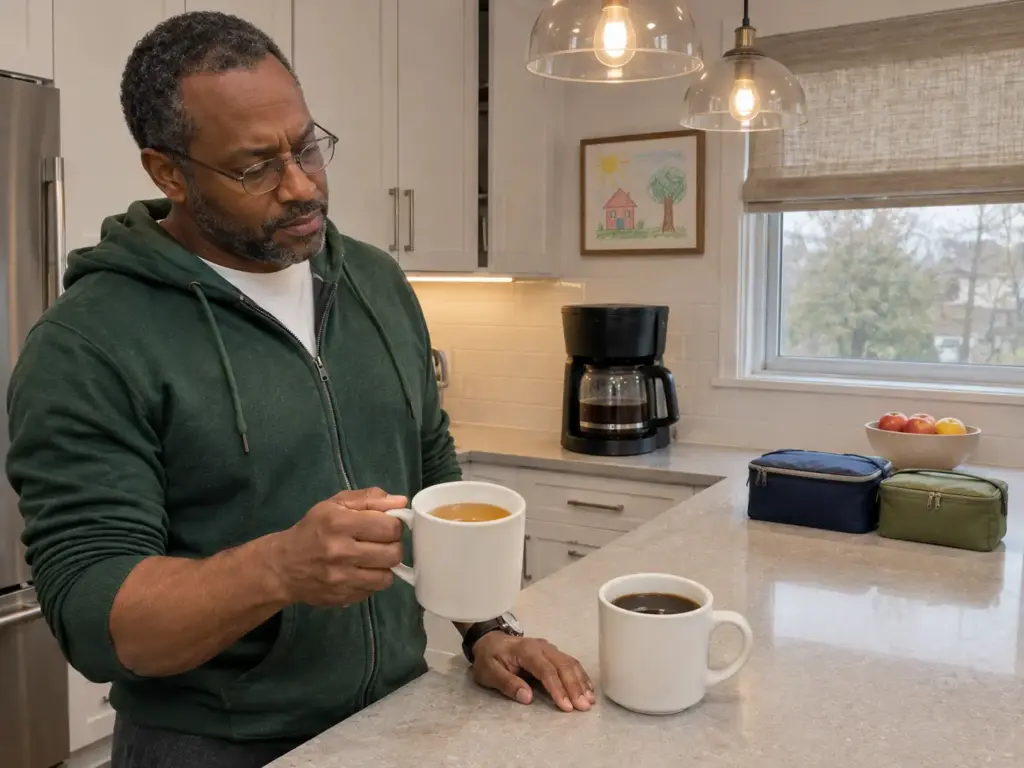
Name the taste before the degrees. Under the window the pot comes out sour, thin and a little salty-flat, because the water leaves with the fast-dissolving acids before it reaches the sweetness: that is under-extraction, and a watery feel in the mouth is its signature.
Over the window the pot turns bitter, dry and ashy, because the water has pulled the slow, heavy compounds that a cooler, shorter contact would have left in the grounds, which is over-extraction with an astringent, dry finish. Grind size and contact time move the same dial the degrees do, which is why the grind gets its own step later. Everything between those two ends is a ladder you can climb in small steps, laid out in the full reading of the cup in 5°F steps.
Where the roast moves the target inside the window
Inside the window the roast level picks the end. Lighter roasts do better toward the top, darker roasts toward the bottom, and a dark roast at 205°F reads harsh and dry. A machine owner rarely gets that choice: a brewer that sits near 180°F (82°C) takes it away entirely, because it is under the whole window before the roast has a say.
The brewer’s own figure, whether printed on the box or shown on a display, is the setpoint of the heater and is read at the heater. The standard is read at the grounds, after the tube, the shower head and the air between them. The same bag will taste sour on the pot made right after the machine has sat idle all night and fine on the second pot of the day, and that points at the machine’s temperature, not at the beans.
A Drip Machine Starts Cold and Climbs Through the Pot
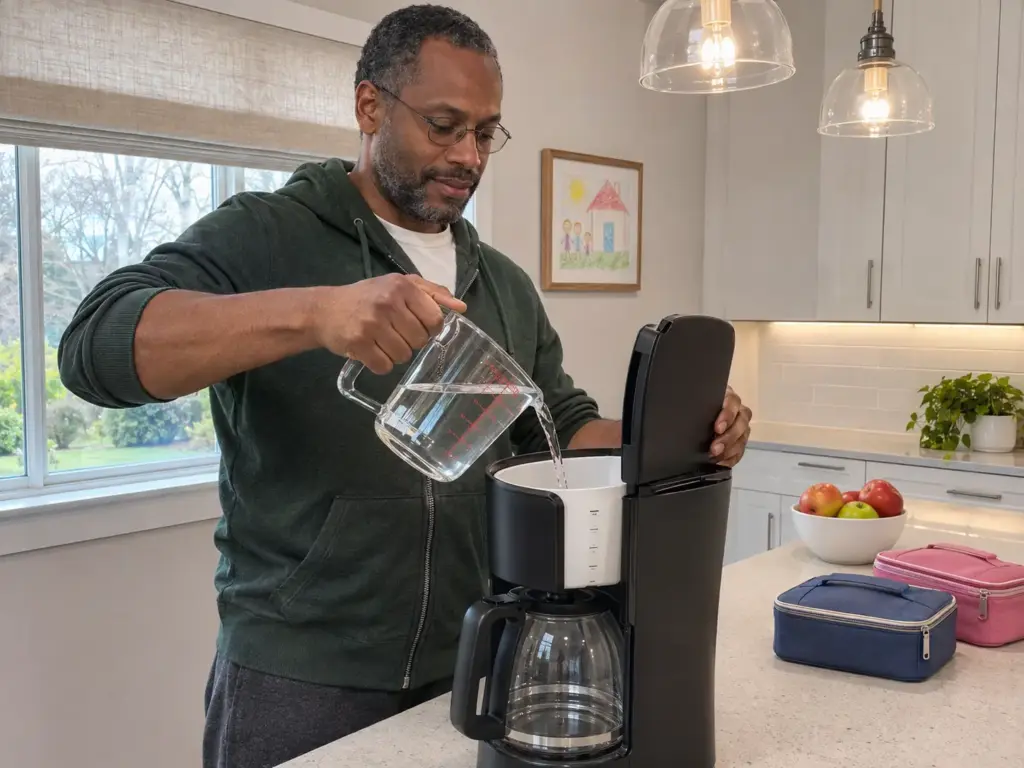
The box says the brewer heats the water to the window, and at the heater it does. The tube that carries that water to the shower head runs through a cold tank, so the first water to reach the coffee is the coolest of the pot, and the machine never mentions it.
The curve: cold at the start, in the window at the end
One measured run of an ordinary drip machine read about 119°F (48°C) coming out of the dispersion head on the first water, 178°F (81°C) at four minutes and 203°F (95°C) at seven, then held within a couple of degrees for the rest of the pot. A drip machine climbs. The first third of the pot is brewed under the window, and the last third is the only part brewed at the target.
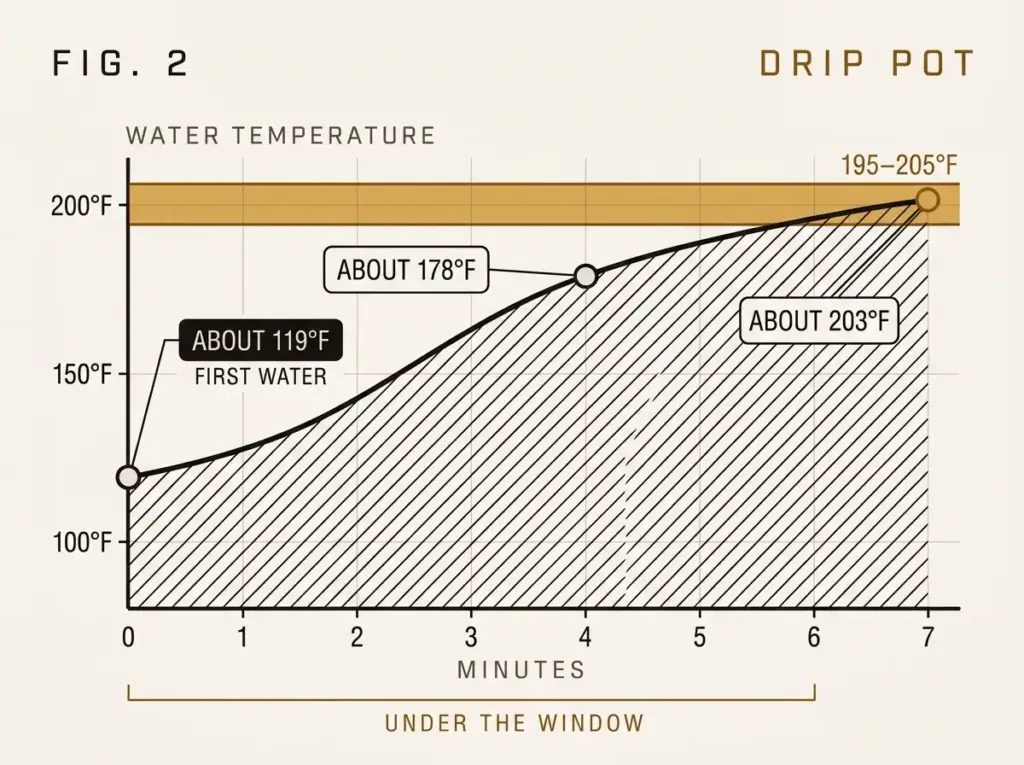
The first cup is the coolest one the machine makes, and it is the one you pour the moment the cycle ends. A mug that feels warm in the hand can still taste thin, because warm to the touch and inside the window are different readings.
Pour the first mug and the last mug of the same pot into two clear glasses, let them cool to the same warmth, and taste them back to back. Same beans, same grind, same water: if the first glass is thin and sour and the last is round, the machine is the variable, and no new bag of coffee will fix it.
Why the water cools on its way up
The heated tube that lifts the water to the shower head runs through the cold reservoir, so the water is chilled on its way up until the tank level drops. The fuller the tank, the cooler the first half of the pot. That makes a rising temperature profile, when a falling one would brew better, and it is a side effect of the design, not a warm-up. How the heating tube and the shower head work inside a drip machine shows where each part sits and what scale does to them later.
A budget brewer, and what a measured one reads
A budget brewer commonly lands at 170–185°F (77–85°C) at the grounds; one measured Cuisinart-class machine read 180°F at the coffee and 170°F in the carafe. The warming plate on high does nothing for the brew itself, only for the pot already made. The sour, thin pot is the machine, not the bag. Cheap machines also share one element between the water and the warming plate, so a second pot poured straight after the first starts hotter than the first did.
A lab test of eleven drip brewers put one certified machine at an average of 193°F (89°C) across its brews, while several budget machines never reached 195°F in three cycles. The gap between a certified brewer and a budget one is measurable, and it is the reason the later sections end with a list you can check before you pay.
A Pod Machine Has Two Numbers, and You Drink the Lower One
The pod machine is the one brewer whose maker prints both figures, the one inside the machine and the one in the mug, which makes it the cleanest case of how far a spec can sit from a cup. Keurig’s own support page gives about 192°F (89°C) as the internal water temperature and about 180–185°F (82–85°C) in an insulated cup, and a couple of degrees cooler again on the first brew after the machine has been idle. The number you drink is the lower one.
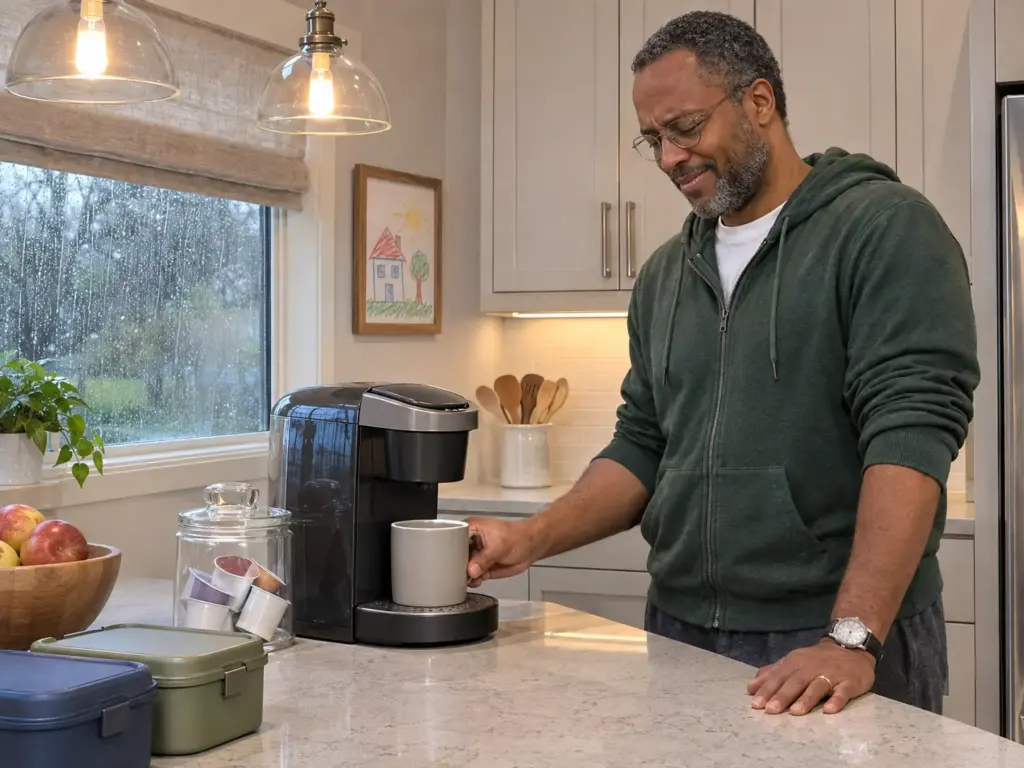
On paper that cup sits under the 195–205°F window, which makes a pod brew a fast, short extraction. A pod that tastes thin is a grind-and-dose story as much as a heat one, and a pod machine leaves you little to tune: the dose is fixed by the pod, the water is not yours to adjust, and a “strong” button changes the volume of water, not its heat.
The one move the maker itself prints is a cleansing brew, a water-only cycle that warms the mug and the machine’s parts before the pod goes in, so the first brew after idle is not the coolest of the day. The first pod in a cold kitchen, poured into a travel mug that spent the night in the car, is the weakest cup the machine can make. What the strong button on a Keurig really changes covers the pod lines and the dose each one fixes.
Run the cleansing brew into the mug you are about to drink from. Tip the water out, then brew the pod into a mug that has just held water at the machine’s own temperature, and the first pod of the day stops losing heat to cold ceramic.
The Free Fixes, in Order, Before You Spend Anything
A machine that runs under the window is not a reason to replace it the same day. There is a short list of moves that cost nothing, and they come in an order that matters, so the cup tells you which one worked. Taste after each, and stop at the first one that closes the gap.
Cold filtered water in the tank, and why not hot from the tap
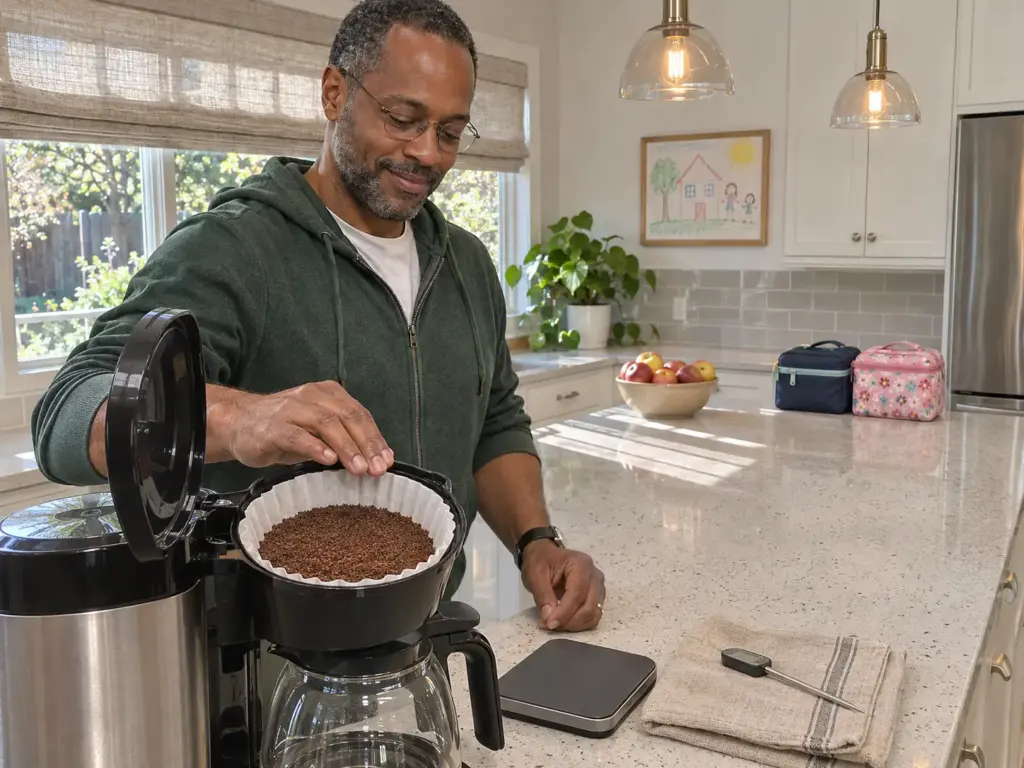
Start with the tank. Cold, filtered water is what the machine’s heater is calibrated for, and filling the reservoir from the hot tap goes against the manual: it upsets the calibration, speeds up scale and can damage the unit.
A tank warmed to about 130°F (54°C) lifted one machine’s brew to about 195°F at the shower head, against 170–180°F (77–82°C) from cold water, and a 170–174°F (77–79°C) tank lifted the first water from 119°F to 200°F. Those numbers show where the lever sits, and they are exactly what the manual forbids pulling. This step is the baseline for the rest: do not expect a warmer first mug from it, only a machine in the state its maker tested, with less scale to come.
A rinse brew and a warmed carafe and mug
Run a water-only cycle before the grounds go in, so the tube, the brew basket and the carafe are warm.
It is the same cleansing brew the pod machine’s maker prints, and a first-pot routine the rinse brew slots into takes about as long as the tank takes to fill.
The carafe and the mug need the warmth as well, since a room-temperature mug takes 5–6°F (about 3°C) off the first pour. Taste the first mug against the last. If the first has caught up, the cold start was the cause; if it is still thin, move to the next fix. This move cannot push a cool machine past the window, so there is no overshoot to watch for.
The water from the rinse cycle is already hot, so use it. Let it fill the carafe, swirl it, and tip it into the mug before the real pot starts. The carafe and the mug are warm without a kettle, and the sink gets the water last.
A fuller batch, a finer grind and the dose in grams
Many machines perform closest to their spec near full capacity and cool fastest on small batches, so a fuller pot is the next move. A machine “cup” is about 5 ounces, and how many ounces a machine cup really is decides how much water a full basket needs. Taste for the thin sourness to fade; the overshoot is a pot larger than you will drink before it stews on the plate.
If the first mug is still thin, take the grind one step finer. A cool machine pushes the grind finer, not the dose bigger. The numbers a drip machine is built around, per the National Coffee Association, are a medium grind, about 5 minutes of contact and 1 to 2 tablespoons per 6 ounces, and a grind that suits a drip machine sits at the fine end of that medium when the pot tastes sour. A cup that comes out rounder and less sharp means the step worked; a cup that turns dry and bitter means you went too far, so come back half a step.
Last, weigh the dose. A level tablespoon of ground coffee weighs roughly 5 grams, and it shifts with the roast and the grind, so the scoop drifts and the scale does not. The ratio worked out in grams gives a starting dose to hold steady while you move the grind.
Find out whether the machine is the limit
A probe in the outflow of a water-only cycle answers the question in one pass, before any money moves. Where to put the probe at the outflow covers the reading itself. The TempPro TempSwift TP19H is a 1-second instant-read thermometer accurate to ±0.9°F, with a 4.3-inch probe long enough to reach the water under the shower head, a waterproof casing and a calibration function. The probe itself can stop working after about a year and a half, so check its zero in ice water before trusting a reading from it a second time.
If the outflow reaches the window by the middle of the cycle, the machine is fine and the thin first mug is the cold start the earlier fixes already handle. If it never gets there, even after a rinse brew, the machine is the limit, and the next two sections are about the slow cause and the purchase.
Month Two: Scale Makes the Same Machine Brew Cooler
The machine that made a good pot in year one makes a flat one in year two, for a reason that has nothing to do with the beans, and nothing on the machine says why. It is the scale on the element and the tube, and it is the slow failure.
What scale does to the heater and the tube
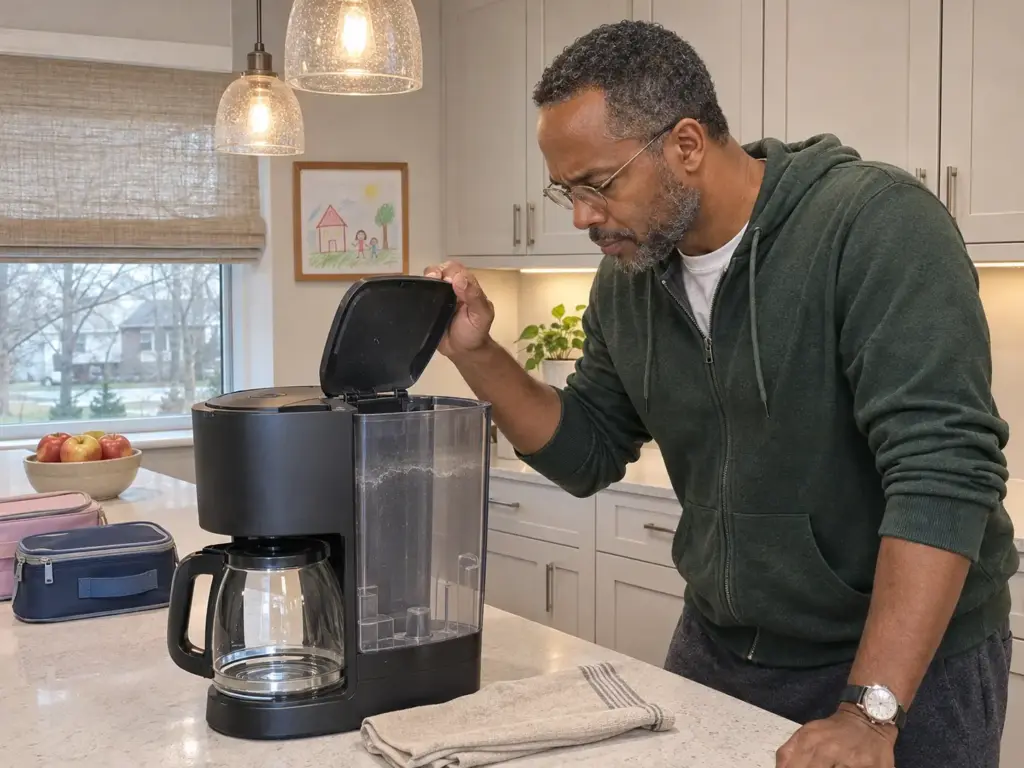
Scale on the element and the tube insulates the heater, so the machine takes longer to reach temperature and can end up brewing cooler, and the pot goes flat long before anything breaks. A descale brings the cup back; it does not call for a new brewer. Hard water builds scale faster, and filtered water in the tank slows it.
How often, and the free first pass
The National Coffee Association’s drip coffee guide says major manufacturers recommend descaling at least every three to six months, and a brewer that sees hard water belongs at the short end of that range. The free first pass is the maker’s own manual: it names the descaler it accepts and how often to run it, and the manual overrules any product label.
For a measured dose, Urnex Dezcal Coffee and Espresso Machine Descaler is an odorless powder that works on drip, pod and espresso machines and kettles, dosed at one ounce per 32 ounces of tank. It can stain stainless steel and its label instructions are thin, so read the machine’s manual before the label.
When a descale is not the answer
A descale does not repair a heater that has failed. When a unit stops heating, the manual and the warranty come before anything in this article. And a pot that tastes better for a week after a descale and then drifts flat again points at the water, not the machine, which makes filtered water in the tank the next move.
Look inside the tank and the basket ahead of the calendar. A white film on the tank walls or flakes in the carafe mean scale is already forming, and that is the cue to descale ahead of schedule.
When the Machine Is the Limit: What a Certified Brewer Promises
After the free fixes and a descale, a brewer that still reads under the window is the limit of what the beans and the grinder can do, and only then is buying the honest answer. The one printed promise that exists is a short public list you can look up before you pay.
What the listing asks of a machine
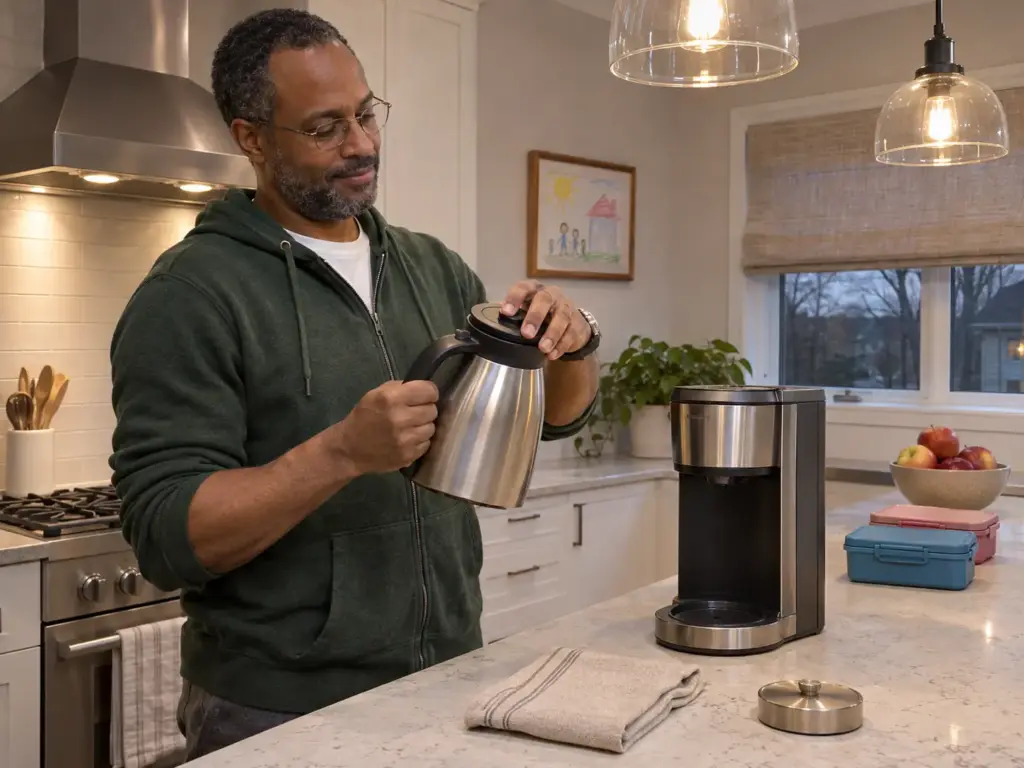
The Specialty Coffee Association keeps a public list of certified home brewers. A machine on it is tested on the brew temperature inside the window, a brew cycle of roughly four to eight minutes and an extraction yield of 18–22%, with the pot held at serving temperature for at least 30 minutes. According to the SCA’s certified home brewer list, a listed machine “Maintains 198–205 °F with even water distribution for full flavor.”
A certified machine is a machine somebody measured. A machine without the badge may be fine, but nobody has printed its number. The listing covers the whole cycle, which a heater spec does not, and it says nothing about reliability in the second year. What makes a drip coffee maker good before any feature puts that heat standard next to the rest of the machine.
Four brewers, each with its flaw
The Technivorm Moccamaster 79112 KBT has a copper boiling element and brews 40 ounces in four to six minutes, and it is the machine that measured an average of 193°F in the lab test above, with an SCA listing. Build quality is uneven: some plastic parts feel light, a minority of units fail in the first days, and a small batch is outside its range, all covered in the Moccamaster review, including its small-batch limit.
The OXO Brew 8-Cup with the thermal carafe is the certified one that prints its own 194–205°F window at the grounds and brews any batch from 10 ounces up to 40, which suits a machine whose problem is small-pot cooling. The carafe may not hold heat well, and some units stop working.
The Fellow Aiden Precision Smart Drip makes temperature a setting, with profiles that can start hot and step down through the cycle, which answers the cold start directly. Some units stop working around month seven, the carafe cools within 10–20 minutes, the app logs out and the plastic feels light for a machine at the splurge end; the Fellow Aiden’s dial and what the months do to it has the detail.
For someone who wants to see and set the number, the Breville BDC400BSS Precision Brewer uses a PID controller and a Gold Cup preset adjusted to the SCA’s 197–204°F (92–96°C). The pot can come out lukewarm, the glass carafe can break within two weeks, the warming plate does not work with four cups or less, and replacement parts are hard to find.
The opposite design never climbs at all: it keeps its water hot in a tank all day, as in a brewer that keeps its tank hot all day. And a carafe that is hot to the touch at the base and lukewarm at the top is a carafe problem, not a brew-temperature problem.
Or spend the money on the grinder first
If the free fixes and a descale closed the gap, the cheap machine is doing the same job and none of the four is worth the trip. The grinder changes more cups than a new brewer does, and an even grind lifts a cool machine’s cup in a way no heater setting can. When you do decide the machine is the limit, the full list of drip brewers, picked by water temperature is the next place to look.
Tomorrow’s Rinse Brew, and the Descale to Schedule
The number belongs to the grounds, and a drip brewer spends the first third of every pot under it.
A pod machine prints two figures and the mug gets the lower one. Cold, filtered water, a rinse brew, a warmed carafe and mug, a fuller batch and a grind a step finer all cost nothing and all come before any purchase, with a taste after each so the cup shows which one worked. Scale pulls the same machine cooler over a year, and a descale is the repair for that. A certified brewer is the one printed promise, and it is worth buying only if the machine stays under the window after all of it.
Check again when the pot drifts flat over a season, or when the tank shows a film of scale. That is the cue to descale, and to put the probe back in the outflow after a fresh ice-water check on the probe itself.
Tomorrow, run a water-only cycle before the grounds go in, warm the carafe and the mug, and taste the first mug against the last. If the first is still thin and sour, take the grind a step finer and taste again. If the gap holds after that, the choice is a certified brewer or the grinder, and the grinder usually comes first.
Frequently Asked Questions
01What temperature water should I put in a coffee maker?
Put cold, filtered water in the tank and let the machine heat it. The 195–205°F (90–96°C) target applies where the water meets the grounds, not in the tank. Hot tap water in the reservoir goes against the manual.
02What is the ideal water temperature for making coffee?
The ideal is 195–205°F (90–96°C) where the water meets the grounds, the range the Specialty Coffee Association and the National Coffee Association both print. A drip machine usually reaches it late in the pot, not at the start.
03Is 100 degrees too hot for coffee?
100°C is boiling, a few degrees above the window, so rest a kettle about 30 seconds before pouring by hand. 100°F is far below it and gives a sour, thin cup. A brewer sets its heater below boiling for you.
04How much coffee should I use for 4 cups of water?
A machine cup is about 5 ounces, so 4 cups is about 20 ounces of water, and the National Coffee Association’s range of 1 to 2 tablespoons per 6 ounces gives roughly 3 to 7 tablespoons. The ratio in grams makes it repeatable; a cool machine tastes thin at the low end.
05Does a Keurig make water hot enough?
Keurig prints about 192°F inside the machine and 180–185°F in an insulated cup, a couple of degrees cooler on the first brew after idle, which is under the 195–205°F window. A cleansing brew first warms the mug and the machine.

How did your cup turn out?
No comments yet. Tell us what you changed — and whether the needle moved.