
We may earn a commission when you buy through links on this page. It never changes what we recommend. How we pick
On this page8 parts
- Which Kitchen Tool Reaches Which Grind
- Crack First, Then Pulse, Then Stop
- Why the Cup Comes Out Sour and Bitter at Once
- Which Brewer Forgives a Crushed Grind
- Where Each Method Breaks
- The Point Where a Hand Grinder Wins, Counted in Minutes
- Two Grinds in One Bowl, and the One Change for Tomorrow
- Frequently Asked Questions
Picture the bag of whole beans on the counter, the kettle starting to tick, and the grinder broken, boxed up for a move or never bought in the first place. Ask about that problem and the top answers are often jokes (Hammer time, or you buy pre-ground), while the real answers sit further down. You can grind coffee beans without a grinder, and the kitchen already holds the tools: a blender, a mortar, a rolling pin. What none of them can do is cut a bean to one size, because they chop, pound or crush it, and a grind made of big pieces plus powder brews a cup that tastes sour and bitter in the same sip.
What follows is which tool to use, how to run it so it makes less dust, the one free fix for that two-faced cup, the brewer that forgives what is left, and where the whole approach runs out (coffee that came already ground to the wrong size is a separate problem).
Quick Answer
Crack the beans coarse, get rid of the powder, and pick a brewer that tolerates uneven pieces.
- Pulse a blender or food processor in one- to two-second bursts.
- Crack them in a mortar or under a rolling pin instead.
- Shake the grounds through a fine-mesh strainer and discard the dust.
- Brew in a French press or as cold brew.
- Steep one step longer only if the cup still tastes sour.
- Skip espresso and pour-over; no kitchen tool grinds that even.
Which Kitchen Tool Reaches Which Grind
Every tool in this article does one of three things to a bean: it chops it, pounds it or crushes it. That action decides what lands in the bowl far more than the brand on the appliance, and it also sets the ceiling. Nothing on this list reaches an espresso grind, and nothing gives the even particle size a paper filter is built around.
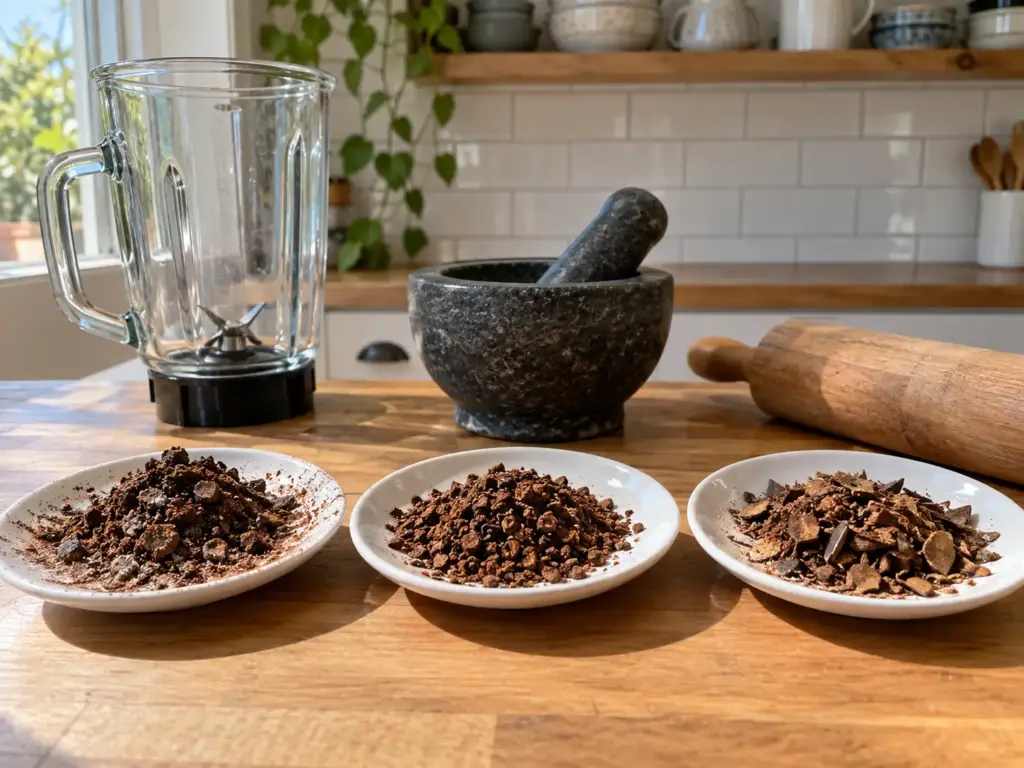
Blender and Food Processor
A blender or a food processor is a blade grinder with a bigger jar. The blade spins and strikes whatever falls into its path, so the pieces near the bottom get hit again and again while the beans riding on top wait their turn. Nothing in the jar knows when a piece is small enough to leave alone, which is why a blade chops instead of cutting to size: the result runs from coarse to medium, with shards, crumbs and a layer of powder all mixed together.
For a full French press it is still the tool to try first, because it is fast and it is probably already plugged in. A wide food-processor bowl lets beans slide out to the edges where the blade never reaches, so it needs more shaking than a tall, narrow blender jar. The timing questions are the same ones any small electric mill raises, and they are worked through in how long to run a blade grinder.
Mortar and Pestle
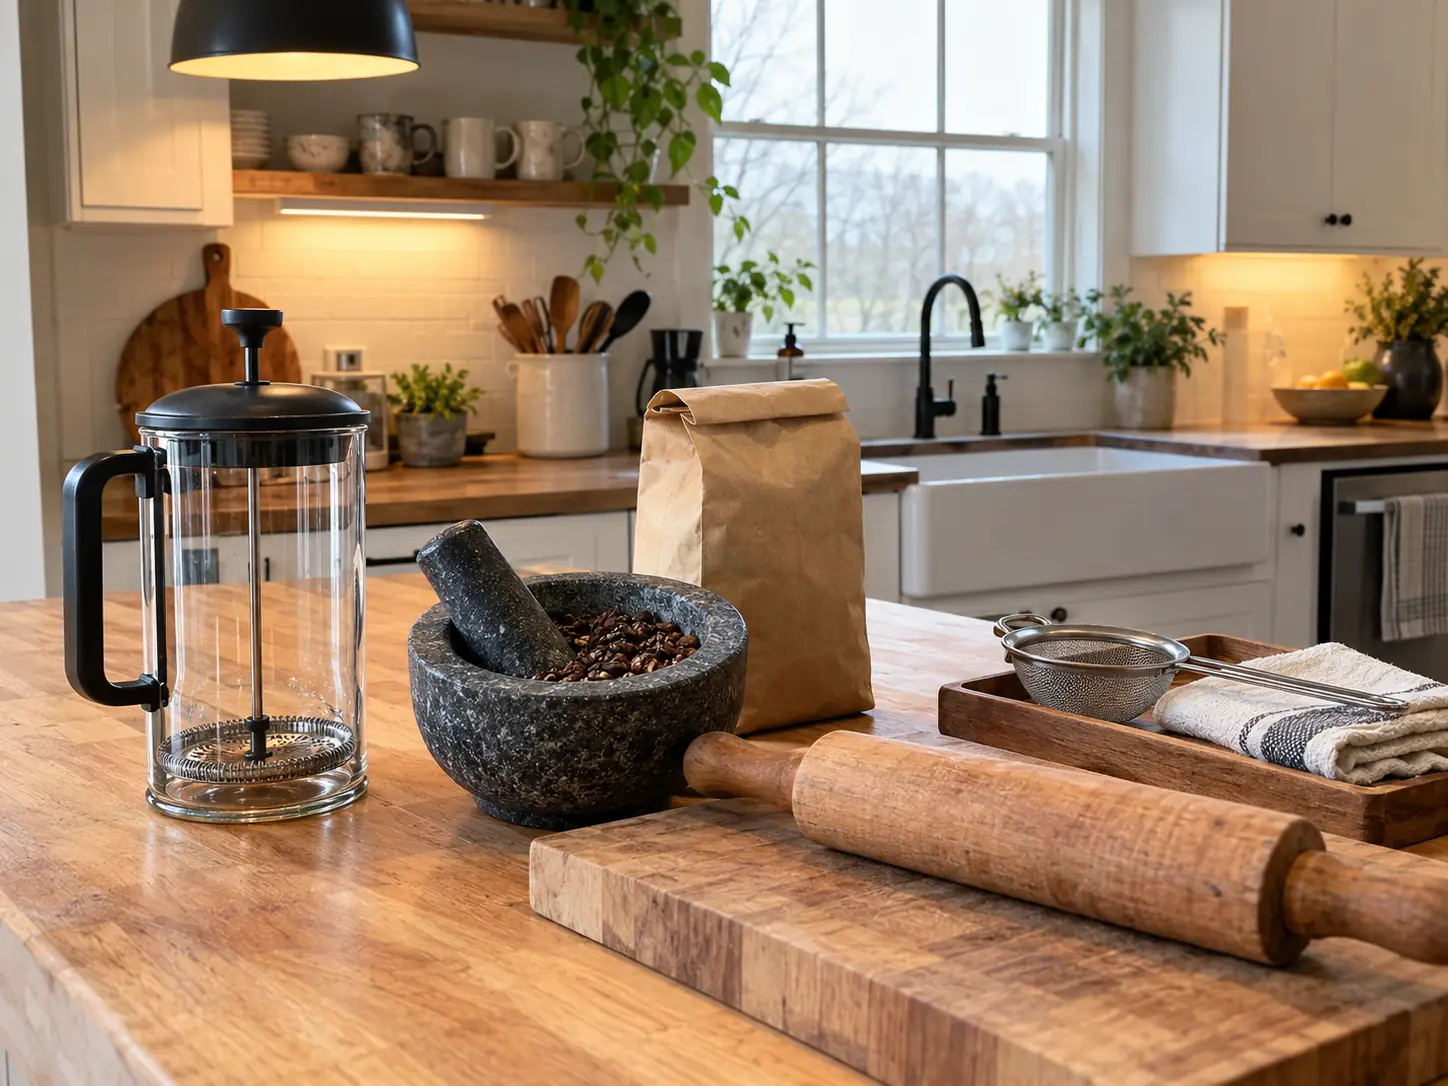
A mortar and pestle pounds, and pounding makes the least dust of anything in the kitchen. Fill the bowl only about a quarter of the way; above that, the beans on top ride over the pestle and never get struck. It reaches coarse to medium, slowly, and one load makes a cup or two. What it gives you that no blade does is a view: you watch the pieces shrink and stop at the size you want.
The blender is the obvious pick, and for a full carafe it stays the right one. For a single mug, though, the mortar is the better call, and it is also the better call when the blender cup keeps finishing harsh, because less dust going in means less to sift out and less bitterness left in the cup. Used in a pinch, one of these methods is described as not bad at all, which is about the kindest review any of them gets.
Rolling Pin, Hammer or a Chef’s Knife
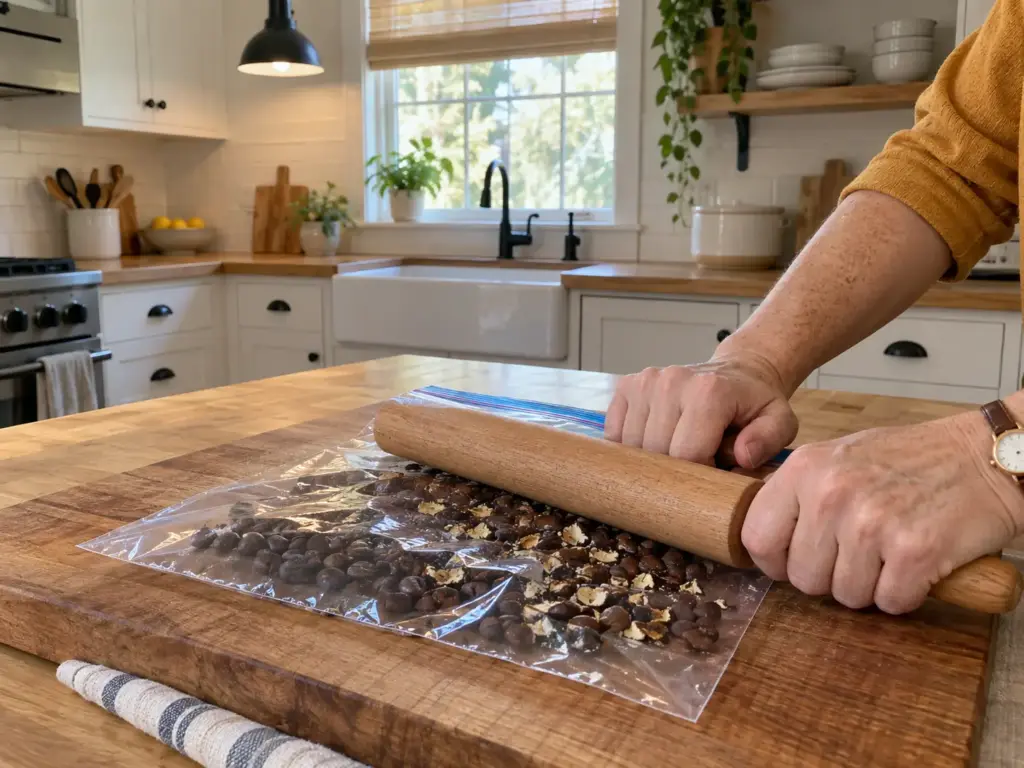
A rolling pin over a heavy freezer bag crushes. The grind comes out mostly coarse, with powder wherever a bean got rolled over twice. A hammer or a meat mallet (the flat face of a meat tenderizer works too) does the same job louder, with a real chance of marking the counter, and the flat side of a chef’s knife crushes a few beans at a time under the heel of your hand: enough for one cup, and slow enough that one cup is where you will stop.
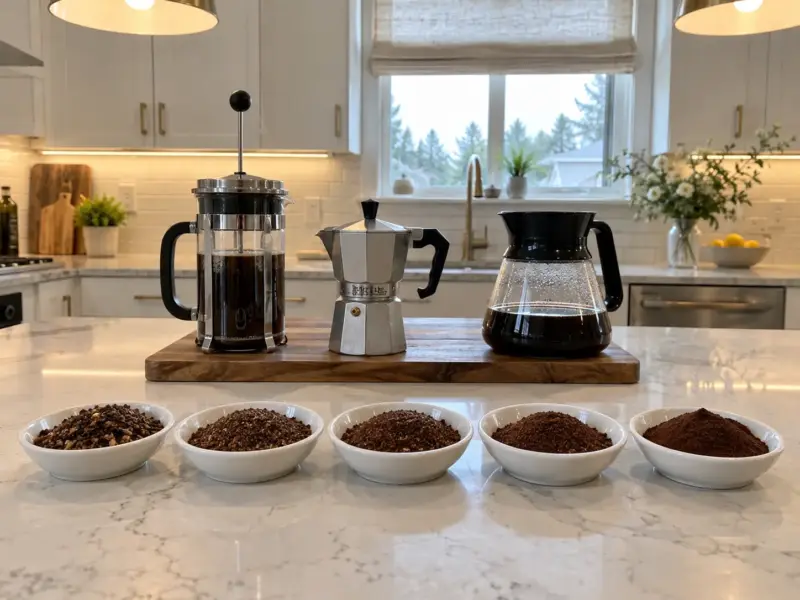
Tip any of these into a white bowl before brewing and you can read the result at a glance: a few half-beans, a drift of brown powder settling to the bottom, and every size in between. That spread is what the cup will taste like, and it is visible before a drop of water touches it. The five tools, side by side:
| Tool | What it does to the bean | Grind it reaches | Dust | What to watch |
|---|---|---|---|---|
| Blender or food processor | Chops it with a spinning blade | Coarse to medium | A fair amount | A held button: powder below, whole beans on top |
| Mortar and pestle | Pounds it | Coarse to medium | The least of the five | Fill only a quarter of the bowl |
| Rolling pin over a bag | Crushes it | Coarse | Some powder | A thin bag splits |
| Hammer or mallet | Crushes it hard | Coarse | More with every extra tap | The counter underneath |
| Flat of a chef’s knife | Crushes a few beans at a time | Coarse | Little | One cup’s worth, slowly |
Read down the third column: coarse, medium, and nothing finer.
Crack First, Then Pulse, Then Stop
The same blender can hand you a usable coarse grind or a jar of bitter powder, and the only difference is how long it ran. Every method here works in two moves, crack and then refine, never in one long grind. Stopping early is the easier mistake to recover from, because a boulder can be cracked again and dust cannot be un-ground.
Short Pulses and a Shake, Not a Held Button
With a blender or food processor, work in pulses of one to two seconds, and keep the batch to about one or two cups’ worth of beans. After each pulse, hold the lid and give the jar a shake so the whole beans on top tumble into the blade’s path. A held button does the reverse: the coffee next to the blade turns to warm powder while whole beans sit untouched above it, and the motor heats up along with everything in the jar.
Listen as it runs. The first pulses sound like gravel in a can, hard pieces pinging off the walls; as they shrink, the rattle thins out into a dull whir. The end of the rattle is your signal to stop. Past it, every pulse goes into dust.
Look at the top of the jar, not the bottom, before each pulse. If whole beans are still perched up there, shake instead of pulsing: another burst only grinds the bottom finer while those beans wait, and that is how a batch ends up as powder with six whole beans sitting on it.
Crack First, Grind Second
The mortar and the rolling pin both work better in two stages. In the mortar, press straight down on the beans to split them, and only then start the circular grinding motion. With a rolling pin, seal the beans in a heavy-duty freezer bag with the air pressed out, lean on the pin to crack everything first, and roll back and forth after that. Whole beans skate away from a rolling pin; cracked halves lie flat and stay put.
For a hammer or mallet, spread the beans in one layer inside the bag, set it on a wooden cutting board with a folded towel under the board, and use short taps with the flat face. For the smashing method, the usual advice is to wrap the beans in a towel before you start, which keeps shards on the board and takes some of the force out of each blow.
Weigh the Beans Before You Crack Them
Without a grinder, the scoop stops telling the truth. Crushed pieces pack loosely in one scoop and settle tight in the next, so the same spoonful of grounds holds a different amount of coffee every morning. Whole beans weigh what their grounds will weigh (minus whatever you sift out, which comes up again in a moment), so set the dose before cracking: weigh in grams whatever your brewer normally takes, and crack that amount and nothing more.
No scale? Measure the whole beans with the same tablespoon or scoop each time. It is still a guess, but a repeatable one, and a repeatable guess can be corrected by taste the next day. Whichever way you measure, crack only what goes into this brew; the reasoning behind when to grind counts double for beans with this much broken surface.
Why the Cup Comes Out Sour and Bitter at Once
A crushed grind is not one grind but two, big chunks and dust, and the cup tastes of both. That is why the first improvised cup so often comes out thin and sharp at the front and harsh and drying at the finish. A new bag of beans would taste exactly the same.
Boulders Turn the Cup Sour, Dust Turns It Bitter
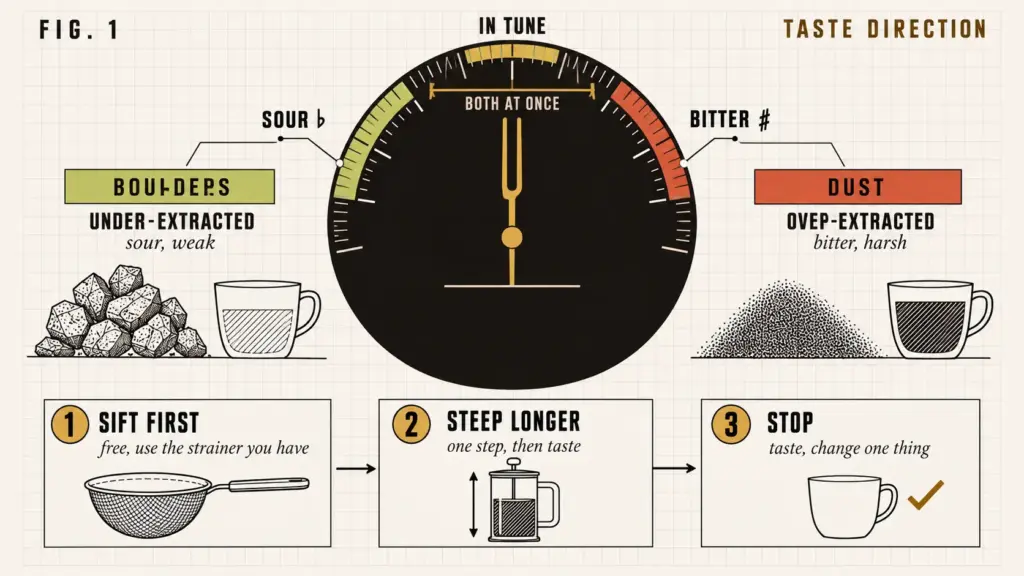
The two ends of an uneven grind have names: boulders and fines. In a boulder, the water only gets through the outer layer before the brew is over; it pulls the quick, acidic compounds and leaves the sweeter ones locked inside, and that under-extraction tastes sour and weak.
Dust is the opposite case. It has so much surface area for its weight that water strips it completely, down to the harsh compounds that come out last, and over-extraction tastes bitter and dry. Put both in one brewer and you get both in one sip, sour first and bitter on the way down.
The pile can fool your eye, too. Ground coffee usually has two size peaks, a coarse one and one made of fines, so a pile that looks coarse on average can still carry a lot of powder that the average hides.
And dust is not a verdict on its own. In a 2024 espresso study, the one taster on the panel found no penalty in the shots with extra fines added back, and two of those shots were among the top scorers. Where dust does its damage is in a long hot steep and in a paper filter, which is the brewer question further down.
Sift Out the Dust First
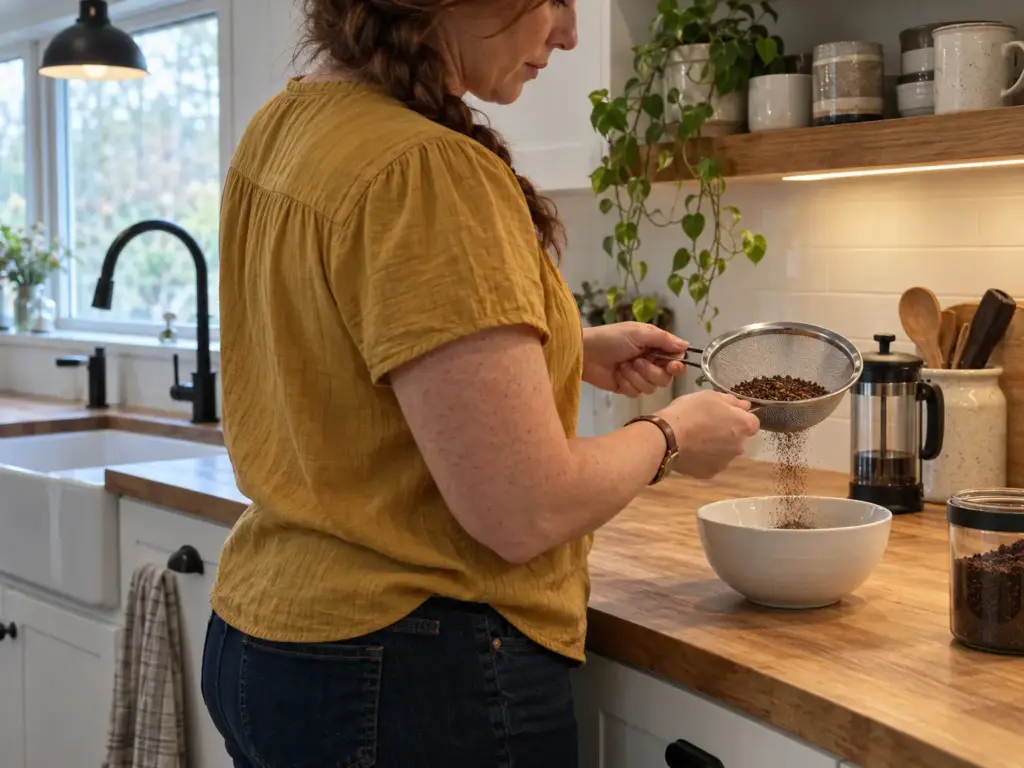
The first change costs nothing and is the likeliest to help. Take the fine-mesh strainer already in the drawer, hold it over a bowl, tip in the crushed beans and shake until nothing more falls through. The powder drops out; what stays in the mesh is your coffee. Anything still the size of half a bean goes back under the pestle or the pin for one more crack.
It is the same move a grinder owner uses to tell coarse from fine by rubbing and sifting, done here to repair the grind rather than to read it.
Before you throw out what fell through, look at how much of it there is. A light dusting across the bottom of the bowl means the tool was run well; a small heap means the pulses went on too long, or the pestle ground when it should have cracked. That heap is the most useful thing on the counter, because it tells you what to change on the next batch.
If the drawer has no strainer, the HIC Kitchen Fine Mesh Strainer 5.5 inch is a single layer of 18/8 stainless mesh on a handle, small enough to hold over a mug with one hand and tap with the other. It does nothing a borrowed strainer would not: any fine mesh handles this job, and this particular listing’s stock has been running low. A lab test sieve marked #20 is the wrong tool, by contrast, since its openings are wide enough to drop a good part of the coffee along with the dust.
What should the next cup taste like? The drying, harsh finish should be gone or much quieter. If the cup is now clean but still a little thin and sour, the boulders are what is left, and they call for the second change.
Sifting takes weight out of the dose, sometimes more than you would guess from the look of the bowl. Crack a small handful of extra beans before you start, so that once the dust is gone the coffee going into the brewer still weighs what you measured. A cup brewed short on coffee tastes thin, and thin is easy to misread as sour.
Then Lengthen the Steep One Step and Taste
Only after the sift does time come into it. For a French press, a common starting point for the steep time with crushed coarse grounds is to go from 4 minutes to 5, taste, and go to 6 only if the next cup is still sharp. That number depends entirely on the sift. On an unsifted grind the extra minute gives the boulders a little and the dust a lot, so the bitter end climbs faster than the sour end falls; treat the 5 to 6 minutes as somewhere to begin once the powder is out, not as a standard.
Move the steep and nothing else. If the dose also changes on the same morning, you will not know which one helped. The overshoot is easy to spot, heavy and dry at the back of the tongue like tea left in the pot; land there and go back one step.
This is dialing in, the same reading from sour to bitter that anyone with a numbered grinder follows, only done with a strainer and a timer. Then stop. Two changes in, whatever is still wrong with the cup belongs to the tool, not to your technique.
Which Brewer Forgives a Crushed Grind
The brewer has more say over this cup than the tool does. An uneven grind is fine in an immersion brew, where all the coffee sits in the same water for the same time, and it fights a paper filter, where water has to push its way down through a packed bed. Choose the brewer for the grind you have, not the other way around.
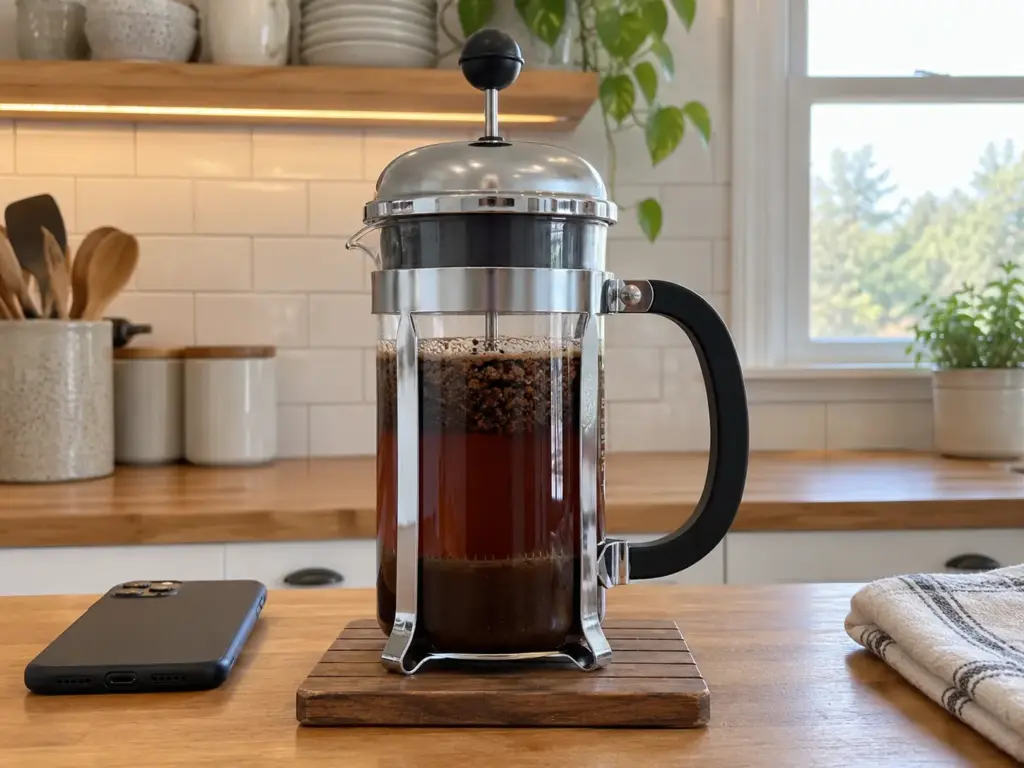
French Press: the Metal Mesh Lets the Uneven Bits Through
The French press is the match this whole article points to. Everything steeps together, so the boulders get the full contact time, and the metal mesh filter has openings wide enough that dust slips through instead of sealing the filter. Nothing stalls, and the extra minute from the last section works the way it should. A press also wants a coarse grind, which is the size these tools are best at; what grind suits a French press pins that size down with a real grinder.
Use the press you already own. If you need one, the Bodum Chambord French Press 34 oz holds 34 oz (1 L) in a borosilicate glass carafe inside a polished stainless frame, about 8 small cups. The glass is the part to worry about: Amazon’s summary of its reviews has buyers calling the pot very fragile, so keep it well away from wherever the mallet work happens. The same mesh that forgives the uneven grind also lets fines into the cup, one more reason the strainer comes first.
Leave the last half inch in the carafe. Whatever dust got past the mesh sinks there while you pour, and that final splash is where a clean cup of crushed-bean coffee turns gritty and bitter. Pour slowly and the silt stays put.
Cold Brew: the Long Steep Evens It Out
Cold brew is the second forgiving route. With a steep of 12 to 24 hours (a range to start from, then adjust by taste), the boulders have hours to give up what a four-minute brew would leave inside them, and cold water works on the dust slowly enough that it does not race ahead the way it does near boiling. Time does the job an even grind would otherwise do. The grind cold brew wants is the coarsest on the chart, and a rolling pin gets closer to it than to any other size.
A jar and a strainer make good cold brew on their own. For a pitcher built for it, the Takeya Deluxe Cold Brew Coffee Maker 2 Quart is a 2 qt Tritan pitcher with a fine-mesh basket that holds the grounds and much of the dust, under an airtight lid. The complaints owners leave are practical ones: the filter can pop loose from the lid when the pitcher gets shaken, knocking wet grounds out of the basket is a chore, and a fine grind still leaves sediment at the bottom.
Drip and Pour-Over: Where the Dust Packs the Filter
A drip machine is the brewer on most American counters, so the natural move is to blend the beans and run them through it like any other morning. Of all the pairings here, it is the one most likely to let you down.
In a paper filter, the dust settles into the gaps between the bigger pieces and plugs them. According to Smrke and colleagues in a 2024 study in Scientific Reports on fines and extraction, “An increase of share of fines decreases coffee bed permeability, leads to reduced flow rates and longer extraction times.” Their work was on espresso, not drip, so take it for the mechanism rather than as a drip result: a bed with more dust in it drains more slowly, and slower water spends longer on the grounds.
In a pour-over cone you can watch that happen. Halfway through, the water stops sinking and sits in a pool above the grounds, and whatever finally drips through has spent far too long on the dust. In a drip machine the same stall happens out of sight, and the first sign is a muddy, bitter carafe (sometimes an overflowing basket, too).
If a drip machine is all you have, sift hard, brew only the coarse pieces and expect a slow drawdown. The grind a drip machine wants is more even than anything a kitchen tool can produce.
Espresso sits past the ceiling altogether. A shot needs a grind that is both fine and even, and chopping, pounding and crushing deliver neither.
Where Each Method Breaks
Every one of these methods costs something at a real counter, and each cost is cheaper to know before the beans are on the board. None of them is a reason to skip the method, only a reason to set up differently.
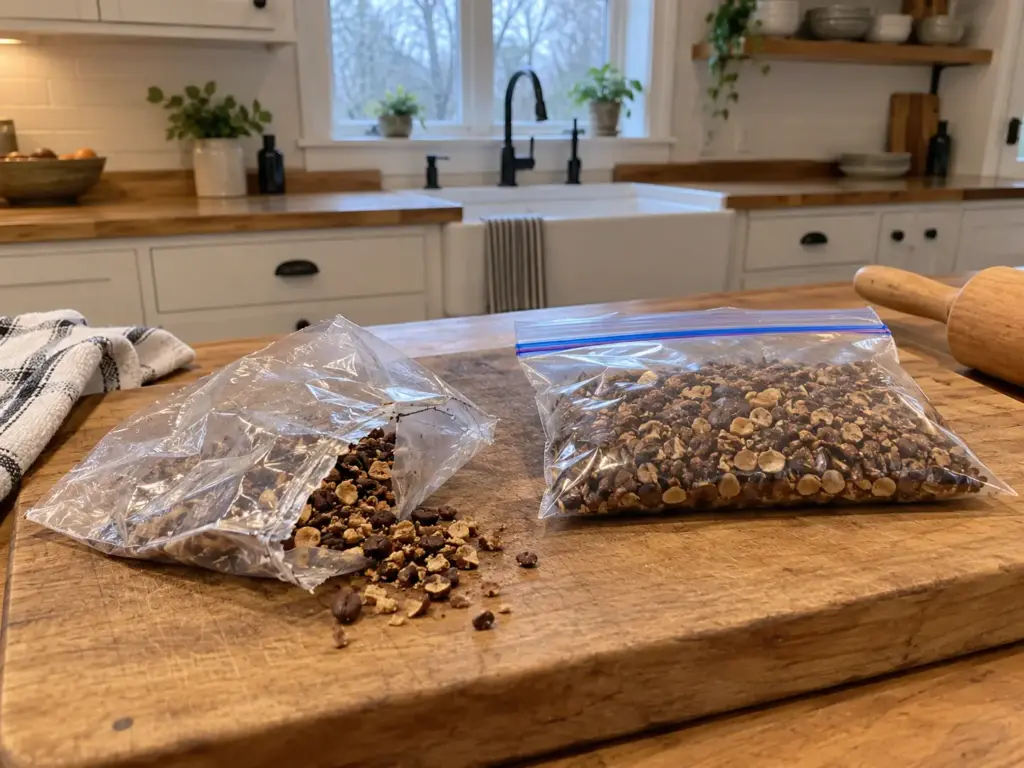
The Bag Tears, the Beans Fly, the Counter Takes the Hammer
A thin sandwich bag is the first thing to fail. It splits under the rolling pin or on the second tap of the mallet, and half-crushed beans spray across the counter and onto the floor, the part of the smashing method the jokes leave out. A heavy freezer bag with the air pressed out holds, and a towel folded over it holds better. The hammer’s other cost lands on the counter itself: struck against stone or laminate it leaves marks, so it only ever goes on a wooden board with a towel under the board to soak up the blow.
The rest is plain kitchen sense. Keep your free hand flat and out of the mallet’s swing, and with the knife, press on the flat of the blade with the edge turned away from you.
The Blender: Heat, and the Flavor of Whatever It Ground Last
Holding the button warms the motor and the beans with it, and warm, freshly broken coffee starts giving up its aroma before it ever meets the water. Short pulses keep that in check.
The bigger surprise is memory. A spice grinder carries its last spice straight into the coffee (cumin is the usual culprit), and a blender jar can do the same with last night’s smoothie or salsa. Wash and dry the jar before the beans go in and again afterward, unless you want the next curry to taste faintly of coffee.
Smell the empty jar before the beans go in. If it smells of fruit, garlic or spice, so will the cup. Then make sure it is completely dry: damp grounds cake onto the walls and around the blade, and caked grounds come out even less uniform than dry ones.
Grounds From Any of These Go Flat Within a Day
Crushed beans have ragged, broken faces with far more exposed surface than a whole bean, and that surface is where aroma escapes and staling starts. Use them by the next day, sealed in an airtight container in the meantime; past that, expect a flat, papery cup. The logic of how to store ground coffee comes down to less air and less time, and cracked beans get neither for free. Crack today’s dose and leave the rest of the bag whole.
The Point Where a Hand Grinder Wins, Counted in Minutes
Everything so far works around an uneven grind, and the free fixes have now run out. The one step that removes the problem is a burr that sets the size, and what it mostly costs you is cranking time. Weigh it in minutes before you weigh it in anything else.
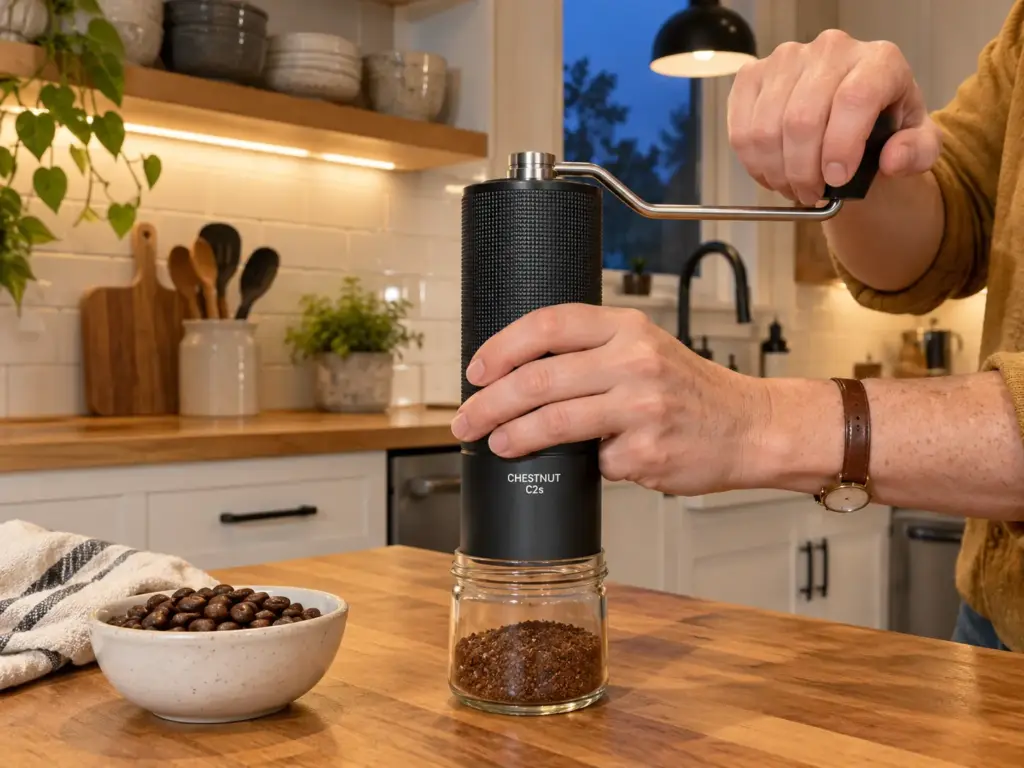
What a Hand Grinder Changes
A burr grinder cuts the bean between two rings held a fixed distance apart, and a piece only leaves once it fits through that gap. Boulders stop coming out, far less dust does, and at a coarse setting there is nothing left to sift. The whole routine above (crack, shake, sift, re-crack, stretch the steep) mostly goes away. The broader trade between a crank and a motor is laid out in manual versus electric, counted in grams a day.
But a hand mill is not automatically tidy at the coarse end. Some ceramic-burr hand mills give an inconsistent grind that gets worse the coarser the setting, and coarse is exactly the setting a French press needs. That is why both picks below use steel burrs.
The Effort, Counted in Minutes
Set the effort of a crank against the morning you just had: cracking on a board, pulsing and shaking a jar, sifting over a bowl, cracking the leftovers, then washing the blender. The minutes of cranking per dose are timed in how long it takes to grind by hand, and they are worth reading before you decide anything. For one press pot, the crank is rarely the slowest thing in the kitchen; the kettle usually is.
Which Hand Grinder, and What Each One Gives Up
The TIMEMORE Chestnut C2S Manual Coffee Grinder has a 38 mm conical steel burr, about 36 internal clicks of adjustment, a 20 g hopper and an all-aluminum shell. Where it falls short is a fall. A 3-star Amazon reviewer who liked it until dropping it says it stopped working altogether afterward, and that customer service did nothing, so treat it as a grinder that lives in a drawer rather than near the edge of the counter.
If that is more than you want to spend on a backup plan, there is a cheaper route. The KINGrinder P2 Lightweight Manual Coffee Grinder puts a steel burr in a lighter ABS plastic housing. What it trades away is the metal: the plastic flexes more and feels less solid in the hand than the Timemore’s aluminum, a limit of the material rather than a failure anyone has reported.
Both sit alongside the other low-cost picks in what each cheap hand grinder gives up. And on the day one arrives, how to use and adjust it from zero is the place to start, since the setting it ships at is rarely the one a press wants.
Two Grinds in One Bowl, and the One Change for Tomorrow
Grinding coffee without a grinder works as long as you treat the result as what it is: two grinds sharing a bowl, handled in order.
- Crack, then pulse. Short bursts, a shake between each, small batches, and stop when the rattle fades.
- Sift before anything else. Drop the dust, add one step of steeping only if the cup is still sour, taste, and stop there.
- Match the brewer. A French press or cold brew forgives a crushed grind; a paper filter and an espresso machine do not.
Over the next few batches, watch the pile that falls through the strainer: if it shrinks as your pulses get shorter, the technique is doing its job, and if the coarse cup keeps drifting sour anyway, the limit is the tool, which is when whether grinding at home is worth it at all becomes the real question. Tomorrow, change one thing only. Sift the crushed beans before they go into the press, brew everything else exactly as today, and pay attention to the last sip: it should finish cleaner and less drying, even if the first sip has not moved yet.
Frequently Asked Questions
01What can I use to grind coffee if I don’t have a coffee grinder?
To grind coffee beans without a grinder, use a blender or food processor on short pulses, a mortar and pestle, or a rolling pin over a heavy freezer bag. All three leave a coarse, uneven grind, so sift out the dust and brew it in a French press or as cold brew.
02How do you grind coffee beans by hand?
Fill a mortar about a quarter full, press straight down to crack the beans, then grind in small circles until the pieces look like coarse sand. A rolling pin over a sealed freezer bag also works: press to crack first, then roll. Both stop at a coarse grind.
03What can I do with whole coffee beans if I have no grinder?
Crack them coarse with a mortar, a rolling pin or a blender, then brew them in a French press or as cold brew, since both tolerate uneven pieces. Steeping whole beans gives a weak, sour cup, because water only reaches the outside of each bean.
04Can you grind coffee beans without a machine?
Yes, a mortar and pestle or a rolling pin over a freezer bag will crush coffee beans to a coarse grind without any power at all. Both are slower than a blender and work in small batches, but the mortar leaves the least dust.
05Will a blender grind coffee fine enough for espresso?
No, a blender chops coffee beans into a coarse or medium grind mixed with dust, and espresso needs a grind that is both fine and even. Only burrs, which cut every piece to the same gap, can make one.


How did your cup turn out?
No comments yet. Tell us what you changed — and whether the needle moved.