
We may earn a commission when you buy through links on this page. It never changes what we recommend. How we pick
On this page7 parts
You press the pod button and get the same mug every day. Switch to the scoop, hit the 24 oz button because the travel mug is big, and the cup that comes out tastes like warm water, even though the small size from the same machine was fine. That mismatch is the whole question behind a coffee maker for pods and grounds: a pod arrives with its dose already inside, and on the grounds side the size button changes the water, not the coffee. Whether the grounds side is worth using depends on who sets the dose, so this guide puts the scoop against the scale size by size, gives the order for fixing a thin cup, and writes down what each machine that takes grounds gets wrong, down to the state of the basket a few weeks in.
Quick Answer
Yes, one machine can brew from a pod and from loose grounds, but the two sides do not share a dose. The pod fixes the grams; the grounds side leaves them to the scoop. So judge a grounds cup by the dose you weigh at the size you pour before you judge the machine.
What a Coffee Maker for Pods and Grounds Actually Takes In
The thin mug from the opening looks like a machine fault, and so far nothing says it is one. Before any adjustment, the reader needs the plain picture of what this shell does with a pod and what it does with grounds, because the two inputs sit under one label and are two different jobs. The question for the rest of this guide is who sets the dose on each side.
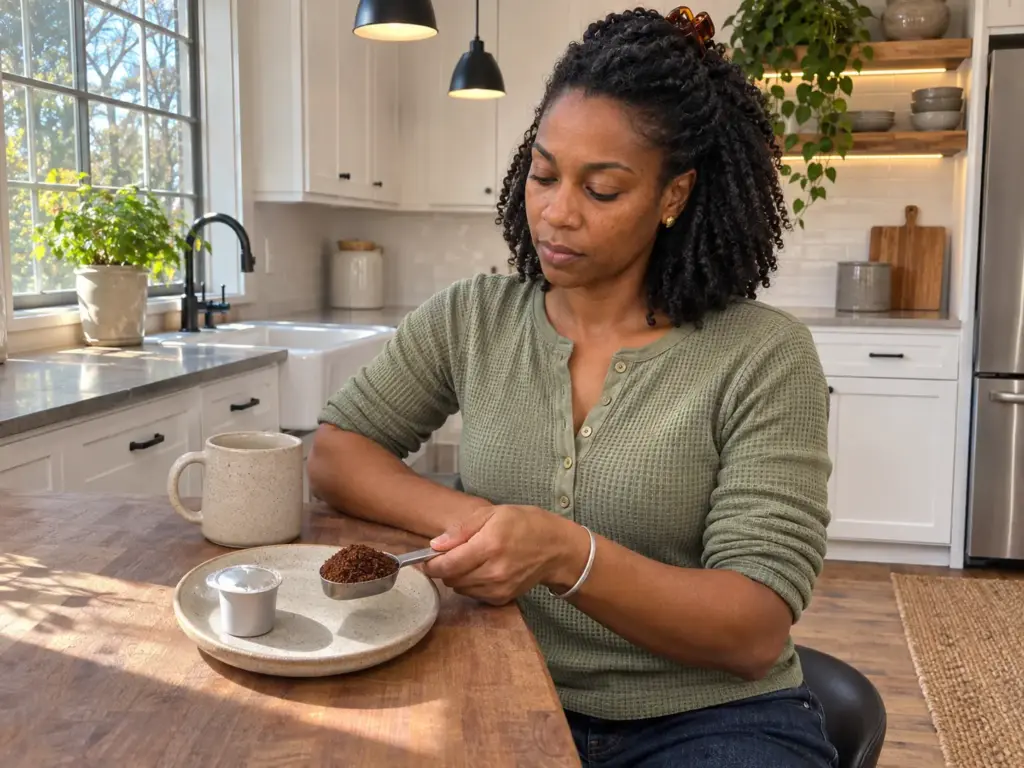
One shell, two inputs
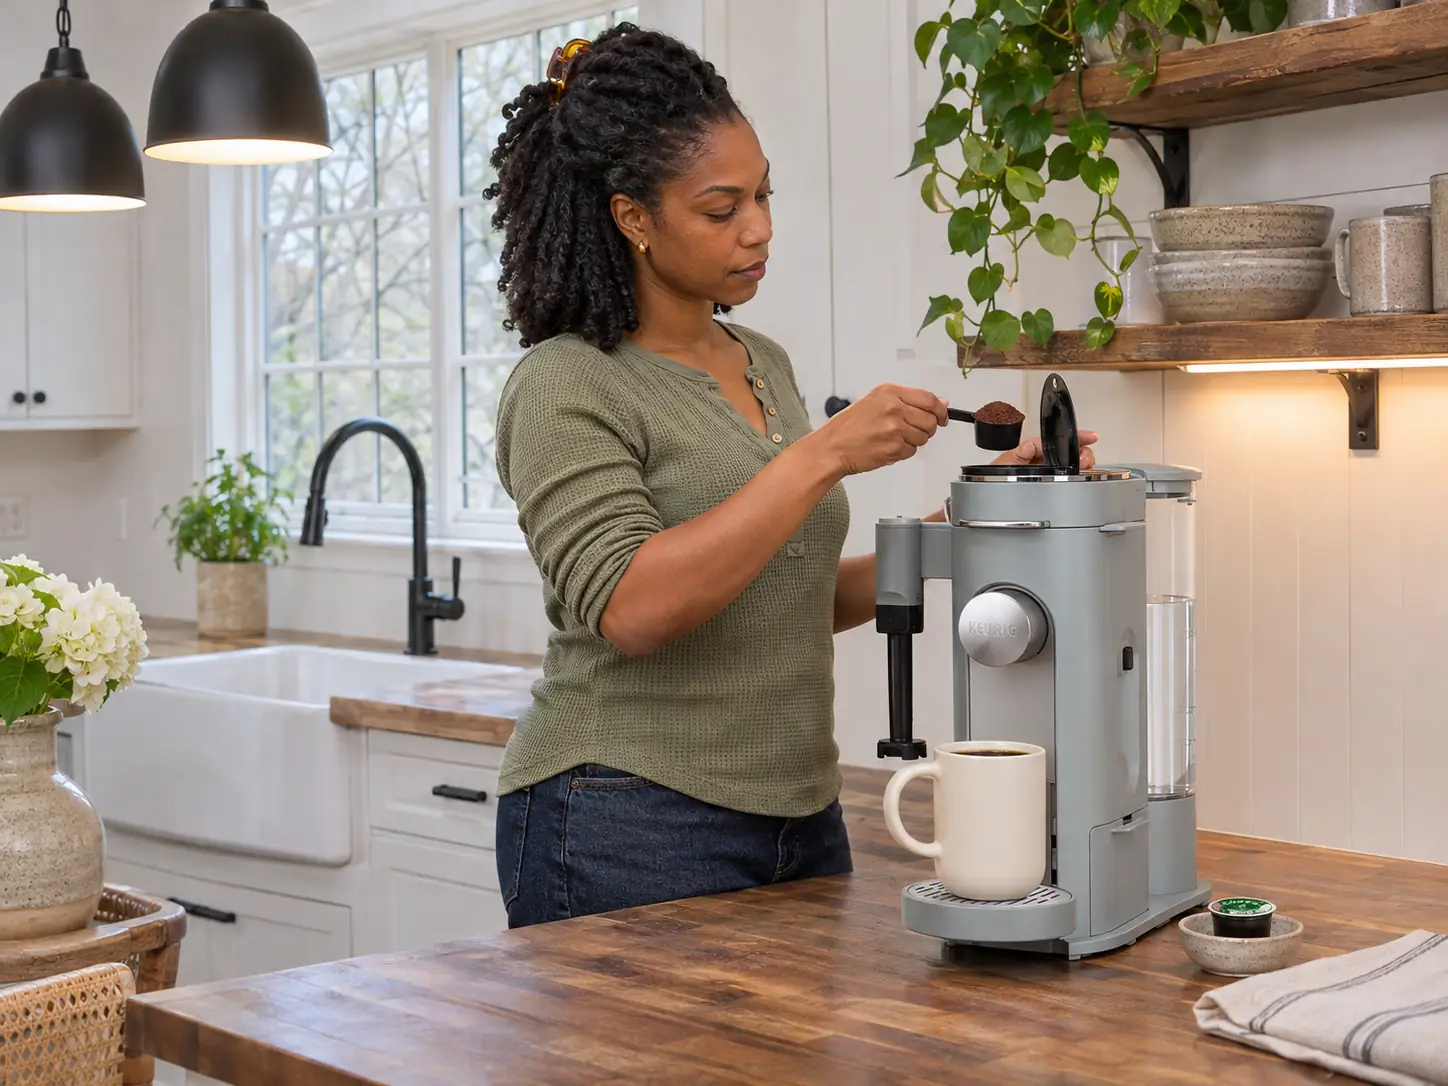
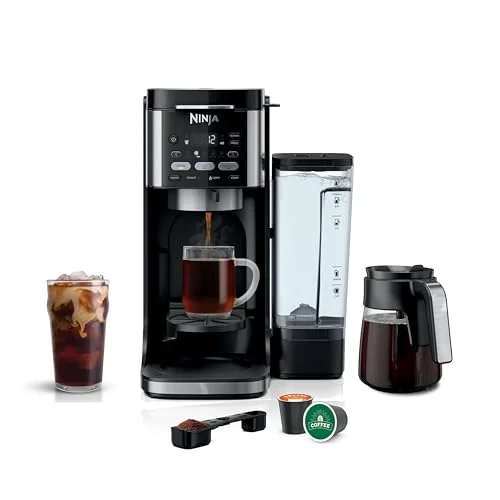
A single-serve brewer built for both is a pod holder and a basket under one showerhead. On the pod side a K-Cup, or a pod seated in an adapter, is pierced and flushed with hot water. On the grounds side a permanent mesh filter or cone filter sits in the basket and the reader fills it from a scoop.
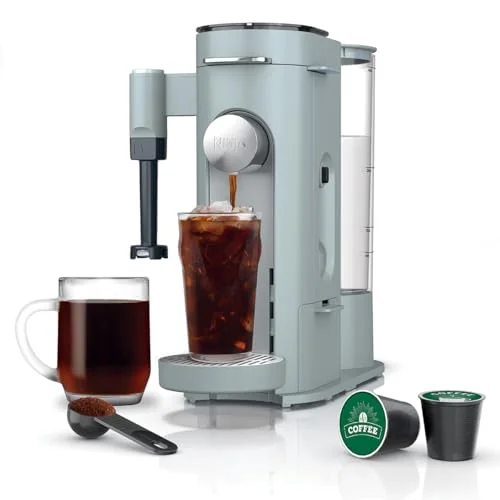
The strict version of the category is the Ninja Pods & Grounds line, with both holders in a single housing. Around it sit machines that take only grounds but still brew a single cup, such as the Hamilton Beach 2-Way, the OXO podless model and the Café Specialty, and they share the grounds half of every problem in this guide. The wider comparison of who sets the dose on a drip pot and on a single-serve machine is worked through there; this guide stays on the grounds half of the shell.
Most of these machines also carry a set of brew styles (Classic, Rich, Over Ice and Specialty on the Ninjas), a removable water reservoir somewhere between 56 and 60 oz on the models covered below, and a size dial that runs from a small cup to a travel mug or more. Everything on that list is about the water and the heat. None of it touches the coffee in the basket.
The grounds side earns its place in a few ways. Any bag of beans fits, there is no pod to throw away, and the cost per cup becomes a division the reader can run: a 340 g bag is about 24 cups at the 8 oz dose worked out further down, against a box of pods that was divided by somebody else. The price of all that is that the cup becomes the reader’s job, and the rest of this guide is about making that job cheap.
Pod-only machines are the contrast. A pod machine such as a Keurig, a Bruvi or a Cuisinart single-serve takes the pod and nothing else, so it fixes the dose and gives up the grounds. For a reader who wants the same mug every day with no decisions to make, that is a fair deal. For a reader who wants to buy a bag of beans and use it up, it closes the door.
What the pod fixes and what it takes away
What the pod gives is a fixed dose. Somebody else already weighed the grounds, sealed them and decided how much coffee meets how much water, so the cup repeats. What it takes away is choice: the beans are the pod’s beans, the roast date is the pod’s date, and a used pod goes into the bin after every cup.
The grounds side flips both columns. It brings any bag of beans and nothing to throw away but the grounds themselves, and it hands the dose back to the reader.
One detail matters for what comes later. A pod keeps its grams whatever size the button asks for, so a bigger pour thins a pod too: the Ninja DualBrew Hot and Iced, for example, offers pod sizes from 6 to 12 oz from the same sealed dose. The difference is that on the pod side the grams were never the reader’s to move.
A reusable pod is the middle case. Filled to its line, it follows the same dose logic by hand, and the fill line of a reusable pod is worked out in grams for exactly that case.
Where the size button comes in
The size button changes the water, not the coffee. On the grounds side, the basket that holds a dose for the smallest cup is the same basket on the biggest, and the machine never looks inside it. The same scoop at 8 oz and at 24 oz is three times the water over the same coffee, which gives a cup that is fine at one end of the dial and thin at the other.
A cup that is fine on the small size and thin on the big one is the first complaint a grounds basket produces, and it is nearly always arithmetic before it is anything else. The reader fills the scoop, picks the size that matches the mug, and tastes a cup that was never going to hold up. Reading the box as if the machine handled the coffee part is an easy mistake to make, because the machine does handle the water and the heat. The coffee part stays with whoever is holding the scoop.
Size buttons are labels. Brew water only, no grounds, into a measuring jug at the size you pour most, and read the line the water reaches. Dose for that number of ounces, and for nothing the button promised.
The Scoop Against the Scale, Size by Size
The thin cup from the opening now gets numbers. This section turns “the same scoop at every size” into grams at the size you actually pour, and it says up front that the figures are the blog’s reference, arithmetic rather than a measurement taken from a brew.
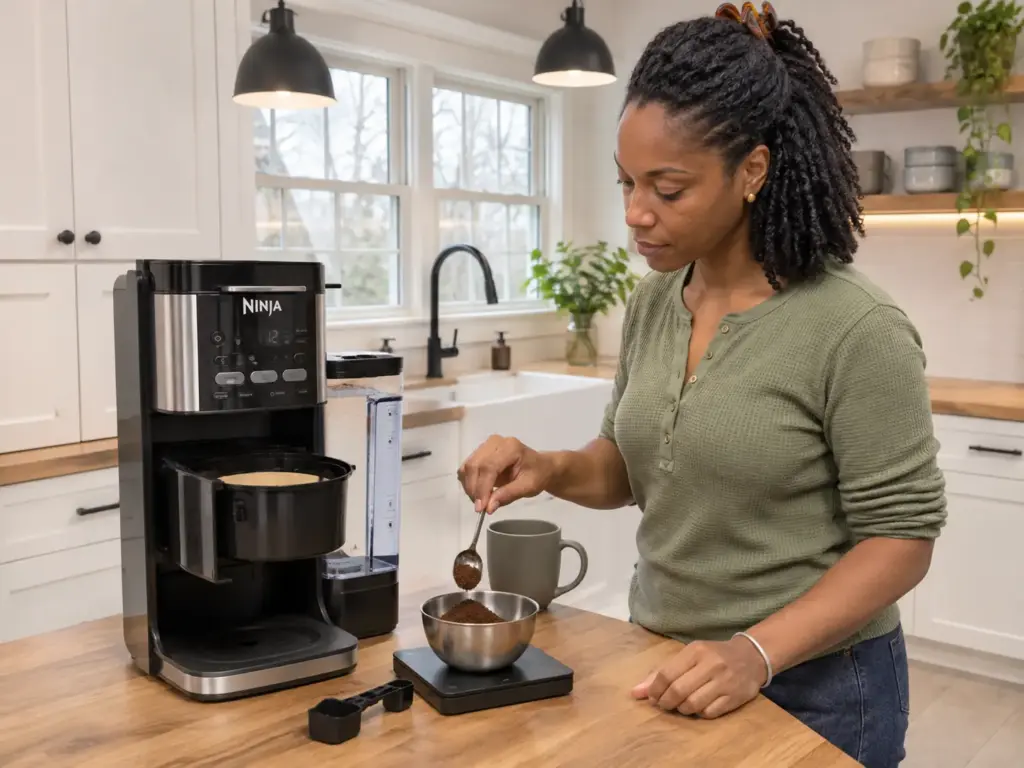
The reference and the arithmetic, size by size
The brew ratio used here is 60 g of coffee per liter of water, about 1 g to every 16.7 g (1:16.7). A fluid ounce of water is close to 30 g, so the reference works out to roughly 1.8 g of coffee for every ounce poured. At that rate an 8 oz cup wants about 14 g, a 10 oz cup about 18 g, a 12 oz cup about 21 g and the 24 oz setting about 43 g.
Those are the grams to weigh into the basket. The ounces are poured water, and the grounds keep some of it, so the mug ends up a little under the number on the button.
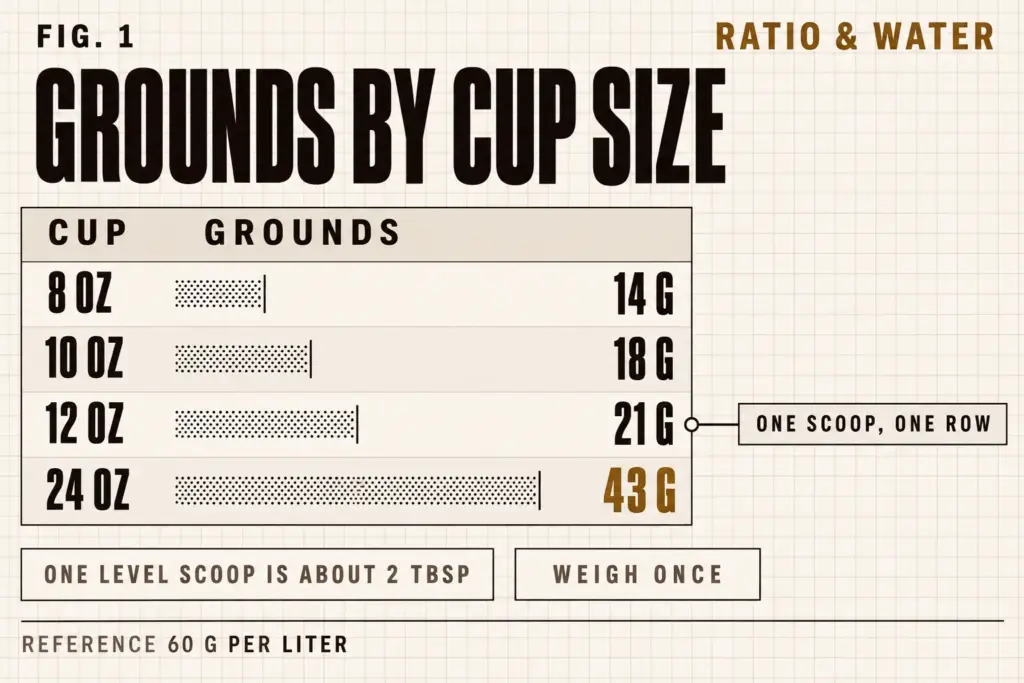
A level coffee scoop holds two tablespoons, roughly 10 g, though a scoop of dark, oily roast weighs less than the same scoop of a dense light one. Read that way, 14 g is about three tablespoons, 18 g is three and a half, 21 g is four (two level scoops) and 43 g is eight or nine. Treat the translation as an approximation and weigh once; the scale settles what the spoon only suggests.
Sizes that fall between the rows come from the same multiplication, about 1.8 g for every ounce of water poured:
- 6 oz: about 11 g
- 14 oz: about 25 g
- 16 oz: about 28 g
- 20 oz: about 35 g
The label on a travel-mug button or a size name is a capacity, and a capacity is what the mug holds, which may differ from what the machine pours. That is why the water-only test in the first section matters here: the table is read against the ounces that actually come out, and the dose follows that number.
Run the same division across a whole bag and the size button starts to look like a budget decision. A 12 oz bag is 340 g, which is about 24 cups at 8 oz and only 8 cups at 24 oz, and grams per cup across a whole bag carries that arithmetic through every size. The pod side runs the same math at 1:16: a reusable pod filled to its line wants about 14.8 g for 8 oz and 18.5 g for 10 oz, within a gram of the grounds figures where the sizes overlap.
The pod side thins with size in the same way. Take that 14.8 g reusable-pod dose: poured to 6 oz it is about 1:12, at 12 oz about 1:24, and at 16 oz about 1:32. The pod never changes its grams, so the only lever on that side is the size, and the cup that tastes right at 8 oz will not taste right at 16.
Why one scoop favors only one size
A machine that ships with one measure for every size has decided something without saying it: which cup the scoop suits. A scoop is a single volume, so it fits one row of the table and misses the rest. Fill it for 12 oz and the 24 oz setting gets about half the coffee it needs. Pour 8 oz from the same scoop and the cup comes out half again too heavy.
A worked example shows how far apart the sizes drift. Take a standard two-tablespoon scoop, about 10 g, and a 12 oz pour. One level scoop is roughly 1 g of coffee for every 35 g of water (1:35), about twice the water the reference calls for, and the cup tastes like it.
Two level scoops, about 20 g, bring the same pour to roughly 1:18, close to the reference. Put one scoop into an 8 oz pour instead and the ratio lands near 1:24, which is light but drinkable. That is how a machine can feel right at one size and wrong at another with the same coffee, the same grind and the same hand.
The size range makes this easy to see. The Ninja DualBrew Pro offers five grounds sizes and the Ninja DualBrew Hot and Iced nine, which means nine different doses and one scoop. Neither count is a defect of that model; any machine with a size dial and a single measure behaves the same way, and these two just happen to have the most buttons.
The same unit trap sits at pot scale, where a machine’s label counts cups that are smaller than the cups people drink from, a mismatch laid out in counting a large machine in ounces, not cups. The scoop and the label fail the same way: each quotes a unit that is not the one in the mug. And the second cup of the day is where the dose slips, because the hand repeats the first scoop while the button picks a different size.
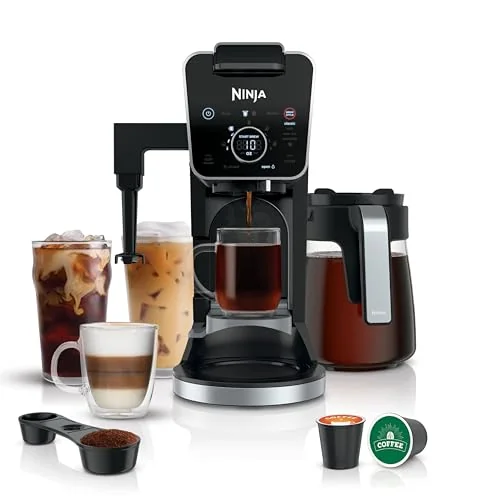
Weigh once, then mark your scoop
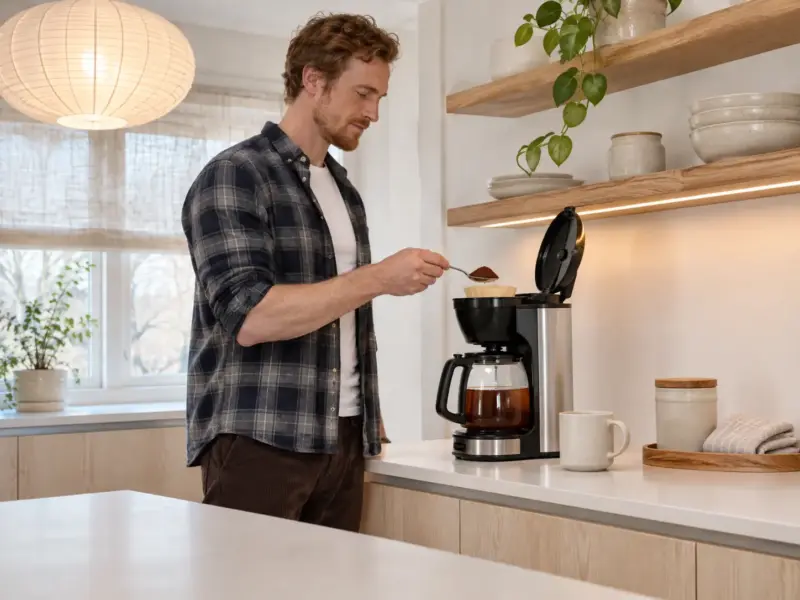
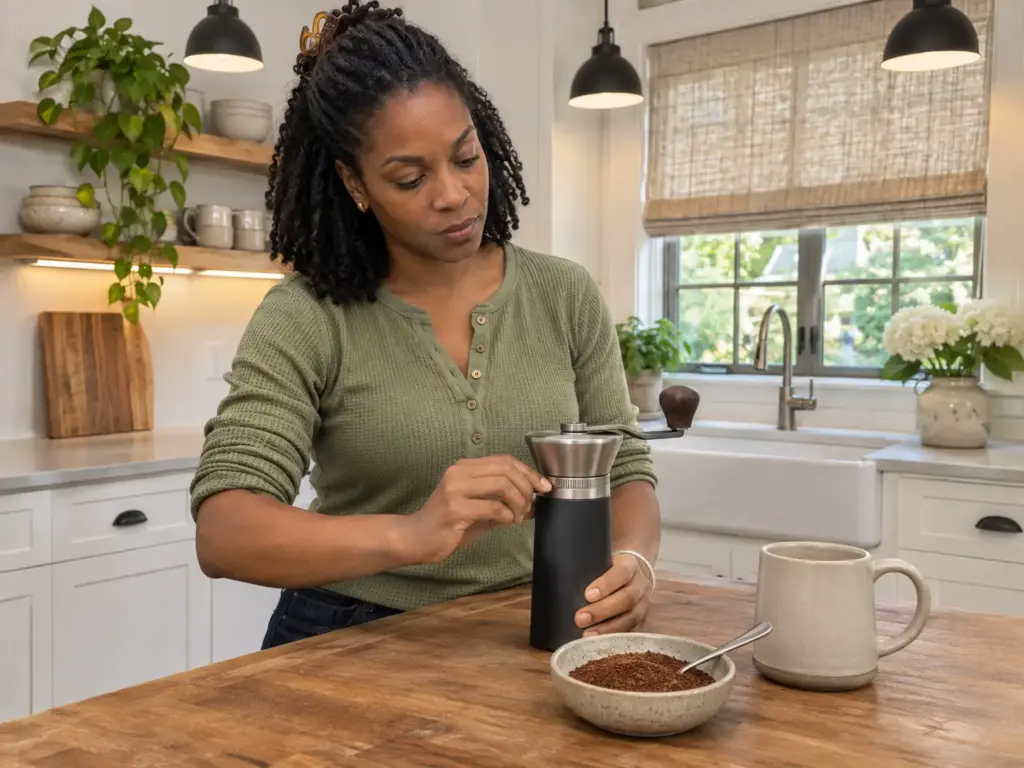
The free fix comes before any machine: a kitchen scale. Weigh the grounds once, at the size you pour most days, and the scoop stops being a guess. Put the scoop on the scale, zero it, and fill it with the coffee you actually use until the reading matches the row for your mug, say 21 g for 12 oz. Mark that level inside the scoop with a line of tape or a scratch, and the mark is your dose from then on.
A second size gets a second mark or, better, a second weighing. Two marks on one scoop are easier to follow than a memory of which size you set. For a household that mostly drinks one mug, the simplest version is to make that mug the only size the machine is used at: the table collapses to a single row, the scoop gets a single mark, and the dial becomes a button nobody has to think about. And a heaped scoop and a level one of the same coffee differ by several grams, which is the distance between two rows of the table.
The reference is a starting point. If the cup at the weighed dose is a touch light or heavy for your taste, move the dose by a gram or two and keep the size fixed. The mark exists so that the cup repeats, which means any adjustment gets made on the mark itself and gets written down, instead of drifting back to whatever the hand scoops that day.
Re-weigh the scoop whenever the bag changes. A darker, oilier roast fills the same scoop with fewer grams, so a mark made on one bag is only a guess on the next.
Nothing in this section needs a new purchase except the scale, and the scale is the one piece of kit that serves every machine reviewed further down. Brew at the weighed dose, taste, and note the direction of whatever is still off. If the cup is still thin or sharp, the fix order below sorts out what to move and in what order.
Fix a Thin Grounds Cup in This Order
Once the dose for each size is known, the cup can be read. A thin cup and a harsh cup look like the same complaint at the counter and point in opposite directions, so the first job is to name which one is in the mug. The strength button is the fix the machine puts in front of the reader, and it belongs at the end of the list.
Which way the cup is off
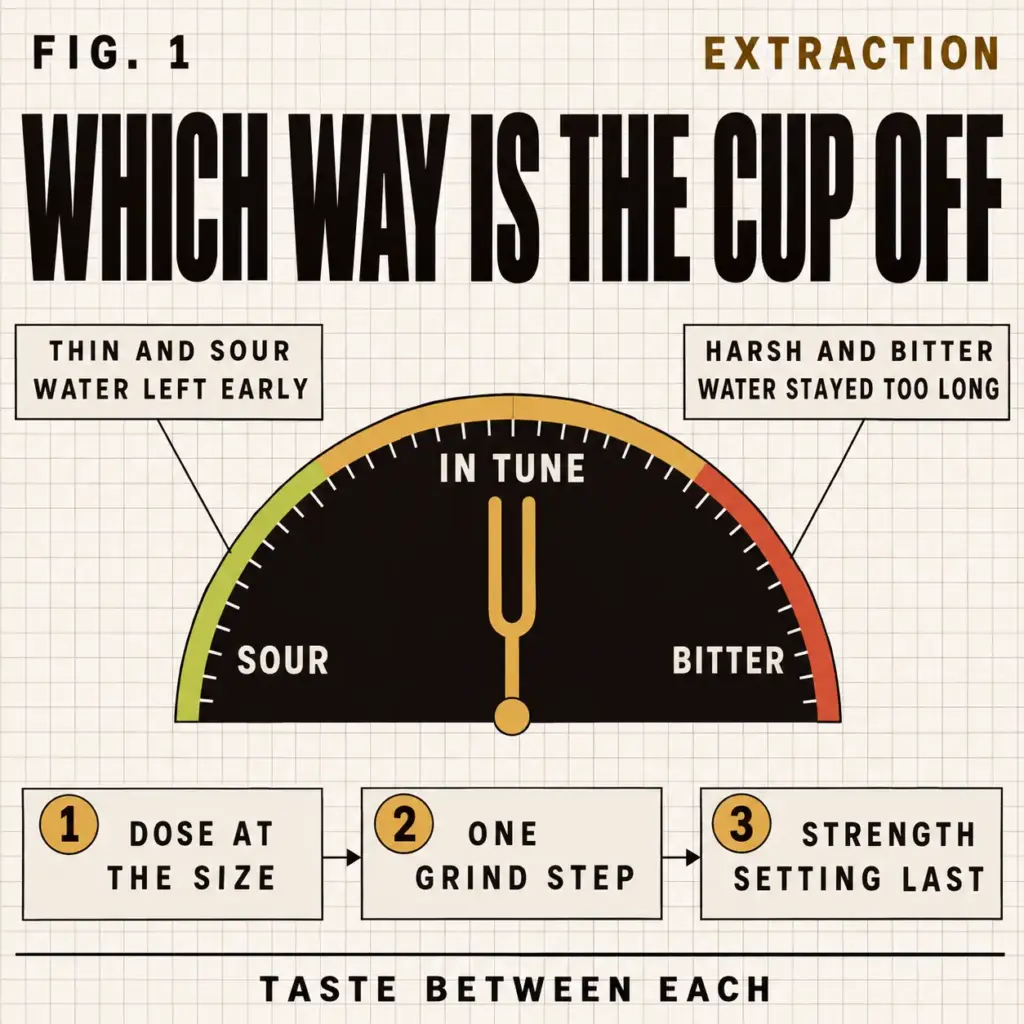
Thin and sour belong together on one side, harsh and bitter on the other. A thin cup tastes watery and short: too little coffee for the water, or water that crossed the bed too fast. A sour cup is sharp at the front and empty behind it, which is what under-extraction tastes like: water that left the grounds before it finished.
On a big size with a small dose the two arrive together, because a lot of water crosses a shallow bed and leaves early. The opposite cup is harsh: dry, bitter, rough at the back of the tongue. That means the water stayed too long or pulled too much from the fines, and a mesh basket that is too full or too fine can do exactly that.
Temperature helps the diagnosis. Sourness is easiest to find while the cup is warm rather than hot, and bitterness tends to get louder as the cup cools, so taste at both ends before settling on a direction. A weak cup shows neither: nothing sharp, nothing bitter, just not much coffee behind the first sip. That last cup is the one the dose fixes, and it is the one the strength button gets blamed for.
The direction names the change, so it is worth ten seconds before touching anything. Thin and sour point to the dose and the size first and the grind second. Harsh and bitter point to the grind first (finer is the likelier cause on a mesh basket) and to a dose that is too high for the size. The strength setting appears on neither list until the very end.
In order, with a taste between each:
- Read the direction: thin and sour, or harsh and bitter.
- Weigh the dose at the size poured and compare it with the table in the previous section.
- Move the grind a single step, no more.
- Reach for the strength setting last.
Each step has a result to look for. If the dose was the problem, the next cup comes out fuller and the sourness softens. If it overshot, the cup turns heavy and a little sharp, and the dose comes back by a gram or two. A grind step shifts the finish more than the weight: finer takes the sharpness out of the front of the cup and risks dryness at the back, coarser does the reverse.
The weighed dose at the size you pour
Size comes before grind. A larger cup setting pours more water through the same dose, and that makes it the most common reason for a thin cup on a machine that takes grounds, so read what the button says before checking anything else. Pick 16 oz because the mug is big and the table says the basket needs about 28 g, not the 14 g that the habit of the small cup gave it.
Then weigh. Put the dose on the scale and compare it with the row for that size. A few grams under the reference is the likely culprit: bring the dose up to the row and brew the same size with the same grind.
The next cup should taste fuller, with the watery edge gone. If it now tastes heavy and a little sharp, the dose went past the reference and should come back by a gram or two.
At the top of the dial the arithmetic can run into the basket itself. 43 g of medium grounds takes up real volume, and if it will not sit below the rim without packing down, the 24 oz setting is asking for more coffee than the basket holds. Backing the size down to what the basket can dose properly gives a better cup than pushing 24 oz through a basket that only holds enough for 16. The same check applies to any machine with a deep size range: the largest button is the one most likely to promise more than the basket can deliver.
If the weight already matches the row and the cup is still thin, the dose is not the lever. That sends the search to the grind, covered next, and to the water and the beans in the last section.
One grind step, then the strength setting
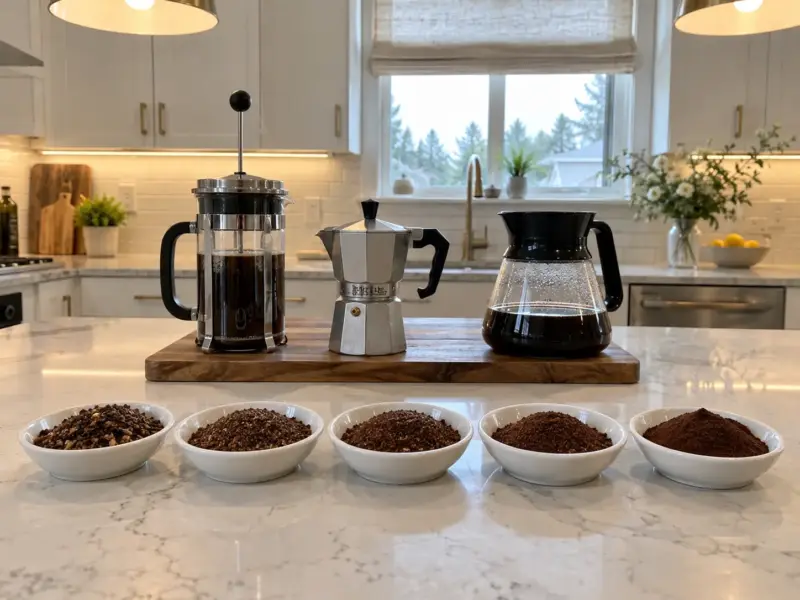
Start from a medium grind size, the one a drip machine expects; which grind step to try first on a drip machine covers the starting point, and the same logic holds here. A permanent mesh sits closer to the edge than paper does, since it lets fines through and the finest of them settle as silt, a fine sediment, at the bottom of the cup. Too fine overflows the basket or turns the cup harsh, and too coarse tastes weak. Move a single step, then brew the same dose at the same size and taste.
Watch the basket during the brew as well. A bed that packs too fine slows the water until it climbs over the rim, and water that spills over the edge reaches the cup without touching the grounds, which reads as a thin, sour cup even when the dose is right. An overflow is a grind signal before it is a dose signal. In a thin and sour cup, a step finer should bring weight to the middle of the cup and soften the sharpness at the front.
In a cup that was already harsh, a step finer is the wrong direction, and the move is a step coarser or a smaller dose. If the first step leaves a drier finish than the cup had before, it went one step too far; come back half a step if the dial allows it, or hold the grind and look at the dose again.
A grinder keeps a few grams inside it, so the first dose after an adjustment still comes out at the old setting. Throw that dose away, or brew it and judge the second one.
Only now does the strength setting come into it. The rich setting, Over Ice and the other styles change how the machine pours the water, and none of them adds a gram to the basket. A 24 oz cup brewed on Rich with 21 g in the basket is still a 21 g cup, which is why pressing the button three times leaves the mug thin.
Used after the dose and the grind are right, the setting becomes a fine adjustment instead of a rescue. Used first, it hides the real cause for as long as the reader keeps pressing it.
The reference moves when the cup is poured over ice. The numbers above assume a hot cup, and ice melts into the mug, so iced coffee needs a stronger brew to survive the dilution: more coffee in the basket or a smaller size, with the Over Ice style as a help, short of a cure. A machine that handles both hot and iced cups without going watery is the subject of a hot-and-iced machine that doesn’t run thin.
Switching to a pod does not answer a thin grounds cup. A pod is a fixed dose, so the move shifts the decision to which pod and at what size and leaves the question about the grounds untouched. A reusable pod seated in the same shell takes the reader back to the grounds, and the grind a reusable K-Cup wants carries a separate number for it.
That order changes on a machine whose shell also brews a full pot, and the basket question there is worked out in the guide on when the same shell also brews a full pot. This guide stays with the single cup.
Machines That Take Grounds, and What Each One Gets Wrong
With the dose and the order of the fixes in hand, a machine can be judged by what its grounds side asks of the reader. Four machines are covered here, each with what it gets wrong written down, and none of them removes the dose decision.
The pod-and-grounds Ninja
The Ninja Pods & Grounds PB051 is the machine this category is named after. It takes a K-Cup in an adapter or loose grounds in a permanent filter, offers four brew styles (Classic, Rich, Over Ice and Specialty), pours cup sizes up to 24 oz from a 56 oz removable tank, and comes with a scoop. The 24 oz size is the 43 g row of the table, more than four level scoops, so this is the machine where the dose decision is biggest and where a single scoop fails most visibly.
Where it falls down is longevity. Units that stop around the six-month mark are the repeating complaint about the grounds-capable Ninjas, and it matters more than any quirk of the cup. The coffee side is workable once the dose is weighed; the open question is how long the machine keeps running.
The two DualBrews met earlier belong to the same family and fail at different ages: some CFP301 units, the one with the glass carafe, stop around the year-and-a-half mark, and some CFP101 units, the one with nine sizes, around six months. The rest of the family, with the flaw of each model, is laid out in the Ninja line one model at a time.
Grounds-only machines that brew one cup
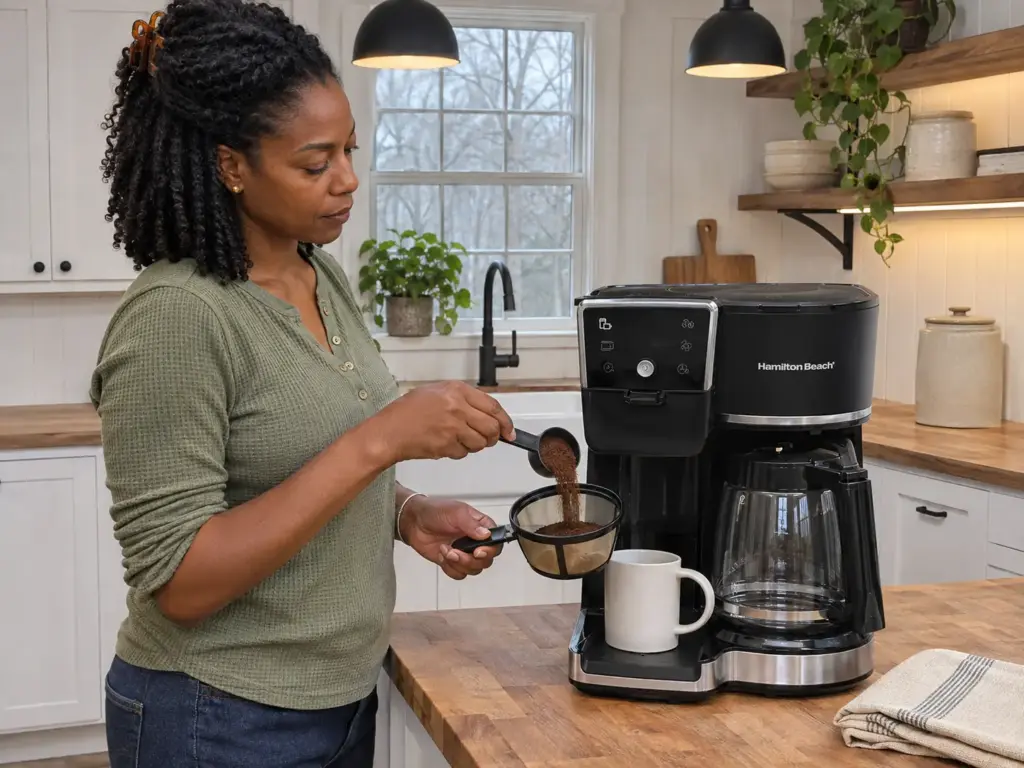
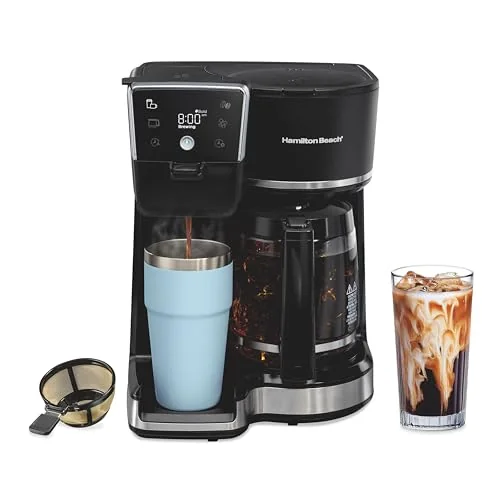
The Hamilton Beach 2-Way brews either one cup or a 12-cup carafe through the same basket route. The basket is mesh, a measuring scoop comes in the box, and a showerhead spreads the water across the whole basket. Because the cup size picks the dose path on a single basket, the scale-and-mark routine from the earlier sections fits it with no changes.
It gets two things wrong: a single cup brews slowly, and the carafe leaks at the handle. The leak shows up on the counter fast, and the slow cup shows up on a workday. For a household that brews a full pot on weekends and a single cup on weekdays, both sizes run through the same basket, which means two marks on the scoop or two weighings, one for each pour.
The pod-and-grounds Ninja is the obvious pick, and the obvious pick stops being the right one when the pod side would rarely be used. The Hamilton Beach does the grounds job for less money and with no adapter to clean, so if the pods would stay in the box, the shell is the part being paid for and not used.
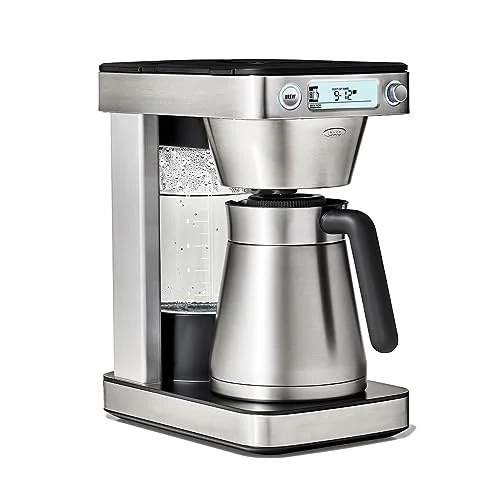
The OXO Brew 12-Cup podless model works from the other side. It has two baskets, a small one for 2 to 4 cups and a large one for 5 to 12, so two baskets mean two doses and the cup size picks the basket. Putting a small pour through the large basket repeats the one-scoop mistake in a different place.
The maker’s listing, read in November 2026, gives the brew water as 194 to 205°F (90 to 96°C); that figure is the maker’s claim, and a thermometer in the first cup would confirm it. Where it falls short: the carafe’s heat retention is mixed, and it spills when poured. The paper filters are sized to the baskets, so a spare pack for each size belongs on the counter with the machine.
What a built-in grinder changes
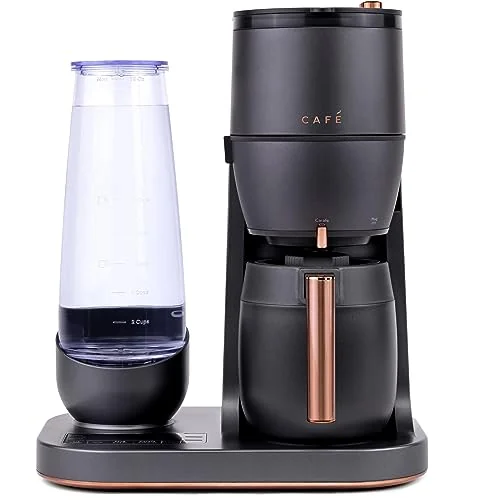
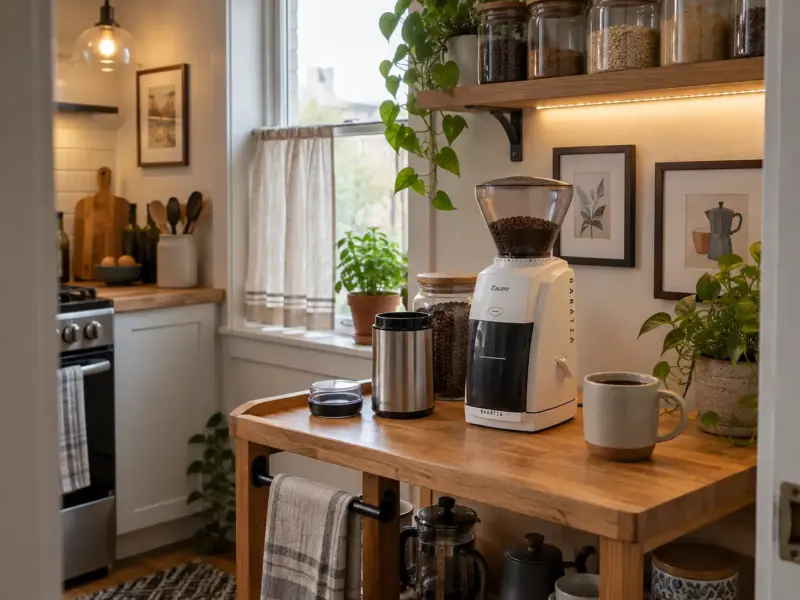
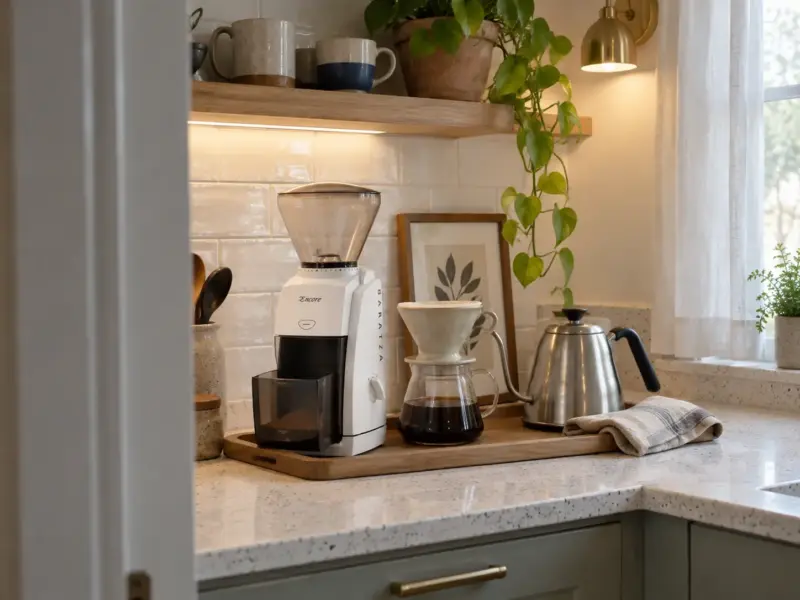
The Café Specialty Grind and Brew is the only machine of the six with a grinder inside: a burr grinder with six settings, a thermal carafe and a range from a single cup to 10 cups, for grounds only. Putting the grinder in the shell puts the grind step one button away from the brew, which makes the grind-then-taste routine from the earlier sections quicker to run. A machine without a grinder takes whatever grind the reader brings, and that sends the grind step back to the grinder or the bag. It also moves the freshness question: grounds from a bag opened weeks ago are a common source of a flat cup, and grinding at the machine takes that variable out of the brew.
The convenience adds a part to wear. The grinder’s reliability is mixed: in some units it stops grinding properly after months of use, and water pools in the holder. A built-in grinder is also one more part that can fail, and that matters more for the life of the machine than any difference it makes in the cup.
Read together, the flaws sort the machines by what the reader is willing to live with. A 24 oz travel mug every day points at the Ninja shell and its durability line. A single cup from grounds at a modest cost points at the Hamilton Beach and its slow cup.
A household that brews both a small cup and a full pot, and wants the basket to follow the size, points at the OXO and its carafe. And a reader who is tired of a separate grinder points at the Café Specialty, and at a grinder that has to keep working. None of the four removes the scale from the counter, because each of them sets the water and the heat and leaves the coffee to the reader.
The Basket After the First Month
Everything so far describes the first week. Over the weeks that follow the basket, the filter and the machine itself age, and the pod side keeps making the same cup while the grounds side drifts. The checks below separate a coffee problem from a machine problem.
Emptying and rinsing after each cup
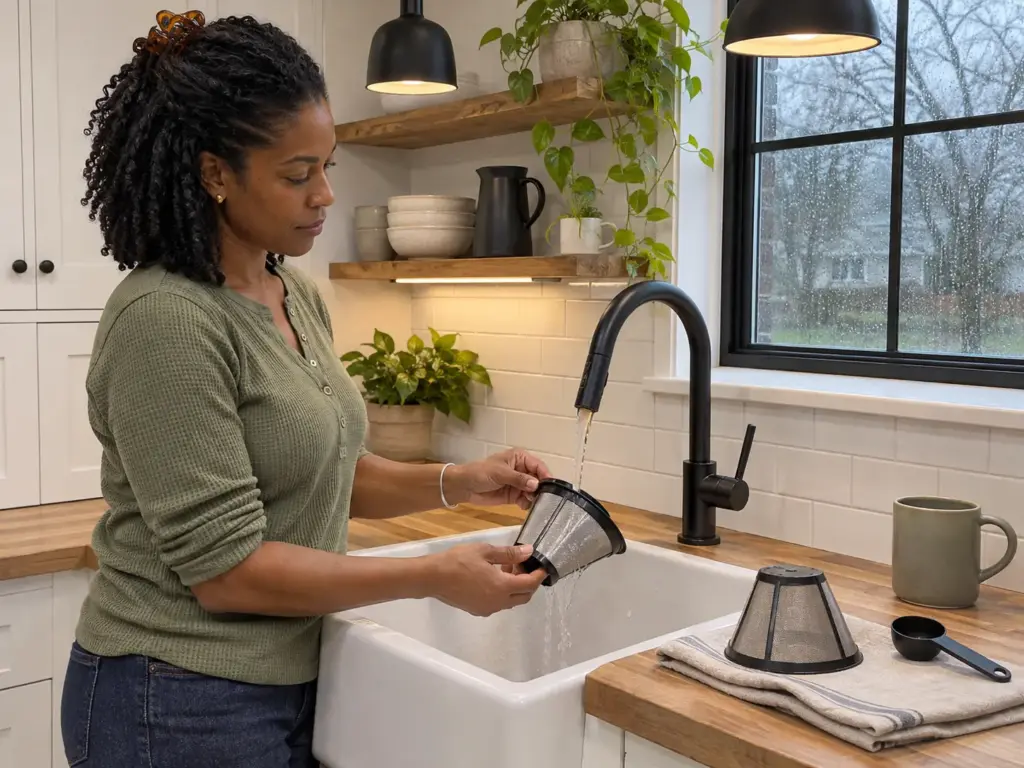
Empty the basket after every cup. Tip the wet grounds out, rinse the mesh under running water and let the basket dry upside down before the next dose. A clean mesh looks like bare metal; a brown film that rubs off under a thumbnail is coffee oil, and it is the first thing a scrub with warm water and a soft brush should take off.
The daily cost of the grounds side is that rinse, a wipe of the drip tray and a splash on the counter when the single cup finishes, and the pod side pays in the used-pod bin. If the pod side is in use, the needle that pierces the pod needs an occasional clean too, and a clogged needle gives a slow or sputtering pod cup that has nothing to do with the grounds.
Choosing between paper or a permanent filter in the basket is a real trade: paper holds back more of the fine powder, and mesh lets it through and asks for rinsing. Whichever filter sits in the basket, a damp basket sends the next scoop to the wrong place, since grounds dropped onto wet mesh can clump, and a clumped dose wets unevenly.
The question to put to the basket is whether the cup has thinned since the first week while the bag, the dose and the size stayed put. A mesh coated with oil and fines changes how the water moves through the bed, and whether that shows up as a thin cup, a harsh one or an oily cup depends on the machine. The way to find out is a controlled brew: the same dose at the same size in a basket that has just been scrubbed and dried.
If the cup comes back, the basket was the variable. If it does not, the answer is further down this section.
The controlled brew runs in five moves:
- Scrub the mesh with warm water and a soft brush, then dry it upside down.
- Weigh the dose for the size you pour, using the row of the table.
- Brew the same size on the same style, with no change to the grind.
- Taste it against the cup from the day before.
- Brew the same dose again in the old, unscrubbed basket if the difference is unclear.
The last move matters because a single good cup proves little. Two cups that differ only in the basket tell you whether the basket mattered.
What wears first
On the grounds-capable machines the durability line is the repeating complaint: some units stop around the six-month mark and others around a year and a half. That is how these machines tend to fail, and it is the reason the flaw lines above lead with it. Beyond the stop itself, the wear points are heat, the carafe and the grinder.
On a pod-and-grounds shell the pod side and the grounds side share one heater and one pump, so a machine that stops, stops for both. The water arrives hot fast, but a carafe that does not hold its heat or a frother that does not warm properly shows up as a cup that cools too soon.
Write the date you plugged the machine in on a strip of tape under the tank. A thin cup in the third week and a dead machine in the sixth month are different problems, and the date tells you which one you are holding.
Watch for the small signs ahead of a stop: a pour that sputters or starts late, water pooling in the holder where it did not before, a carafe that needs more care to pour without a spill. Each one is a machine sign, and none of them can be fixed with a finer grind.
When it is not the coffee at all
Before blaming the beans, check three things in order: the basket, then the dose, then the water. The basket is the rinse and the dry from above, and the dose is the scale. The water is the one that gets forgotten.
A machine that scales up runs slower and cooler, and a thin cup is among the earliest signs, so descale on the schedule in the manual. A removable tank is easier to wash than a fixed one, and a tank that is rinsed along with the basket removes the other place a flat taste can hide.
Water is the cheapest variable to test. Taste the tap water on its own: if it smells of chlorine or tastes flat before it touches coffee, the cup inherits that, and a jug of filtered water swapped into the tank answers the question in one brew. The tank itself deserves a look as well, since water that has sat in a reservoir for days tastes stale in the same way a stale bag does.
Stale beans and old water make the same thin cup. Check the roast date on the bag, when it prints one, and empty the tank of last week’s water before judging a new bag. Ground coffee goes flat faster than whole beans, so a bag of pre-ground opened a few weeks ago belongs in the suspects, and an airtight container kept away from the stove slows that down. Contact time ties the last two together: the length of time the water stays on the grounds depends on the grind, and how a drip machine’s contact time depends on the grind explains the mechanism behind both the sour cup and the bitter one.
Weigh the Dose First, Then Read the Flaw
The pod fixes the dose and the grounds side hands it back, so a thin cup on the grounds side starts as a question about grams at the size on the button. Weigh that dose first, and only after it matches the table move the grind a step and, last, the strength setting. A machine that lasts matters as much as the cup it makes, so the flaw gets read before the feature.
There is also an honest case for leaving the grounds side alone. A household that will fill the basket twice a month is paying for a second input it does not use, and a pod-only machine, or a plain grounds machine with a single-cup route, does the narrower job with fewer parts to fail. The shell earns its place for the reader who really alternates between a pod on a rushed day and a weighed dose on a slow one.
By month two of the grounds side, take another look at the basket and the dose: whether the mesh still rinses clean, whether it dries between cups, and whether the mark on the scoop still gives the weight it did the day it was made.
For tomorrow’s cup, set the size you pour most, weigh the dose for that row of the table, brew and taste. Fuller? Then the scoop was the problem and the mark you make today fixes it.
Still thin? Move the grind a step and taste again before touching the strength setting. And if the question has turned to which machine belongs on the counter, a model-by-model look at the Ninja line, flaw first is the place to start.
Frequently Asked Questions
01Is there a coffee maker that does pods and grounds?
Yes, several machines take a pod in one holder and loose grounds in a permanent basket. The pod fixes the dose; with grounds, the scoop and the size you pour decide it.
02What is the best coffee maker for pods and ground coffee?
It depends on the cup size you pour and how long you want the machine to last. Weigh the dose at that size first, then read the durability flaw of any model before choosing.
03Is there a coffee machine that takes all brands of pods?
No single machine takes every pod. K-Cup brewers and Nespresso machines use different pods, and a reusable pod or an adapter covers only the format it was made for.
04Which dual coffee maker is the best?
A dual machine that brews a pot and a single cup is a different job from a pods-and-grounds machine. Choose by how you pour most days; the basket decides the single cup.


How did your cup turn out?
No comments yet. Tell us what you changed — and whether the needle moved.